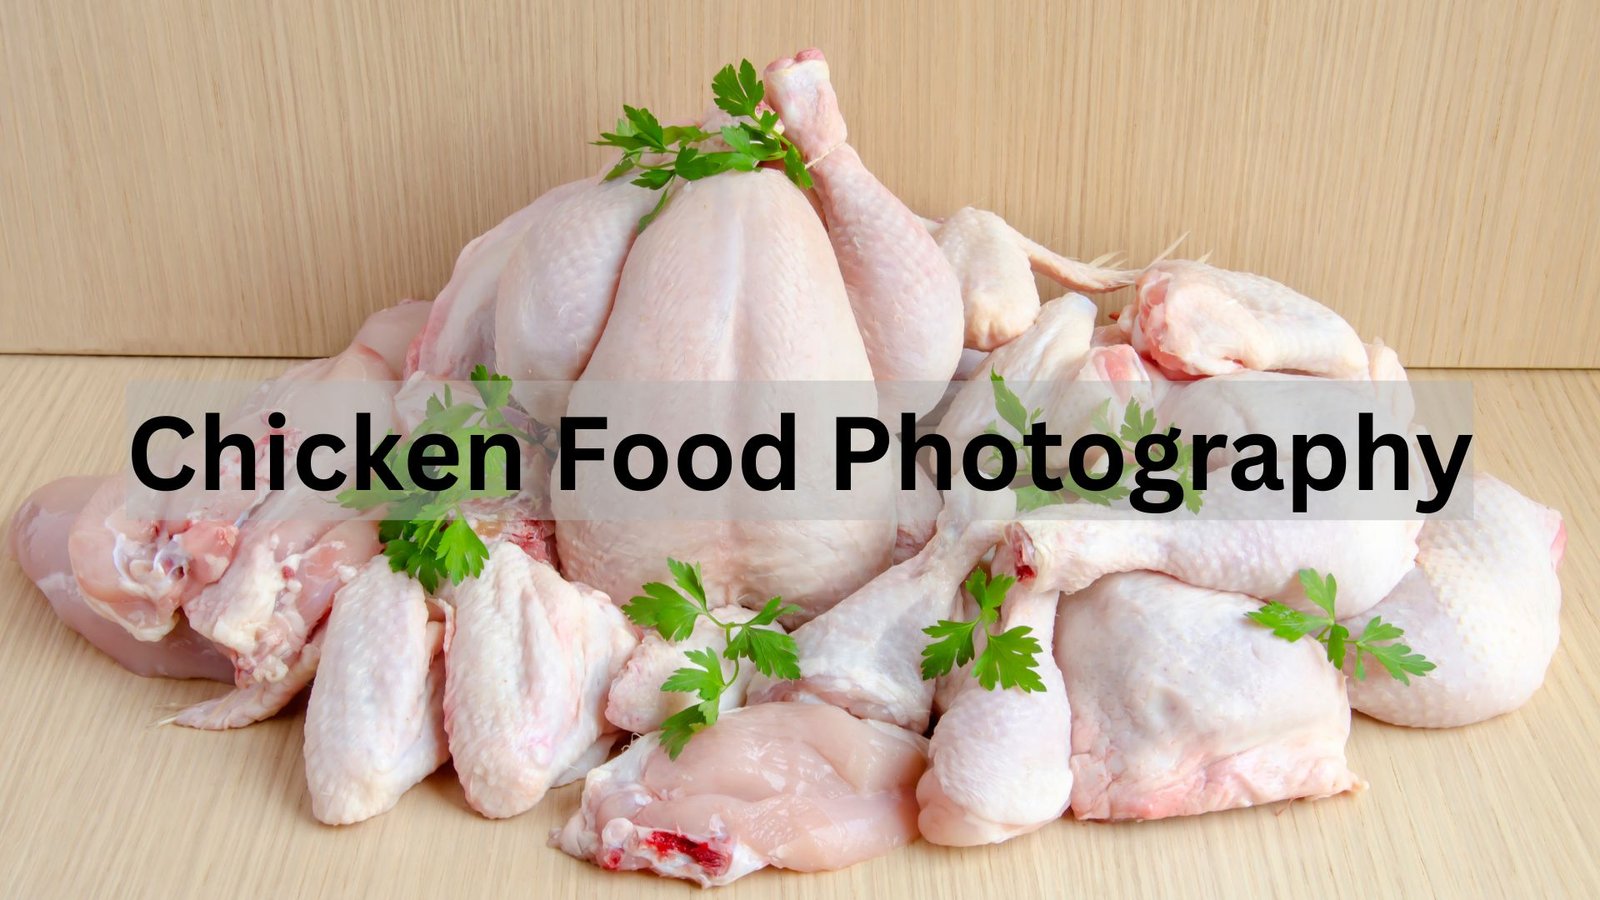
If you’ve ever tried taking photos of your favorite chicken dishes and felt they didn’t look as tasty as they do in real life, you’re not alone. Many food enthusiasts, bloggers, and restaurant owners struggle to capture the perfect chicken shot. But with a few simple techniques, you can learn the art of chicken food photography and make your images look professional and appetizing. This guide will walk you through everything you need to know – from lighting to styling and editing – to make your chicken photos stand out on social media and beyond.
Chicken is one of the most photographed dishes in the food world, yet it can be surprisingly challenging to capture correctly. Unlike colorful salads or desserts, chicken often has neutral tones that require good lighting and thoughtful styling to make it look appealing. That’s where chicken food photography skills come into play. The goal is to make your dish look as juicy and flavorful on screen as it does on the plate.
Whether it’s crispy fried chicken, juicy grilled breasts, or spicy wings, chicken dishes offer plenty of textures and tones to work with. The key is to emphasize these details while keeping the image natural and realistic. Learning chicken food photography means mastering the balance between creativity, lighting, and technique.
Every great food photo begins with a solid setup. You don’t need expensive gear to get started. Even a smartphone can capture amazing chicken shots if you use it correctly. Place your dish near a window to take advantage of natural light, which enhances colors and textures without creating harsh shadows. Avoid direct sunlight, as it can make your food look overly shiny or washed out.
Backgrounds and props also matter in chicken food photography. Neutral backgrounds like wooden boards, white plates, or textured cloths help the chicken stand out. Keep props simple – a few herbs, a fork, or a dipping sauce can add visual interest without stealing the spotlight from the dish.
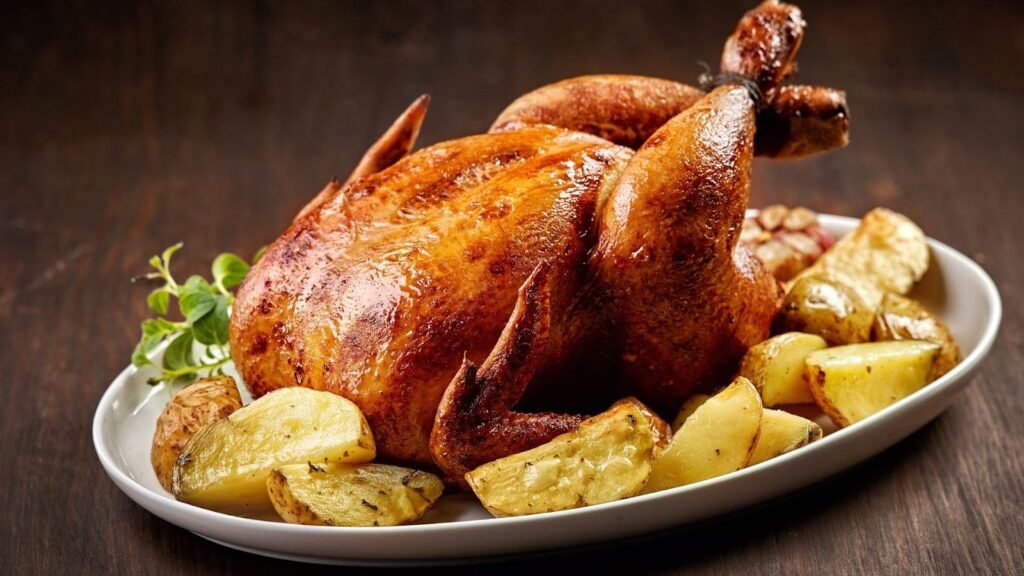
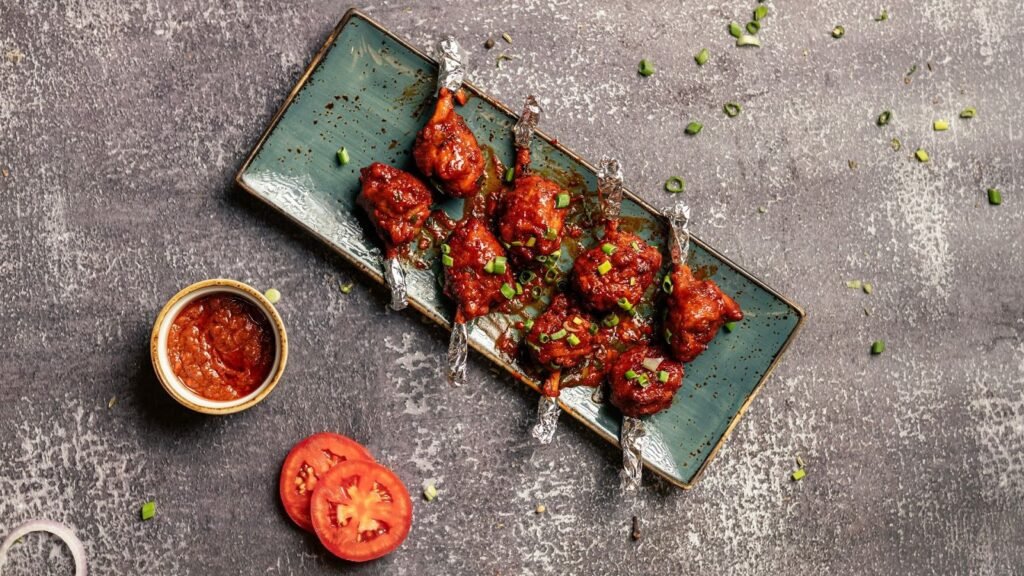
If you’re photographing a meal for your restaurant or blog, experiment with different angles. A top-down shot works great for a platter of wings, while a 45-degree angle captures the depth and texture of grilled or roasted chicken beautifully.
Lighting is the secret ingredient in every stunning food photo. It determines how the viewer perceives the texture and freshness of your dish. When it comes to chicken food photography, soft natural light is your best friend. Position your plate close to a large window or door where indirect light falls evenly on the food. If you’re shooting indoors or at night, use a softbox or ring light to mimic daylight.
Always pay attention to the direction of light. Side lighting creates beautiful shadows that bring out texture, while front lighting helps reduce shadows and highlights juicy surfaces. Avoid using the camera’s flash, as it can make the chicken look flat and unappetizing.
You can also use reflectors or white cardboard to bounce light onto darker areas. This technique ensures your chicken looks juicy, crisp, and evenly lit. Remember, light is what brings food to life.
Food styling is what transforms a simple photo into a mouth-watering visual. When doing chicken food photography, think about the story you want your photo to tell. Are you showcasing a home-cooked Sunday meal, or a restaurant-quality dish? The styling should reflect the mood.
Start by choosing a clean plate and arranging the chicken neatly. Add garnishes like chopped parsley, lemon slices, or chili flakes to create pops of color. These small touches add vibrancy and freshness to your photo. Try layering different elements – for example, place roasted vegetables or sauces around the chicken for depth and contrast.
Steam and shine are also important. A light brush of oil or a quick mist of water can make grilled or fried chicken appear freshly cooked. If you want to take it further, food stylists often use subtle tricks, like adding a touch of glycerin for longer-lasting shine during photoshoots.
Angles can completely change how your chicken looks in a photo. In chicken food photography, the most popular angles are top-down, straight-on, and 45 degrees. Each has a different effect.
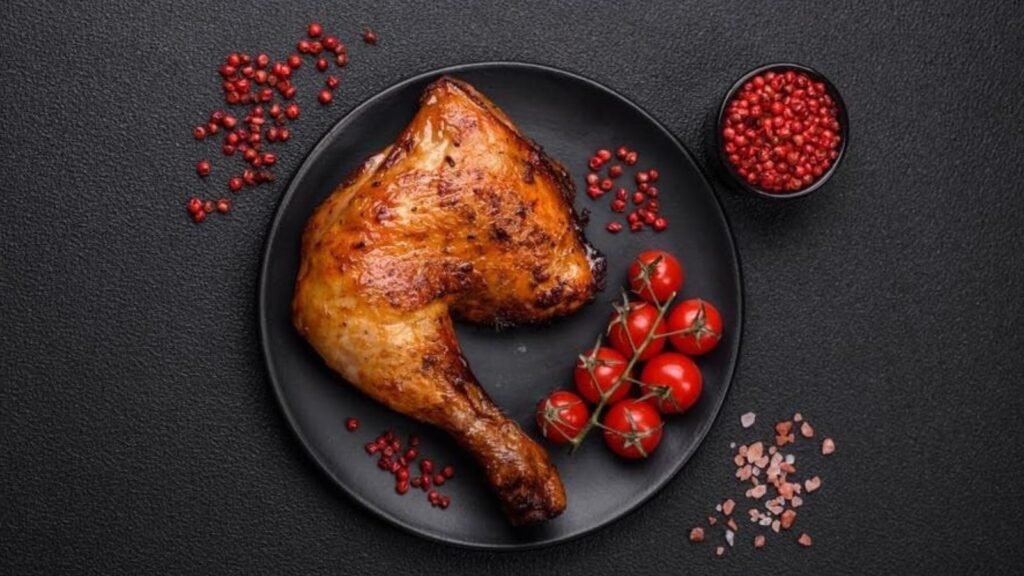
A top-down angle works well when you want to showcase multiple elements – for example, a full platter with sides and sauces. It’s perfect for social media platforms like Instagram. The 45-degree angle, on the other hand, adds depth and makes the chicken look more three-dimensional. This angle is ideal for burgers, sandwiches, or roasted pieces where texture matters.
For dramatic shots, try a close-up. Zooming in on the crispy skin, juicy meat, or dripping sauce highlights details that make viewers crave the dish instantly. The trick is to focus sharply on the most appetizing part of the food.

Even with a perfect photo, editing is what brings everything together. Knowing how to edit chicken food photography can make your image go from good to irresistible. Basic adjustments like brightness, contrast, and color correction can transform your photo while keeping it natural.
Start by enhancing the exposure slightly to brighten up the food. Adjust contrast to make the golden browns and textures of the chicken stand out. White balance is crucial – make sure your photo doesn’t look too warm or too cool. The right tones should make the chicken look fresh, not overcooked or pale.
Sharpening is another important step. It highlights the crisp edges and juicy textures, giving your image more depth. Avoid over-saturating the colors – chicken looks best with realistic tones that make it look edible and authentic.
If editing feels overwhelming, consider professional help. At aitinsider, we provide expert image editing services tailored for food photographers, restaurants, and creators. Our editors can refine lighting, balance colors, and enhance textures to make your chicken dishes shine across all platforms.
Every great photo tells a story, and food photography is no different. Think about what you want to express through your image. A rustic roast chicken might tell a story of comfort and tradition, while spicy chicken wings could convey fun and excitement. Adding small details like ingredients, napkins, or cooking tools can help set the scene.
In chicken food photography, storytelling helps your viewers connect emotionally with your image. It makes them imagine the aroma, the flavor, and even the moment of tasting. Whether you’re shooting for a recipe blog or a restaurant menu, storytelling is what turns a simple photo into an experience.
Composition is the backbone of a great food photo. When you start learning chicken food photography, understanding how to compose your shot will make a world of difference. A well-composed image draws attention to the dish naturally, without feeling crowded or empty.
Use the rule of thirds as your guide. Imagine your frame divided into nine equal sections by two vertical and two horizontal lines. Place your chicken dish along these lines or at the intersection points to create balance and visual flow. This technique makes your image look more dynamic and appealing.
Keep your background simple to avoid distractions. If the background is too busy, it can pull attention away from the food. Use neutral tones or textures like wood, marble, or linen to highlight the chicken’s natural colors. Negative space-leaving some areas empty-can also add sophistication and make the photo look less cluttered.
Angles and framing matter, too. For example, shooting from a lower angle gives the dish a grand, full-bodied look, while a closer crop emphasizes juicy textures and details. In chicken food photography, it’s all about finding a balance that captures both the flavor and feeling of the dish.
Props can bring life and context to your photo. But the secret is moderation. When styling for chicken food photography, think of props as supporting actors-the chicken should always be the star of the show.
Use items that make sense for the dish. Rustic boards and cast-iron pans are great for roasted chicken, while sleek white plates suit grilled or fried chicken. Napkins, herbs, and utensils can add charm, but keep them minimal so they don’t overpower the food.
Color plays a huge role, too. Warm tones like reds, browns, and golds make chicken look crispy and delicious. Adding contrasting colors-like green herbs or yellow lemon wedges-can make your photo pop. Experiment with combinations until you find what fits your style and the mood you want to convey.
If you’re unsure how to create the perfect balance of color and composition, professionals at aitinsider can help refine your photos with expert color correction and background styling.
One of the biggest challenges in chicken food photography is making the dish look fresh and juicy. Dry or overexposed chicken can appear unappetizing. To avoid this, capture your photos while the food is still fresh and warm. The natural steam and shine will add life to your images.
Texture is everything when it comes to food. Highlight the crispy skin of fried chicken or the tender juiciness of roasted pieces by using side lighting. This lighting direction enhances depth and texture naturally. Avoid too much oil or glaze-it can make the food look greasy rather than appetizing.
If you want to emphasize freshness, add small garnishes like fresh herbs, sesame seeds, or chopped vegetables. These little details bring your image to life and make it feel complete.
Editing is where the magic happens. Once you’ve captured your perfect shot, the final touch lies in polishing it to perfection. For chicken food photography, editing should enhance, not transform, the image. The goal is to make it look naturally delicious.
Start with brightness and contrast. Increasing brightness slightly can make your food look more inviting, while contrast helps separate the chicken from the background. Adjust shadows to bring out texture and depth, and fine-tune highlights to emphasize juiciness.
White balance is crucial. If the chicken looks too yellow or orange, it can seem overcooked. If it’s too blue, it will appear cold and unappetizing. Adjust until the tones look balanced and natural. You can also play with the saturation and vibrance settings to enhance colors subtly.
Sharpening adds crispness, especially for close-up shots. But be careful not to overdo it-too much can make the image look harsh. If you’re unsure about your editing skills or want professional results, aitinsider offers high-quality image editing services for food photographers and businesses.
Once your photo is ready, it’s time to share it with the world. Different social media platforms have different image size requirements, so resizing is important. For Instagram, a 1:1 square or 4:5 vertical crop works best. Pinterest prefers taller images, while Facebook looks better with horizontal layouts.
When uploading, make sure your photo retains its quality. Avoid heavy compression, as it can blur the details. Keep file sizes optimized for faster uploads while maintaining clarity. Adding a simple watermark or logo helps protect your images and promotes your brand.
Social media thrives on storytelling, so pair your image with a captivating caption. Tell your audience about the dish’s inspiration, ingredients, or cooking process. People connect with stories, and that emotional connection helps your content stand out in crowded feeds.
If you plan to share food photos regularly, maintaining a consistent editing style helps build your brand identity. Whether it’s warm, rustic tones or bright, modern lighting, keeping a signature look makes your feed more cohesive. When followers recognize your style, they’re more likely to engage and share your content.
Consistency in chicken food photography also shows professionalism. It tells your audience that you pay attention to detail and have a clear creative vision. You can achieve consistency by saving your favorite color and lighting settings as presets or using professional editing services like those offered by aitinsider to ensure your visuals always align with your brand.
Photography is more than just capturing a beautiful image-it’s about telling a story. In chicken food photography, storytelling helps you connect emotionally with your audience. Every dish has a story behind it: a recipe passed down from family, a cultural touch, or a creative twist you added yourself. Show that in your photos.
Think about the feeling you want to convey. A warm roast chicken surrounded by herbs might tell a story of home and comfort. Crispy fried chicken with a cold drink might speak to fun and indulgence. By adding small storytelling details-like crumbs, utensils, or even a hand reaching for the plate-you create a scene that feels alive and relatable.
Storytelling makes your audience crave the food and the moment. When people feel that emotional connection, your chicken food photography goes from being just a picture to a memorable experience.
Lighting isn’t just about visibility-it sets the mood of your shot. In chicken food photography, lighting can make the difference between a flat image and one that pops off the screen.
For a cozy and homey feel, try warm natural light from a window during the golden hour. It creates soft shadows that highlight textures beautifully. If you want a modern, clean vibe, use diffused white light to make your photo crisp and bright. Reflectors, such as white foam boards or aluminum foil, can help bounce light and soften shadows.
Avoid harsh direct light-it can make the chicken look dry. Soft lighting adds a gentle glow, enhancing the natural shine of the meat. Play with light angles; side lighting brings out texture, while backlighting highlights juiciness. Don’t be afraid to experiment until you find what makes your dish shine.
Even experienced photographers make mistakes. For beginners, avoiding a few common pitfalls can save a lot of frustration and improve your chicken food photography instantly.
One major mistake is poor lighting. Low light or overly bright settings can wash out the details. Another is a cluttered composition many props or background elements can distract from the chicken. Remember, simplicity is elegance.
Overediting is another big issue. While filters and effects can enhance your image, going too far makes food look fake. Your goal is to make the chicken look mouthwatering but real. Stick to natural adjustments like brightness, contrast, and white balance.
Also, avoid shooting from the wrong angles. Some dishes look better from above, while others shine from the side. Always take a few test shots from different perspectives before finalizing your setup.
As you continue learning chicken food photography, start developing your own visual style. This is what sets you apart from others. Maybe you prefer dark, moody tones, or perhaps you love bright, colorful compositions. Whatever your style, consistency helps your audience recognize your work instantly.
Creating a portfolio is also a great step. Start by photographing different chicken dishes-grilled, roasted, fried, or even soups and salads. Show variety in your shots but maintain your unique editing style. A strong portfolio can attract brands, restaurants, or magazines looking for talented food photographers.
If you want your portfolio images to look polished and professional, aitinsider offers expert image editing services that enhance quality while maintaining your artistic style.
Modern chicken food photography benefits greatly from technology. Smartphone cameras are becoming incredibly advanced, and with the right apps, you can achieve near-professional results. Apps like Lightroom, Snapseed, and VSCO offer excellent tools for editing and color correction.
For more advanced control, a DSLR or mirrorless camera gives you full command over aperture, shutter speed, and ISO. This helps you fine-tune your photos based on lighting and depth of field. Tripods are also a must-have; they eliminate camera shake and keep your composition consistent.
You can even use remote shutters or timers to prevent blur when pressing the capture button. And if you shoot in RAW format, you’ll have greater flexibility when editing later. The more you experiment with tools and settings, the better your results will be.
Once your images are ready, presentation is key. Whether you’re sharing on social media, a website, or a portfolio, make sure your visuals look cohesive and professional. Consistent fonts, colors, and layouts create a strong impression.
For website or blog publishing, optimize images for fast loading without losing quality. Platforms like WordPress allow easy compression tools or plugins that maintain visual integrity. Add captions and alt text for SEO keywords, such as ‘chicken food photography,’ to help your images appear in search results.
When sharing on Instagram or Pinterest, use relevant hashtags such as #chickenfoodphotography, #foodstyling, or #foodphotographer to increase visibility. Engage with your audience by replying to comments and sharing behind-the-scenes moments.
Chicken food photography is a blend of art, patience, and passion. With the right techniques-lighting, composition, storytelling, and editing-you can transform even the simplest dish into a visual masterpiece. Every photo you take helps you grow your creative eye, and with time, your skills will naturally evolve.
Whether you’re doing it as a hobby or for professional growth, the journey is rewarding. If you ever feel stuck or need your images to shine, aitinsider is here to help. We specialize in professional image editing services tailored for food photographers, restaurants, and online businesses. From background cleanup to detailed color correction, we help your food images stand out beautifully.
So, grab your camera, prepare your favorite chicken dish, and start shooting. The world is ready to see your story, one delicious photo at a time.