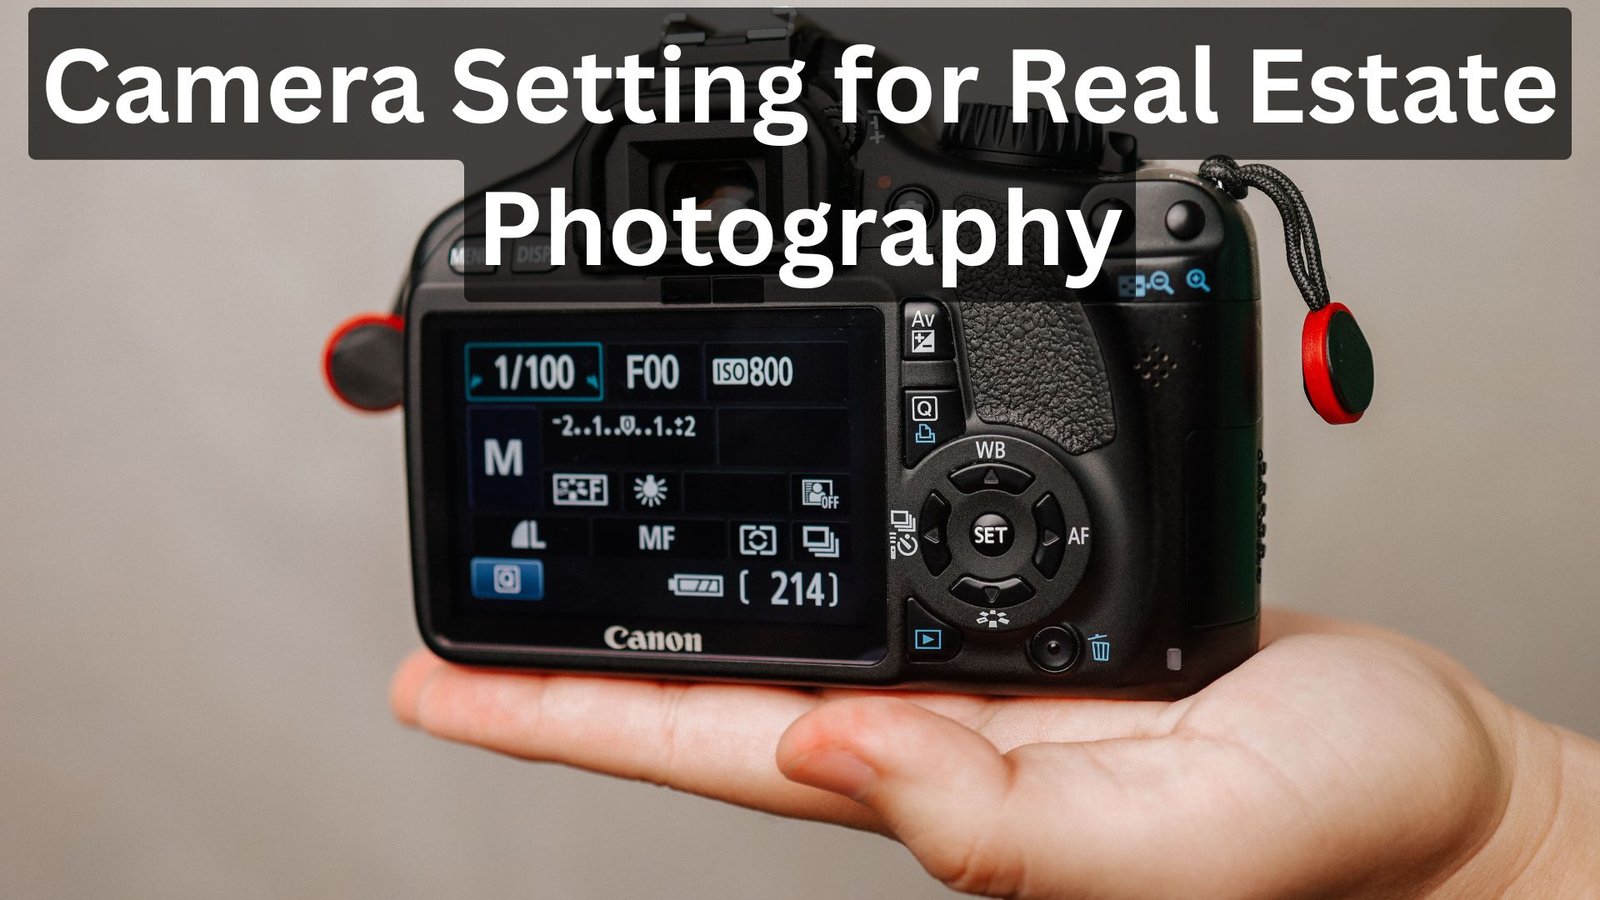
When it comes to real estate photography, getting the right camera setting is just as important as the gear you use. The wrong setting can make a room look dark, distorted, or uninviting, while the right setting can transform even a small space into something that looks bright, spacious, and appealing. If you want to make sure your property photos grab attention, you need to understand the best camera settings for real estate photography both indoors and outdoors.
In this guide, we’ll walk through how to set up your camera step by step. We’ll explore why each setting matters, how it impacts your photos, and how you can adjust it depending on whether you’re shooting interiors or exteriors. By the end, you’ll have a complete understanding of the settings that professional photographers use to make homes look their best.
Real estate photography is all about selling a space. Buyers browsing listings online often make quick decisions based on the quality of photos. A well-shot image can make a property stand out, while poorly lit or distorted images can drive interest away.
The camera setting for real estate photography affects light, sharpness, color, and overall mood. Even the most expensive camera will not deliver great results if the settings are wrong. For example, shooting interiors with a high ISO will introduce noise, while using the wrong aperture can leave parts of a room blurry. Outdoors, settings can make skies look washed out or too dark if not balanced correctly.
Getting this right is about knowing the basics and then adapting them to the space you’re photographing.
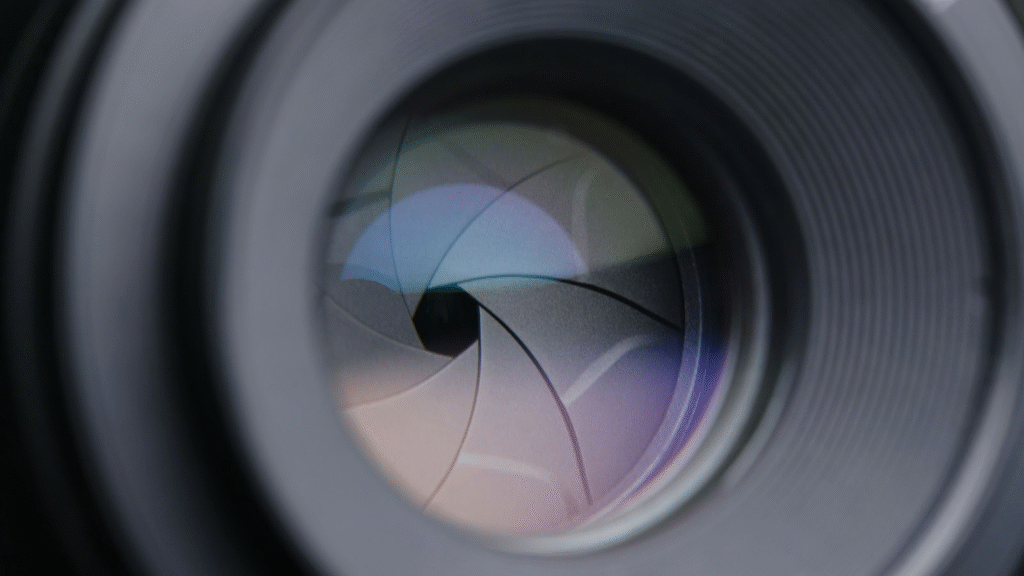
Aperture is one of the most important settings in real estate photography. It controls how much light enters the lens and also determines the depth of field. For interiors, you want as much of the room in focus as possible.
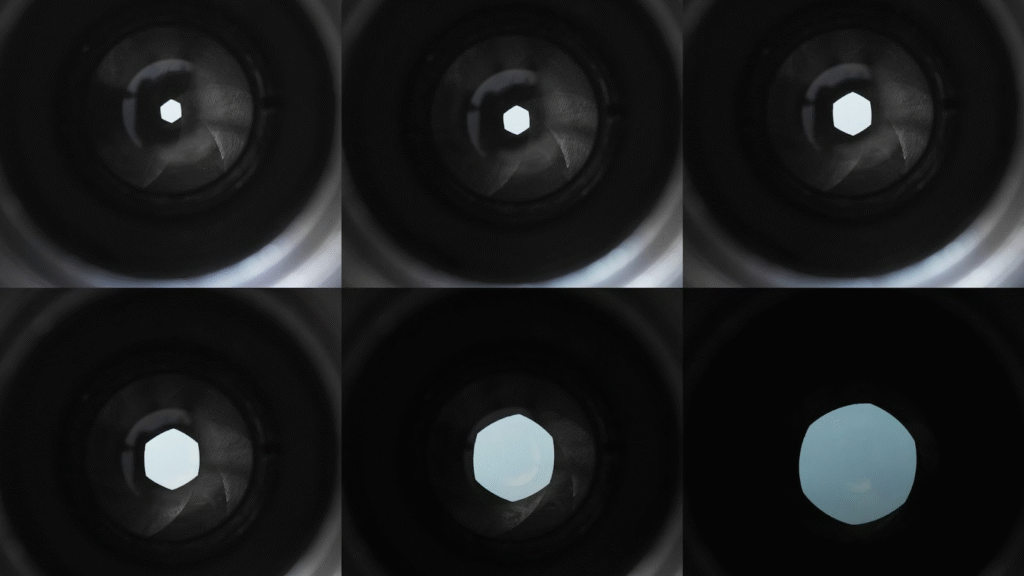
The ideal aperture for most situations is between f/8 and f/11. At this range, your images will be sharp from corner to corner. Shooting at a lower f-stop like f/2.8 might look artistic, but it will blur parts of the room. That’s not useful for real estate photography where clarity is key.
For exteriors, the same rule applies. Sticking to f/8 or f/11 will keep the whole building sharp. If you’re shooting at dusk or low light, you can widen the aperture slightly to f/5.6, but avoid going too wide as it reduces sharpness across the frame.
ISO controls the sensitivity of your camera’s sensor to light. High ISO allows you to shoot in darker conditions but introduces noise, which can ruin the clean, professional look buyers expect.
The best camera setting for real estate photography is to keep ISO as low as possible, ideally between ISO 100 and ISO 400. Since you’ll usually be working with a tripod, there’s no need to push ISO higher. Low ISO ensures crisp, clear images without grain.
Outdoors, you can stick to ISO 100 since natural light is usually strong enough. Indoors, when dealing with less light, ISO 200 or 400 works best. If you find yourself needing more light, it’s better to lower your shutter speed rather than raise ISO too much.
Shutter speed controls how long the camera’s sensor is exposed to light. In real estate photography, using a tripod gives you the freedom to shoot at slower shutter speeds without worrying about motion blur.
Indoors, your shutter speed might range from 1/4 second to 1/60 second depending on the light available. Since no one is moving inside a property, long exposures are safe. The slower shutter speeds will help brighten the room without needing to raise ISO.
Outdoors, you’ll usually shoot faster shutter speeds, like 1/125 second or faster, since there’s plenty of light. When shooting at dusk, you may need slower shutter speeds to capture the softer light.
White balance affects how colors appear in your images. Interiors often have mixed lighting sources, such as daylight from windows and warm light from lamps. If your white balance isn’t set correctly, walls might look too yellow or too blue.
For interiors, it’s best to set white balance manually. Daylight mode works well if most light comes from windows. Tungsten or custom white balance is better for warm artificial lights. Shooting in RAW is highly recommended because you can adjust white balance later during editing.
For exteriors, daylight white balance is the best starting point. It captures natural colors accurately, whether you’re shooting in bright sun or cloudy conditions.
Real estate photography requires everything in the scene to be sharp. For this reason, it’s best to use manual focus or single-point autofocus. Autofocus can sometimes lock onto the wrong area, such as furniture instead of the entire room.
Manually focusing while zooming in on live view ensures every detail is sharp from front to back. For exteriors, autofocus works fine, but always double-check sharpness, especially at the corners of the frame.
HDR (High Dynamic Range) is essential for real estate photography, especially interiors. Rooms often have windows that let in bright light, which can cause overexposure while the rest of the room looks dark. HDR solves this by blending multiple exposures into one balanced photo.
The best way to shoot HDR is to bracket three to five exposures. For example, you might shoot one at normal exposure, one underexposed for the windows, and one overexposed for the darker areas. Later, you merge these in editing to create a final photo that shows both the interior and the exterior view clearly.
For exteriors, HDR is also useful when shooting homes against bright skies. It helps balance the exposure between the sky and the property.
While the core settings of aperture, ISO, and shutter speed remain similar, there are a few differences between shooting interiors and exteriors.
Inside, the main challenge is limited light and mixed lighting sources. This means slower shutter speeds, careful ISO management, and often the need for HDR. Tripods are essential indoors.
Outside, you usually deal with too much light rather than too little. The challenge is balancing the sky with the property, which HDR helps solve. Faster shutter speeds are more common outdoors, and a polarizing filter can also help reduce glare from windows.
Once you have mastered the basics of aperture, ISO, shutter speed, and white balance, you can start experimenting with advanced settings to enhance your photos.
Bracketing allows you to capture multiple exposures of the same scene. This is especially useful for interiors with bright windows and darker corners. Typically, photographers shoot three to five brackets, adjusting the exposure each time. Later, these images are merged to create a balanced photo where no area is overexposed or underexposed.
Bracketing ensures that your camera setting for real estate photography accommodates high-contrast situations. It also saves time in post-processing since your RAW images will retain detail across all exposures.
In some large rooms or architectural spaces, even with a narrow aperture like f/11, certain elements may appear slightly out of focus. Focus stacking involves taking multiple shots with different focus points and merging them in editing. This technique ensures everything from the foreground to the background is razor-sharp.
Focus stacking is especially useful when shooting exteriors with intricate architectural details or interiors with multiple objects at varying distances.
Many cameras allow you to adjust picture profiles, which control contrast, sharpness, and color tone. For real estate, a neutral profile is ideal because it preserves details and colors for editing. Avoid overly saturated or high-contrast profiles, as they can make interiors look unrealistic.
Even experienced photographers can make mistakes that affect image quality. Here are some of the most common errors and how to avoid them:
When shooting interiors, windows can appear completely white if exposure is too high. The solution is to use HDR bracketing or manually adjust shutter speed and aperture to balance the light.
Mixed lighting can cause rooms to appear too yellow or too blue. Always check your white balance and consider shooting in RAW to correct it during editing.
Ultra-wide lenses can exaggerate space, making rooms look unnatural. While it’s tempting to fit everything into a single frame, using a slightly narrower angle often produces more realistic and appealing images.
Handholding your camera may result in slight blurs, especially in low-light interiors. Using a tripod ensures sharp images and allows for longer exposures without raising ISO unnecessarily.
Even with perfect settings, poor composition can ruin a photo. Always check for straight lines, centered elements, and clutter-free scenes. Small adjustments in framing can make a big difference in real estate photography.
A consistent workflow helps maintain quality and speed, which is essential if you’re photographing multiple properties. Here’s an example of an effective workflow:
Using this workflow ensures your camera setting for real estate photography works in harmony with technique and post-processing, producing consistent professional results.
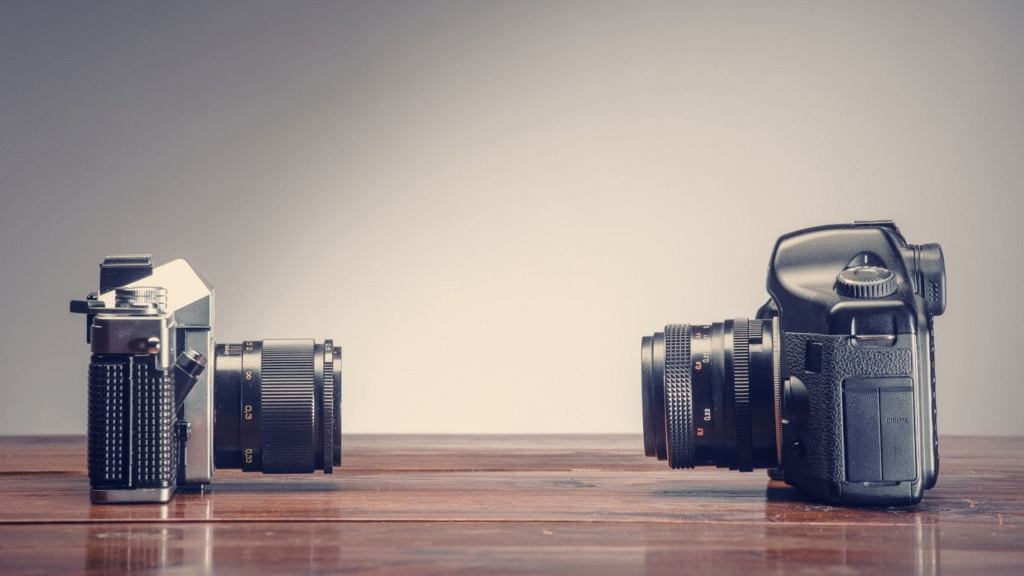
Your camera settings alone won’t produce professional images. Lenses, tripods, and lighting also matter. Wide-angle lenses are essential for interiors, while standard or telephoto lenses help with details and exteriors.
Tripods stabilize your camera for slow shutter speeds, reducing noise and blur. Remote triggers or timers prevent movement when pressing the shutter button.
Lighting can be natural, artificial, or a mix. Knowing how your camera settings interact with light helps you make decisions quickly. For example, in dim interiors, slower shutter speeds and low ISO work best with tripod support.
For those just starting, here are practical tips using the correct camera setting for real estate photography:
These small adjustments can dramatically improve your real estate photos and make properties more appealing to buyers.
Lighting is as important as your camera settings. Even the best camera setup cannot compensate for poor light. For interiors, natural light is your friend. Open curtains and blinds to let in as much light as possible. The soft morning or late afternoon light often works best, as it creates warmth without harsh shadows.
If the property has limited natural light, supplement it with artificial lighting. Use LED panels or softbox lights to evenly illuminate the space. Avoid mixing different color temperatures, as this can make white balance correction harder. When using artificial light, keep your ISO low, aperture moderate, and adjust shutter speed for proper exposure.
Exteriors have different challenges. Shooting during golden hours—shortly after sunrise or before sunset—produces warm, soft light that enhances textures and colors. Avoid shooting under midday sun as it can create harsh shadows and washed-out skies. Cloudy days can be ideal since the light is even and diffused.
Seasons affect lighting and the feel of a property. Winter sunlight is lower, creating longer shadows inside and outside. You may need slower shutter speeds indoors or supplemental lighting to maintain proper exposure. Summer light can be harsh, requiring careful adjustment of shutter speed and exposure compensation.
In fall, colorful trees can add visual interest to exterior shots. Adjust white balance to maintain the natural tones. During spring, bright greens and blooms can make a property look vibrant. Plan your shooting times based on seasonal lighting to get consistent results.
Workflow Optimization for Busy Photographers
Professional real estate photographers often have tight schedules. Optimizing your workflow is critical to maintaining quality while photographing multiple properties.
Start with a checklist. Verify camera settings—ISO, aperture, shutter speed, white balance—before each shoot. Position your tripod carefully and take test shots. Use HDR bracketing when necessary. After shooting, back up your RAW files immediately and organize them by property.
This workflow ensures consistency and reduces errors. By combining precise camera settings for real estate photography with a structured process, you can handle more properties in a day without compromising image quality.
Even experienced photographers can make mistakes. Overexposing windows, underexposing rooms, or using extreme wide angles can all harm your final images. Avoid relying solely on automatic settings, as cameras may misjudge lighting in mixed-light environments.
Ignoring composition is another common error. Straight lines, proper alignment, and removing distractions are as important as camera settings. Ensure furniture is arranged neatly, surfaces are clean, and clutter is removed. This helps your photos look professional and inviting.
While settings are crucial, the right gear supports your work. Wide-angle lenses are ideal for interiors, while standard lenses handle exterior shots. Tripods are essential for indoor shoots, enabling low ISO and slow shutter speeds for sharp images.
Filters can also help. Polarizing filters reduce reflections on windows and water, and neutral density filters can help balance bright outdoor light with interior shadows. Combined with correct camera settings, these tools elevate the quality of your photos.

Even with perfect camera settings, editing completes the process. Real estate photos often require adjustments such as color correction, line straightening, and HDR merging. Editing ensures interiors are bright, exteriors are clear, and images look consistent across a property listing.
At aitinsider, we specialize in professional image editing for real estate photography. Our services include color grading, HDR blending, perspective correction, and object removal. By outsourcing editing, you can focus on shooting while we enhance your images to market-ready quality.
By mastering the camera setting for real estate photography, you control light, clarity, and composition. This makes your images more appealing to buyers and helps you stand out in a competitive market.
Choosing the right camera settings for interiors and exteriors is essential for professional real estate photography. Balancing aperture, shutter speed, ISO, and white balance, along with advanced techniques like HDR and focus stacking, ensures every property looks its best.
Pairing these skills with careful composition, proper gear, and post-processing guarantees high-quality, market-ready photos. Whether you’re shooting cozy apartments, luxury homes, or commercial properties, these settings will help you create images that sell.
For real estate photographers looking to save time and achieve consistent quality, aitinsider provides expert image editing services. From color correction to HDR merging and perspective adjustments, we help you deliver polished photos that impress clients and attract buyers.
Mastering your camera setting for real estate photography and combining it with professional editing ensures every listing stands out, increasing inquiries and helping properties sell faster.