
Have you ever dreamed of swimming alongside a gentle giant, hearing its deep calls echo through the ocean, and capturing that breathtaking moment on camera? That’s the heart of underwater whale photography – a once-in-a-lifetime experience where art, adventure, and respect for nature all come together.
Photographing whales underwater isn’t just about having the right camera. It’s about understanding light, movement, and patience. Whales are unpredictable. The water adds challenges of clarity, color, and buoyancy. Yet when everything aligns – the calm sea, the curious whale, the right light – you get images that feel alive, filled with emotion and scale.
In this ultimate guide, we’ll explore every part of underwater whale photography, from essential gear to camera settings, approach techniques, and editing tips that bring those magical shots to life. Whether you’re a beginner or already comfortable underwater, you’ll find practical guidance to make your next dive more rewarding.
The Magic of Underwater Whale Photography
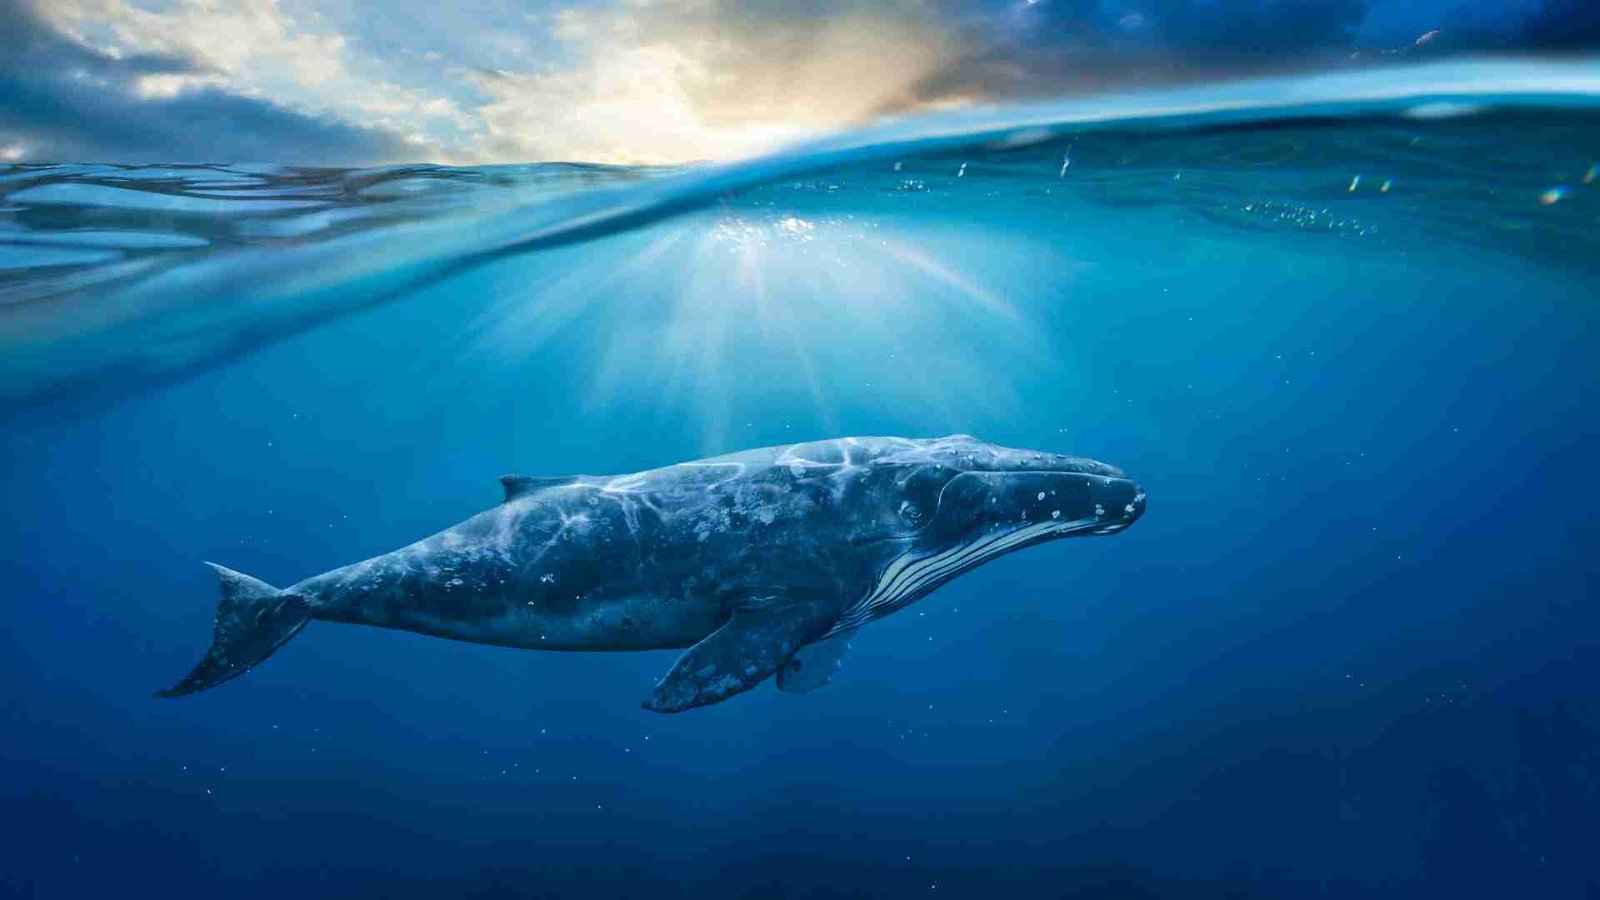
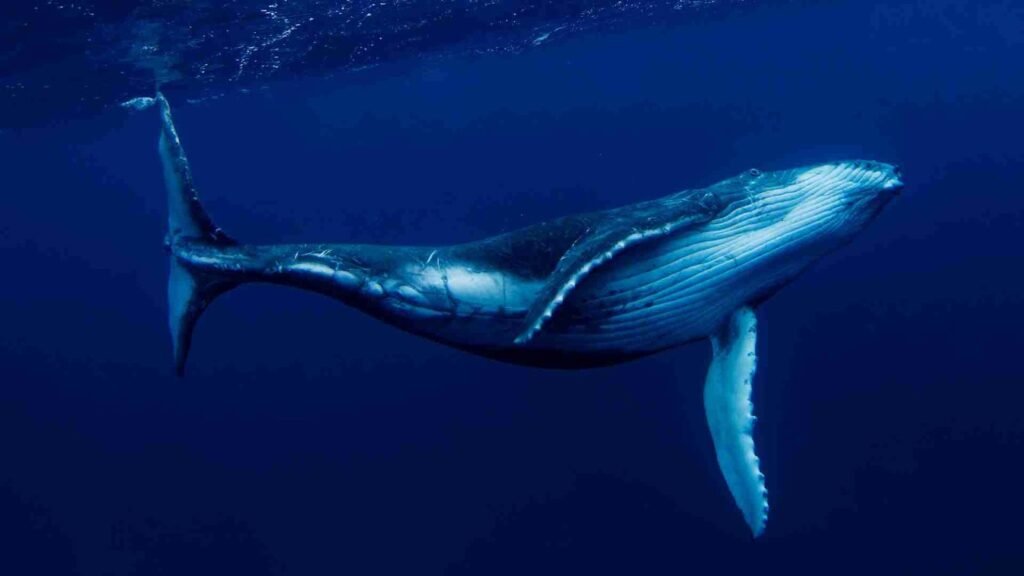
There’s something truly humbling about sharing the water with a creature the size of a school bus. Whales move with a grace that’s hard to describe until you see it yourself. When you take up underwater whale photography, you’re not just documenting an animal – you’re capturing emotion, scale, and connection.
Many photographers describe the experience as spiritual. The ocean is quiet except for your breath. Then, suddenly, a whale glides into view – curious but calm. The first few seconds are everything. Your heart races, bubbles rise, the sunlight filters through blue water, and you lift your camera instinctively.
That’s what makes underwater whale photography so addictive. It challenges your technical skills and touches your soul. But it also demands respect, patience, and planning. Every dive, every encounter is different. You can’t rush it. The best photographers learn to move with the ocean, not against it.
Preparation Before the Dive
Before jumping in, preparation is key. Underwater whale photography isn’t something you improvise. You need to plan your location, equipment, safety, and timing.
Start by choosing a destination known for responsible whale encounters. Tonga, Norway, the Dominican Republic, and French Polynesia are famous for this. Each offers clear water and regulated interaction rules designed to protect both whales and photographers. Always research local regulations – some areas allow snorkelers only, while others permit scuba.
Next, think about your comfort in open water. Photographing whales often means long hours at sea, strong currents, and quick entries. The more confident you are as a diver or snorkeler, the more relaxed you’ll be when the perfect moment arrives. Buoyancy control and breath-hold practice are essential. Remember: your calmness helps keep the whale calm, too.
Finally, timing matters. Whales migrate seasonally, and the best time for underwater encounters varies by region. Plan your trip around peak seasons when visibility is good, the ocean is calm, and whales are most active.
Essential Gear for Underwater Whale Photography
Let’s talk gear – the backbone of successful underwater whale photography. While technology isn’t everything, using the right setup makes it far easier to capture stunning, clear images.
A reliable camera with fast autofocus is a must. Mirrorless and DSLR cameras perform beautifully underwater, especially when paired with wide-angle lenses. Wide-angle is crucial because whales are massive. You’ll often be quite close – sometimes within just a few meters – and you’ll want to fit the whole animal or part of its body into your frame without distortion.
Your camera housing is just as important. It needs to be completely watertight, easy to control, and rated for the depth you’ll dive. Before every trip, inspect the O-rings and seals carefully. Even a single hair can cause a leak. Practice operating your camera while wearing gloves or handling it underwater so you don’t fumble when the moment arrives.
Lighting is another big factor. Many incredible whale images use only natural light – especially when shot near the surface, where sunlight filters beautifully through the water. But if visibility is low or you want to highlight texture, strobes or underwater lights can help. Keep in mind that extra gear means extra drag, so find the right balance between light quality and maneuverability.
Don’t forget the smaller essentials: memory cards, extra batteries, anti-fog wipes, and lens cloths. Always shoot in RAW to retain maximum color detail for post-processing. The ocean swallows reds and yellows fast – RAW files give you the flexibility to restore natural tones later.
Camera Settings That Work Best Underwater
Mastering your camera settings underwater takes practice, but once you understand how light behaves below the surface, underwater whale photography becomes much easier.
Because light fades quickly, your exposure triangle – aperture, shutter speed, and ISO – works differently underwater. Start with a wide aperture like f/5.6 or f/8. It gives enough depth of field to keep most of the whale in focus while letting in plenty of light. Shutter speed is critical, especially when whales move fast or currents push you around. Go for 1/500 s or faster to freeze motion without blur.
ISO will depend on depth and available light. In bright tropical waters, ISO 400–800 works well. In deeper or cloudier conditions, you might need to go higher – but try to keep noise manageable. Always test before diving so you know how your camera handles different ISO levels.
Set your focus mode to continuous tracking. Whales rarely stay still, and neither do you. Continuous autofocus helps your camera keep up with both movements. Burst mode (continuous shooting) is another must – a single second can make or break your shot, and multiple frames increase your odds.
Color balance is another underwater challenge. The deeper you go, the bluer and greener your shots will become. Set a custom white balance based on depth and lighting, or correct it later in post-production. That’s another reason why shooting RAW is so important – it gives you room to fine-tune tones and restore those beautiful ocean hues.
Finally, remember that every location and whale behaves differently. Don’t get locked into one set of numbers. Experiment, review your shots, and adjust as needed. Flexibility is one of your biggest assets underwater.
The Art of Approach
When it comes to underwater whale photography, how you approach the animal matters even more than your camera settings. Whales are intelligent, social beings that can sense your body language and energy. If you rush or splash, they’ll disappear. If you move calmly and respectfully, they may come closer out of curiosity.
Start slow. Enter the water quietly and take a few seconds to orient yourself. Don’t swim straight toward the whale – instead, move parallel or at an angle, keeping your body relaxed. Let the whale dictate the distance. Some will glide right up to you; others will keep their space. The goal isn’t to chase but to observe.
Eye contact is magical. When a whale looks at you, it feels like time stops. That moment often produces the most powerful images. Be ready – compose your shot quickly, keep steady, and let the animal fill your frame naturally.
Also, think about your positioning relative to light. The best shots often happen with the sun behind you, illuminating the whale’s features. If possible, stay slightly below the whale – shooting upward makes the subject appear more majestic and highlights the rays of sunlight streaming through the water.
Patience is everything. You might spend hours waiting for one perfect encounter. That’s part of the beauty of underwater whale photography – it’s unpredictable, challenging, and deeply rewarding.
Composing the Perfect Shot
Once you’ve built trust and settled into the moment, composition becomes the next big focus in underwater whale photography. Unlike shooting on land, you can’t rely on tripods, controlled lighting, or stationary subjects. Everything is moving – you, the whale, the water, even the light itself. That’s what makes every shot unique.
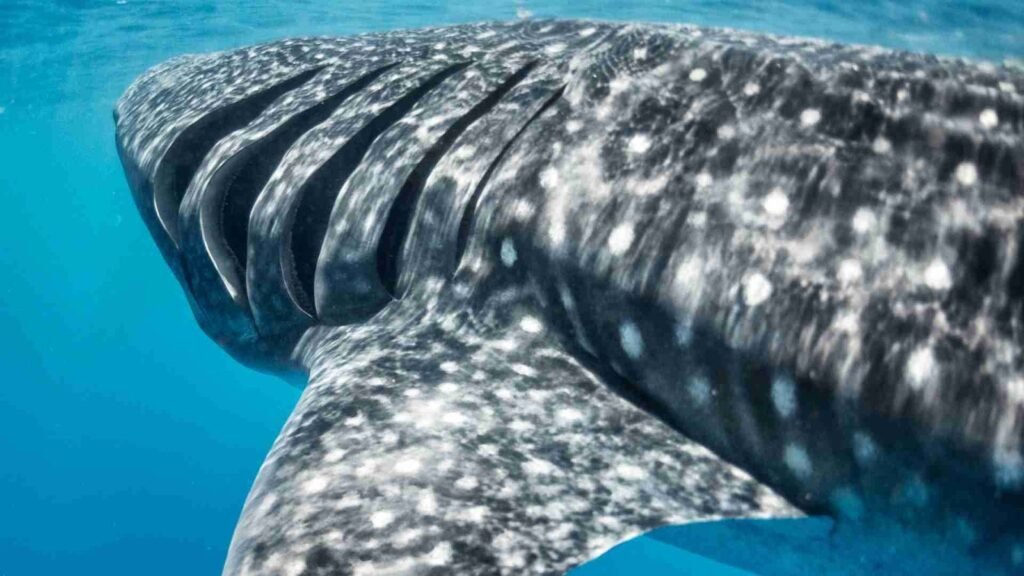
When composing underwater, think in layers. The ocean offers incredible depth and dimension. Use the water column, sunlight, bubbles, and the whale’s movement to guide the viewer’s eye through the frame. Try to include a bit of the surface or ocean floor for scale – this helps emphasize how enormous your subject truly is.
Framing is another powerful storytelling tool. If a whale is swimming toward you, leave extra space in front of it rather than behind. This gives the image a sense of motion and direction. You can also experiment with shooting slightly upward, using the sun’s rays as natural leading lines. The combination of light and motion underwater often adds a magical, cinematic feel to your work.
And don’t underestimate the power of negative space. The vast blue of the ocean can add emotion and mystery. Sometimes, less really is more. A single whale framed against endless blue water can say more than a crowded shot full of details.
Working with Natural Light
Lighting in underwater whale photography can be your greatest ally – or your biggest challenge. Water absorbs light quickly, especially reds, oranges, and yellows. That’s why underwater images often look cooler or more monochromatic straight out of the camera. Learning how to read and use natural light is key to capturing vivid, dynamic shots.
The best light typically comes from above, so staying close to the surface gives you richer tones and better clarity. Morning and late afternoon are ideal times – the sunlight is softer and creates warmer hues. Midday light can be harsh, but if the water is clear and the whale is near the surface, it can still produce stunning beams of light that make your images glow.
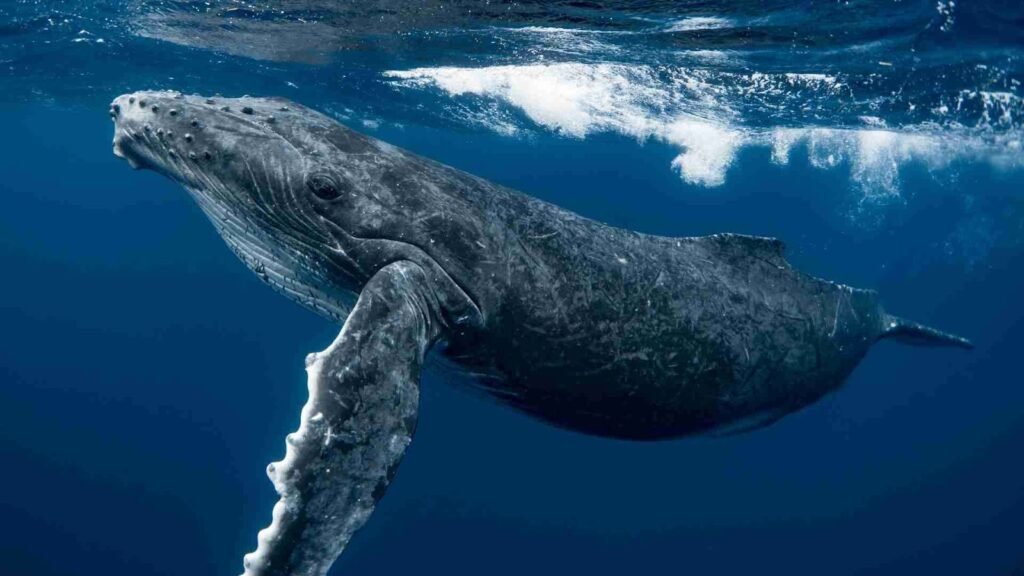
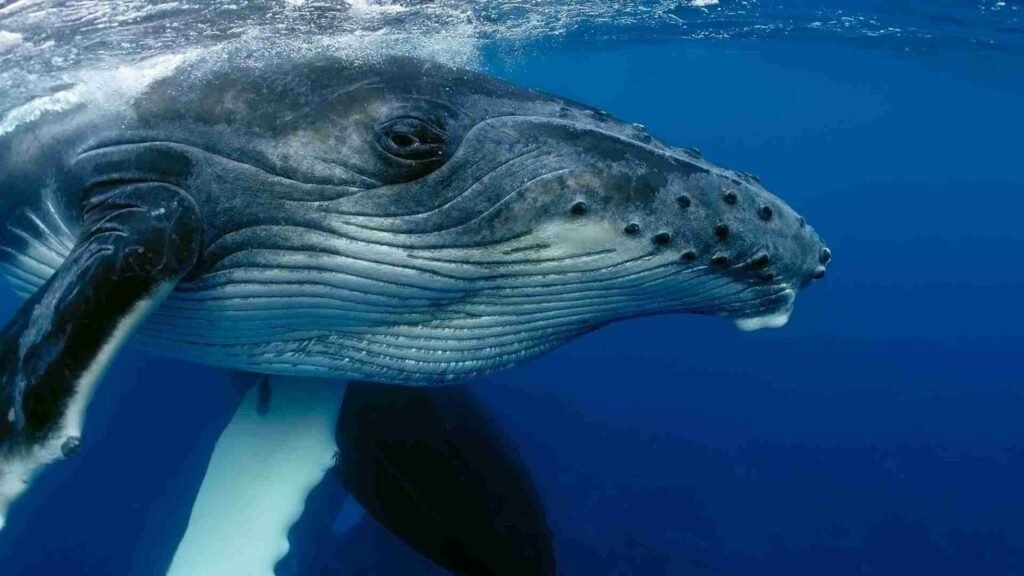
When the sun is high, use it to your advantage. Position yourself so the light hits the whale’s face or back as it swims. The highlights will emphasize texture – especially the scars, barnacles, or patterns on its skin. If the light is behind the whale, try shooting silhouettes. A whale’s shape is iconic and instantly recognizable, and silhouette shots can be incredibly dramatic when balanced properly.
If the water is murky or visibility is poor, stay patient. Sometimes, haze or particles in the water can actually enhance the atmosphere of a shot, adding a sense of mystery. The key is adapting to what nature gives you.
Behavior and Timing
Every whale species behaves differently, and understanding their patterns helps you anticipate shots before they happen. Underwater whale photography isn’t about luck alone – it’s about observation.
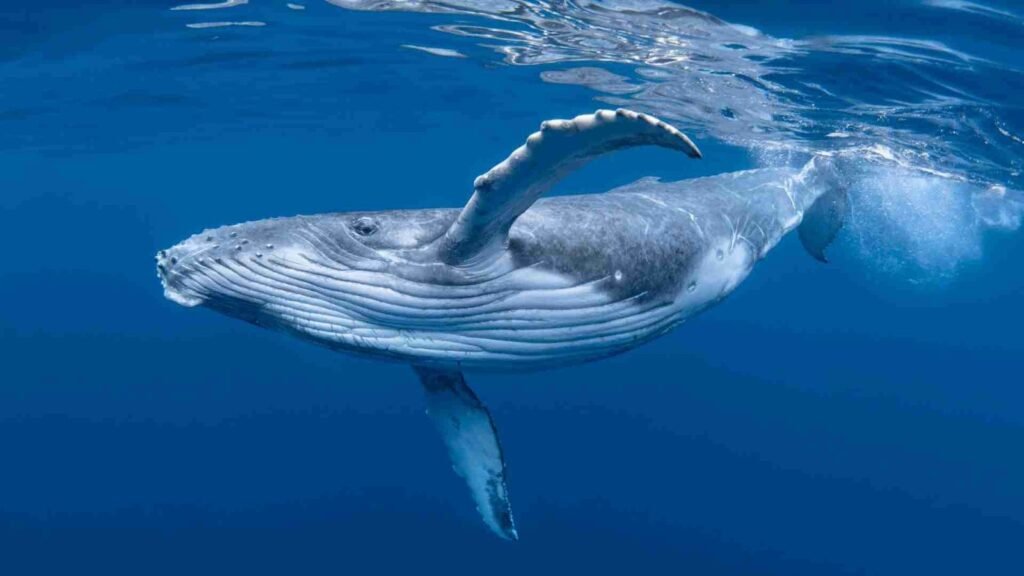
Humpback whales, for example, are known for their curiosity. They often approach divers slowly, circle around, and even mimic movements. Minke whales are faster and more elusive, requiring quick reflexes. Sperm whales dive deep, so encounters are often brief but intense. By learning about the species you’re photographing, you’ll recognize signals that indicate when a whale might surface, roll, or turn toward you.
Pay attention to body language. A relaxed whale will move slowly and smoothly, often rolling or showing its pectoral fins. A nervous or uninterested one will move away quickly or dive deeper. Respect those cues – forcing an encounter never ends well. The best images happen when both you and the whale feel at ease.
Patience is the hidden ingredient in every great underwater whale photograph. You might spend hours floating in open water for a 30-second moment. But when it happens, it’s worth every second.
Post-Processing Your Images
Once you’re back on land, the creative journey continues. Post-processing is a big part of underwater whale photography, because no matter how skilled you are, the ocean always affects colors and contrast. Editing helps restore the natural beauty of the scene without losing authenticity.
Start by correcting color balance. Because red light disappears first underwater, your images may look overly blue or green. Adjust the white balance to bring back subtle warmth and realism. Be gentle – too much correction can make the image look unnatural.
Next, increase contrast and clarity to make details stand out, especially on the whale’s skin or around its eye. A bit of dehazing can help if the water isn’t perfectly clear. Always check exposure on highlights – you don’t want the bright areas on the whale’s body to lose texture.
If you shoot in RAW, you’ll have far more flexibility during editing. This is where you can really make your photos shine – from enhancing sunlight rays to deepening blues for mood. Don’t be afraid to experiment, but always aim to preserve the natural feel of the underwater world.
And if editing feels daunting, or you want to give your photos a professional touch, that’s exactly what we specialize in at aitinsider. Our image editing services help photographers enhance underwater shots while keeping colors realistic and details crisp. Whether you’re preparing for publication, portfolio display, or social media, professional retouching can take your work to the next level.
Conservation and Ethics
Behind every stunning whale image is a responsibility. Underwater whale photography should always promote respect, conservation, and awareness. These are living beings, not props for our cameras. Treat every encounter as a privilege, not a right.
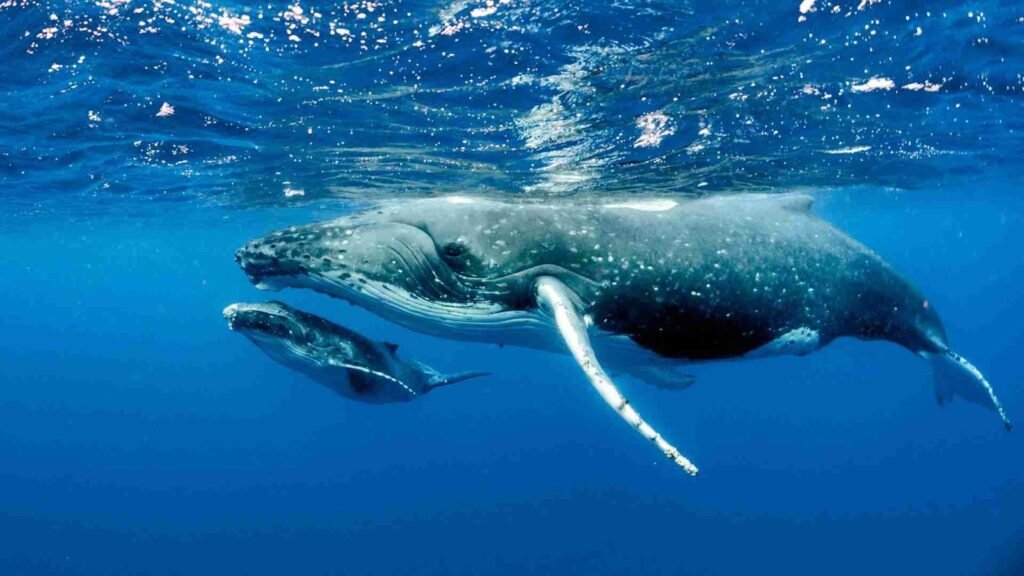
Always follow local regulations. Many whale interaction programs are designed to protect animals from stress and disturbance. Keep a safe distance, limit your dive time, and never surround or block the whale’s path. If a mother and calf are present, extra caution is required – calves are vulnerable, and mothers are protective.
The more photographers show whales peacefully and beautifully, the more people connect emotionally with them. And connection leads to conservation. Your photos can inspire others to care about the ocean, to reduce plastic waste, to support marine sanctuaries, and to advocate for ethical wildlife tourism.
When done respectfully, underwater whale photography becomes more than art – it becomes a voice for the ocean.
Common Mistakes to Avoid
Even experienced photographers make mistakes underwater. The most common one is rushing. Many divers panic when they see a whale and start snapping without checking settings or composition. Take a breath, slow down, and stay calm – that extra moment can make all the difference.
Another mistake is over-editing. Bright, artificial colors might grab attention online, but they take away from the authenticity of the scene. The ocean’s natural tones are already beautiful – you just need to bring them to life gently.
Also, avoid getting too close or chasing whales. It’s tempting, but it’s never worth stressing the animal. Patience and respect always pay off with more natural, powerful images.
Final Thoughts
Underwater whale photography is one of the most breathtaking forms of marine photography. It’s equal parts technical skill, patience, and emotional experience. Every dive teaches you something new – about light, composition, behavior, and even yourself.
The ocean is unpredictable. You can’t plan everything, and that’s what makes each image unique. Some days you’ll return with empty memory cards but a full heart. Other days, you’ll capture that perfect moment – sunlight catching the curve of a whale’s fin, a mother and calf gliding past, or a single eye locking with yours.
If you love the ocean and storytelling through images, underwater whale photography is a journey worth taking. It challenges you, humbles you, and rewards you with memories few people ever experience.
And when you’re ready to perfect those photos – to enhance color, correct lighting, or refine every detail – aitinsider.com is here to help. Our professional image editing service specializes in bringing underwater shots to life while keeping their natural charm intact. Because great photography deserves great finishing touches.
So next time you dive beneath the waves, remember – stay calm, stay curious, and keep your lens ready. The ocean has stories to tell, and with the right approach, your camera can capture them beautifully.