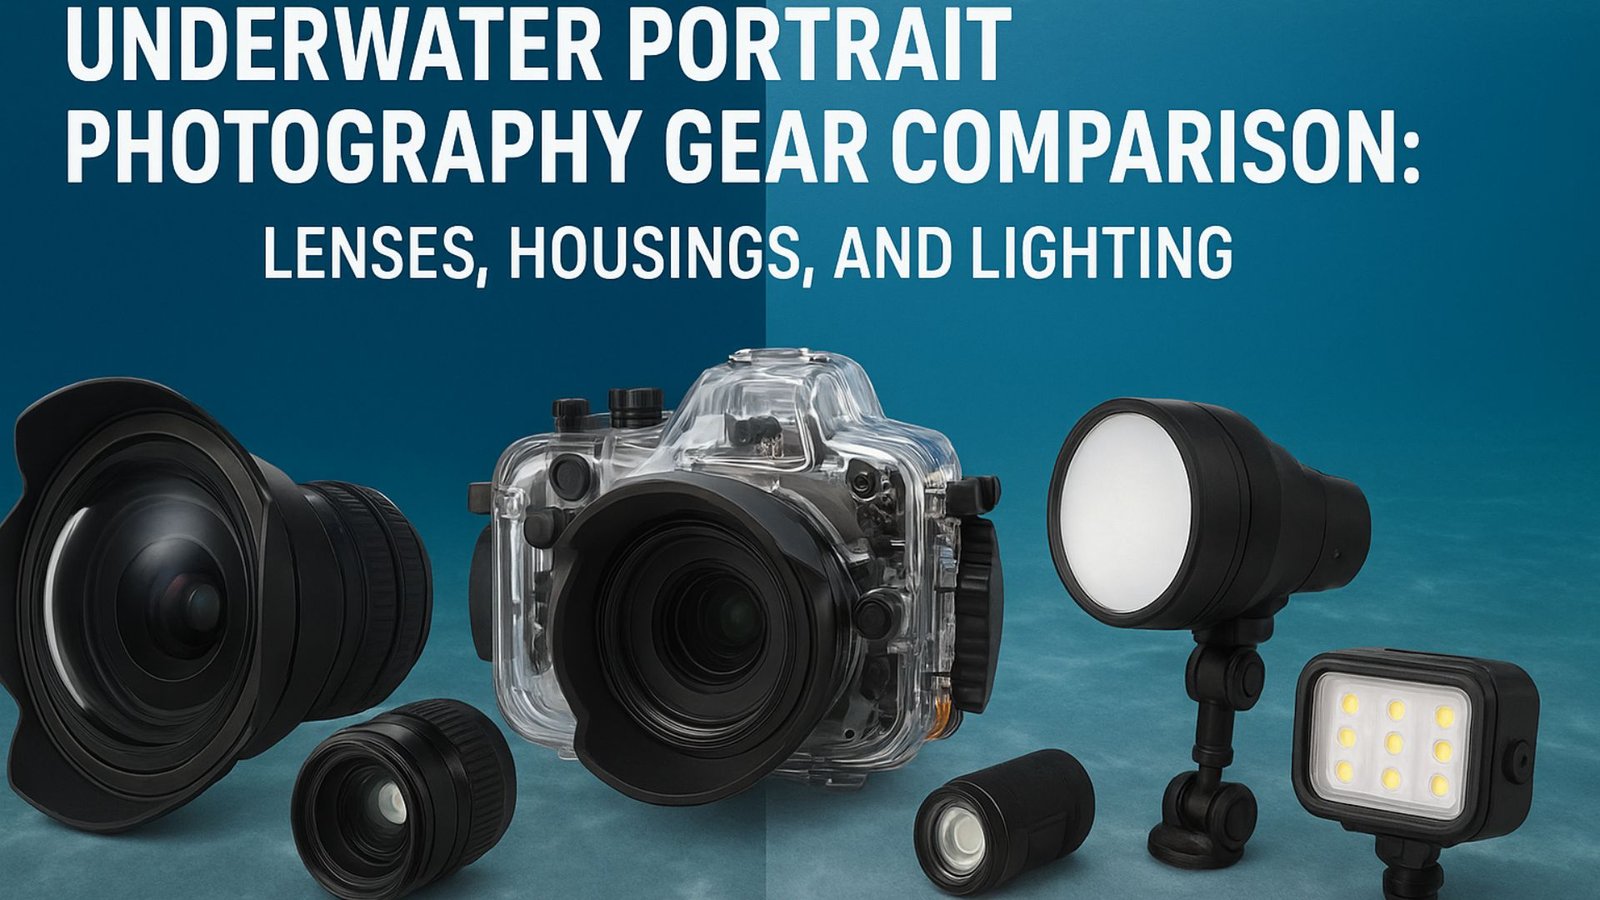
Underwater portrait photography is one of the most creative and visually stunning niches in modern photography. The mix of water, light, and human expression creates images that look otherworldly. But to capture portraits underwater, you need the right gear and the right techniques. Unlike studio or outdoor sessions, underwater shoots have unique challenges, from distortion and lighting to camera safety. This guide compares lenses, housings, and lighting options for underwater portrait photography, while also touching on posing, camera settings, and how you can build your skills through underwater portrait photography courses.
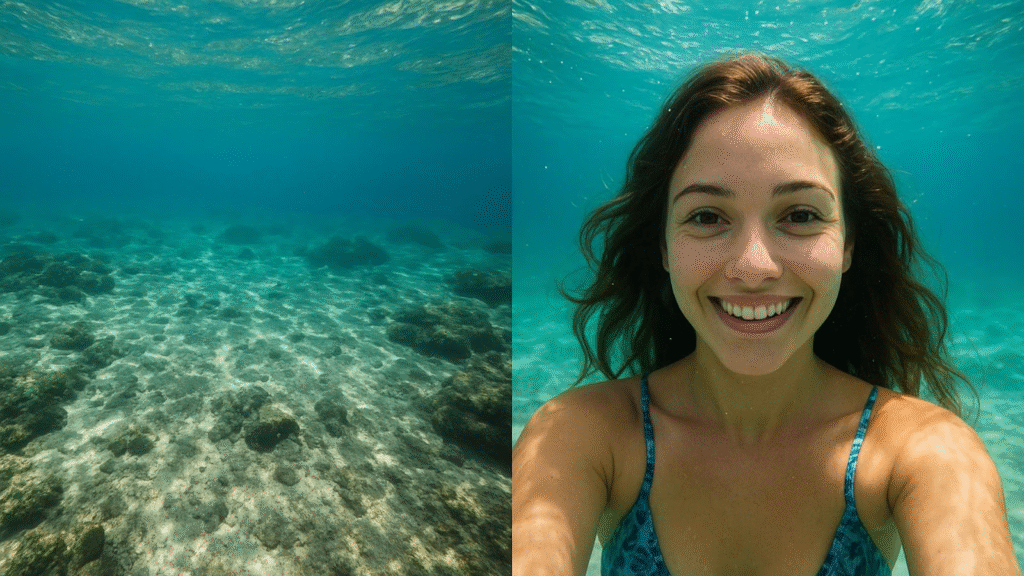
Shooting portraits underwater is different from any other style. The weightlessness of the subject, the way clothing floats, and the shimmer of light breaking through water all create textures that cannot be reproduced on land. This uniqueness has made underwater portrait photography popular for fashion, maternity, engagement, and even fine art projects.
However, these results are only possible with gear designed for underwater use. Regular lenses, housings, or lights will not hold up in this environment. So, if you are considering starting underwater portrait photography, comparing equipment before making a purchase decision is essential.
Lenses play a key role in how your portraits will turn out. Choosing the right lens depends on your shooting goals and the type of underwater portraits you want to create.
Wide-angle lenses are often favored for underwater portrait photography because they allow you to capture more of the background while keeping the subject sharp. They minimize distortion and let you work closer to your subject, which reduces the amount of water between the lens and the subject. Less water means clearer images.
Prime lenses are another strong option. A 35mm or 50mm prime lens works beautifully underwater for portraits. These lenses are sharp, fast, and let in plenty of light, which is critical since underwater environments are often dimmer than land-based studios.
Macro lenses are less common in underwater portrait photography, but can be used for creative close-up shots. For example, you can highlight facial features, jewelry, or accessories while still keeping the underwater atmosphere.
When comparing lenses, always consider how they interact with your underwater housing. Some housings only fit certain lens sizes, so double-check compatibility before investing.
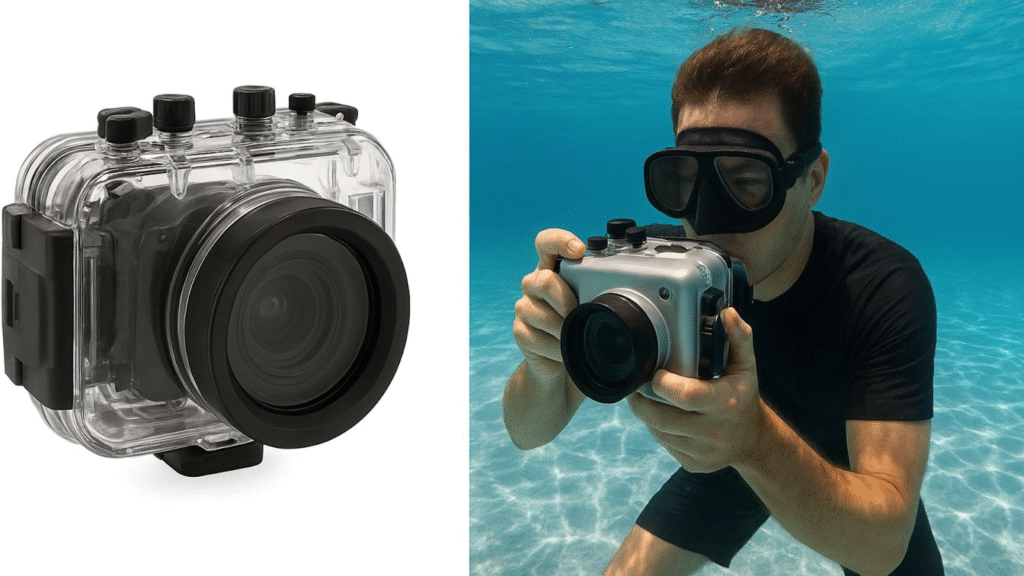
A housing is your camera’s lifeline underwater. Without a strong, reliable housing, your gear could be damaged permanently. For underwater portrait photography, housings come in several types.
Hard housings are made from materials like polycarbonate or aluminum. These are durable, strong, and provide the best protection for your camera. They are bulkier but necessary for professional work. Many hard housings are designed specifically for DSLRs or mirrorless systems, with custom buttons that allow you to control every camera setting while submerged.
Soft housings, sometimes called “bag housings,” are less expensive and lightweight. They are made from flexible plastic. These work for shallow water but are not ideal for serious underwater portrait photography. If you are just starting and want to test the waters, a soft housing might be an affordable entry point. However, if you are aiming for professional results, a hard housing is the better investment.
When comparing housings, check the depth rating, port options for lenses, and ease of handling. A housing that is too heavy or awkward will make posing and directing your subject underwater much harder.
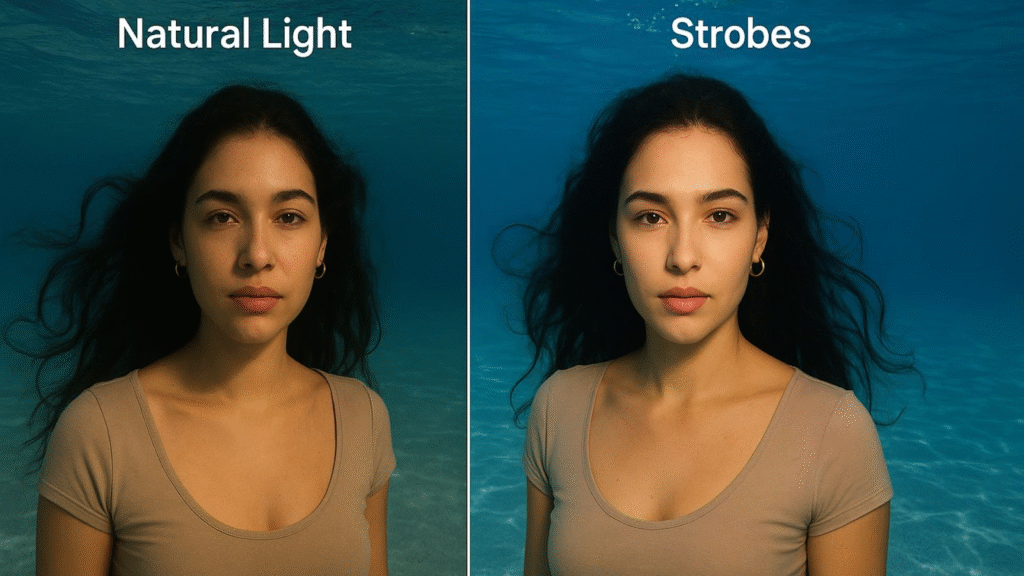
Lighting is one of the biggest challenges in underwater portrait photography. Water absorbs light quickly, especially red and yellow wavelengths, which makes images look blue or green if not corrected. This is why external lighting is critical.
Strobes are the most popular option. Underwater strobes are powerful flashes that can cut through water, restore natural colors, and highlight your subject effectively. They are especially useful for professional shoots.
Continuous lights are another choice. They let you see exactly how the light falls on your subject while shooting. These are often easier for beginners since you can adjust the angle and intensity in real time. However, continuous lights are not as strong as strobes, so they are better suited for shallower depths.
Natural light is still valuable. In shallow pools or near the surface of the ocean, sunlight can create beautiful patterns and reflections. Shooting early in the morning or late afternoon gives softer light, reducing harsh shadows. But relying only on natural light can be limiting, so most underwater portrait photography setups use a mix of natural and artificial lighting.
Gear is only half the equation. Mastering underwater portrait photography requires knowing how to work with your subject, camera settings, and environment.
First, buoyancy control is critical. Both you and your subject need to be comfortable underwater. Subjects who panic or float uncontrollably will not look natural in portraits. Practice in shallow water before moving to deeper pools.
Second, communication is different underwater. You cannot talk directly to your subject. Simple hand signals and pre-discussed poses are the key. Keep directions clear and simple.
Third, movement is slower underwater. Encourage your subject to move gracefully and allow their clothing and hair to flow naturally. Quick movements often create bubbles or awkward body positions.
Fourth, shoot in RAW. This gives you more flexibility in post-processing to correct colors, contrast, and exposure. Underwater portrait photography almost always requires editing to bring out the best details.
Posing is often what makes or breaks an underwater portrait. Subjects should relax and allow themselves to float naturally. Rigid or tense poses look uncomfortable and unflattering.
Encourage your subject to keep their face relaxed, eyes open if possible, and lips gently closed. Expressions should be soft and calm rather than forced. Hands and arms should flow gracefully, avoiding stiff angles.
Clothing adds drama to underwater portrait photography. Loose fabrics like dresses or scarves float beautifully. Encourage your subject to move slowly so the fabric trails naturally around them.
Practice breathing techniques before going underwater. Many models exhale slightly to sink and hold still, then gently push up when they need air. A calm rhythm makes posing easier and more photogenic.
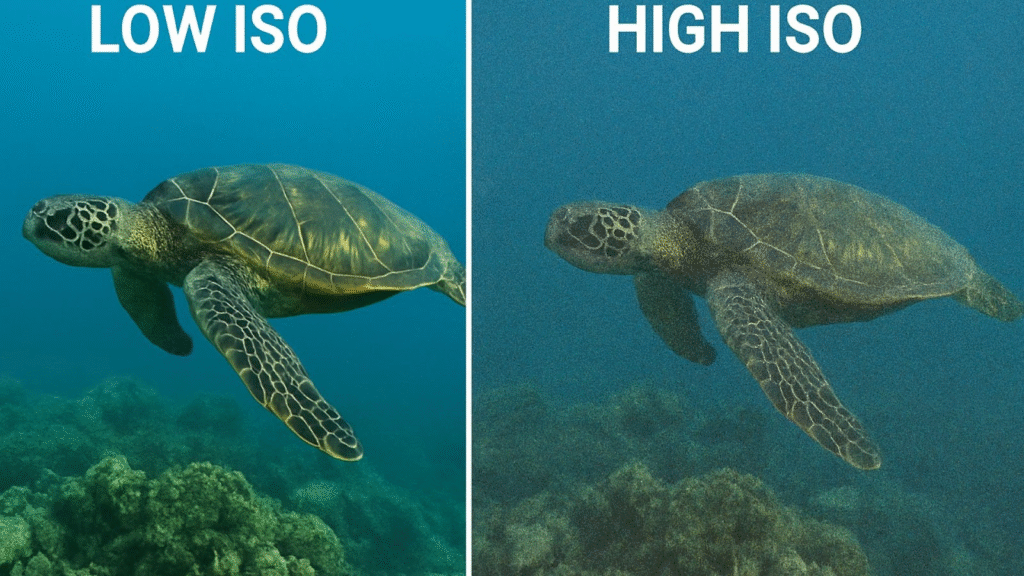
ISO settings underwater depend on lighting conditions. Generally, a lower ISO like 100 to 400 is ideal to keep noise minimal. However, since underwater environments are often darker, you may need to raise ISO slightly, especially if you are shooting with natural light only.
When using strobes or strong continuous lights, keep ISO as low as possible. This ensures crisp, clear portraits. In low-light scenarios without artificial lighting, an ISO of 800 or even 1600 can be necessary. Modern cameras handle higher ISO better, but always balance it with aperture and shutter speed to avoid grainy images.
The key is to test before the shoot. Every pool or ocean location has different lighting, so adjust ISO accordingly. This flexibility is part of mastering underwater portrait photography.
For those serious about mastering this art form, enrolling in an underwater portrait photography course can be a valuable step. These courses cover technical aspects like gear handling, safety, and lighting. They also teach practical posing techniques, editing workflows, and client management.
Online courses are a great starting point. Many platforms now offer detailed lessons from professional underwater photographers. These allow you to learn at your own pace and practice in local pools.
In-person workshops provide hands-on training. These are especially useful if you want to specialize in underwater portrait photography as a professional service. You gain direct feedback, networking opportunities, and real-life experience that online tutorials cannot fully replicate.
Taking a structured course helps you avoid costly mistakes and shortens the learning curve, making it easier to deliver high-quality results to clients.
When comparing lenses for underwater portrait photography, your budget will heavily influence your options.
If you are just starting, kit lenses that come with most cameras can still work when paired with the right housing. A standard 18-55mm lens can give you versatility for testing angles and understanding how water affects focus. However, for professional-quality portraits, upgrading is necessary.
Mid-range photographers often choose a 35mm or 50mm prime lens. These lenses are sharp, relatively affordable, and great in low light. They also create beautiful bokeh effects, which stand out even underwater.
For high-end setups, wide-angle zoom lenses like a 16-35mm are excellent choices. They allow flexibility, making it easy to capture both close-up portraits and wider environmental shots. The downside is that high-end lenses require equally advanced housings and ports, which raise the overall cost.
When comparing lenses, remember that underwater portrait photography is less forgiving of soft glass or poor coatings. A sharper, high-quality lens makes a noticeable difference in clarity.
Camera housings vary widely in price and usability. Beginners may be tempted to use soft housings, but these often fog up and limit access to camera controls. They are fine for experimentation, but not for professional underwater portrait photography.
Entry-level photographers may start with mid-range hard housings made of polycarbonate. These provide reliable protection up to 40 meters, and many are designed with clear backs so you can see your camera settings. They are lighter than aluminum housings, which makes them easier to handle during long shoots.
For professionals, aluminum housings are the standard. They are built for durability, can handle greater depths, and offer customizable controls for every button and dial. They are heavier, but the stability often helps when directing underwater portrait sessions.
Ease of use is another factor. A housing with poorly designed controls can slow you down. Look for models that allow smooth adjustments to ISO, shutter speed, and aperture without needing to surface.
Lighting equipment is another area where gear comparisons matter.
For beginners, natural light is the cheapest option. Shooting in a pool with sunlight streaming through the surface can create dramatic, soft portraits. However, you are limited by the time of day and water conditions.
Mid-range setups often include one or two continuous LED lights. These are battery-powered, portable, and easy to adjust. They provide consistent illumination, making them helpful for learning.
Professionals rely on strobes. High-end strobes deliver strong bursts of light, restoring natural colors that water filters out. Paired with diffusers, strobes can create soft, flattering light on the subject’s face and body. Many professionals use dual strobes for balanced lighting.
A hybrid approach is also possible. Some photographers combine strobes with natural light, using sunlight as a background effect while strobes highlight the subject. This approach gives portraits a cinematic, high-contrast look.
No matter how advanced your gear is, safety must always come first. Underwater portrait photography requires planning, especially when working with clients who may not be comfortable underwater.
Always shoot in clean, safe water. Pools are the best option for beginners, as you can control the lighting and depth. Open water sessions are beautiful but come with risks like currents, uneven surfaces, and visibility challenges.
Have a safety assistant on hand. This person can monitor the subject, manage equipment, and intervene if something goes wrong. Safety is particularly important when subjects are holding their breath for extended periods.
Clear communication before the shoot is essential. Go over poses, breathing techniques, and signals with your subject on land. This preparation reduces stress underwater and creates smoother sessions.
Even with the best gear, underwater portraits almost always need editing. Water alters colors, reduces contrast, and creates haze. Editing software helps restore clarity and vibrancy.
Start with color correction. Blue and green tones dominate underwater shots, so adjusting white balance is the first step. Adding warmth brings skin tones back to life.
Next, adjust contrast and clarity. Water softens details, so sharpening tools help recover texture in hair, eyes, and clothing.
Retouching is also common. Bubbles, floating debris, or skin imperfections may distract from the portrait. Professional retouching ensures the final image looks polished without losing its natural underwater atmosphere.
If editing feels overwhelming, you can outsource to professional image editing services. This saves time and guarantees consistent results.
Putting it all together means balancing lenses, housings, and lighting based on your goals.
A starter kit might include a mirrorless camera, a polycarbonate housing, and one continuous LED light. This setup works well in pools and allows you to practice techniques without overspending.
An intermediate kit could add a prime lens like a 35mm or 50mm, a second LED light, and a sturdier housing. With these upgrades, you can handle more complex shoots and start offering underwater portrait photography services.
A professional kit usually includes a wide-angle zoom lens, dual strobes, and an aluminum housing. This is the setup most often used in commercial fashion or fine art underwater portrait photography.
Always remember that your skills matter more than your gear. Start small, learn the techniques, and gradually upgrade as you gain confidence.
Yes. Courses help you learn in weeks what might take months or years on your own. You gain structured lessons on safety, gear handling, lighting, and posing. Many courses include feedback sessions where professionals critique your work, which speeds up your progress.
If you cannot attend in-person workshops, online courses in underwater portrait photography are widely available. They cover fundamentals and often include bonus editing tutorials. For photographers looking to turn their passion into a business, investing in a course is a smart move.
Underwater portrait photography is challenging but rewarding. It requires the right lenses, housings, and lighting, combined with strong techniques and editing. Whether you are just starting or considering a professional-level investment, comparing gear before purchase is essential.
Posing underwater is all about calm movements and relaxed expressions. ISO settings depend on light conditions, but keeping them as low as possible ensures clean, professional portraits. Editing will always play a role, but the right combination of preparation, safety, and gear will make your portraits stand out.
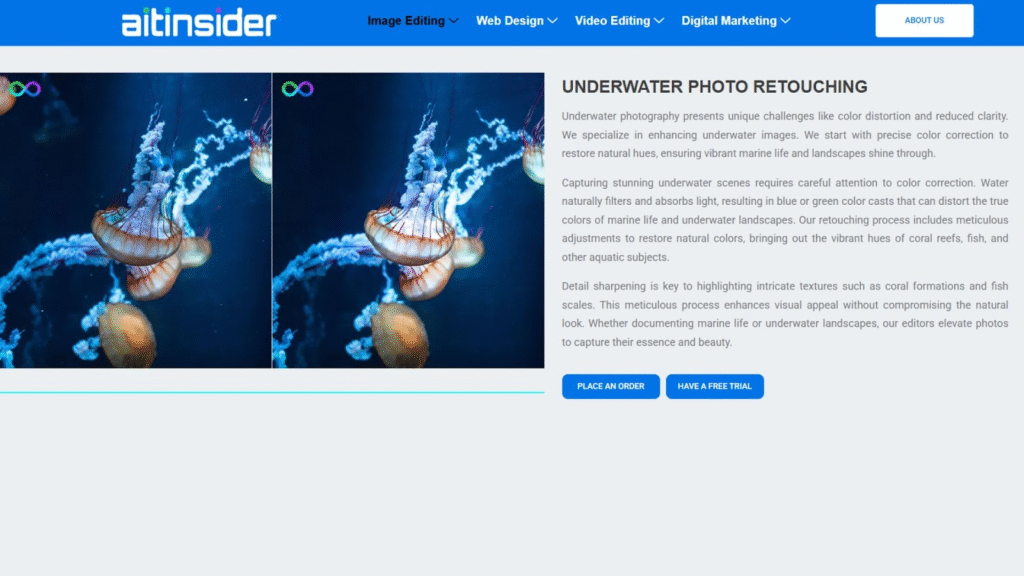
If you want professional results without spending endless hours editing, check out aitinsider. We provide expert image editing services to bring your underwater portraits to life. From color correction to retouching, our team ensures your final images look sharp, vibrant, and ready to impress.