Toy Photography Image 1

A Beginner’s Guide to Toy Photography: Everything You Need to Know

Toy photography is a creative, growing art form that allows enthusiasts to bring toys to life by capturing them in lifelike, imaginative scenes. Unlike traditional photography, toy photography encourages playful experimentation, helping you build storytelling skills through scenes and giving each toy a unique character. 

Whether you’re a fan of action figures, miniatures, or LEGO scenes, toy photography offers endless possibilities to create visually engaging narratives that blur the lines between fantasy and reality. This guide will walk you through everything you need to know about toy photography, from basic setup and essential tools to advanced techniques, so you can start creating captivating images of your favorite toys.

What Is Toy Photography?

Toy photography is the art of capturing toys in scenes that make them appear larger than life or entirely realistic. It combines elements of scale, lighting, and creativity to portray toys as characters in miniature worlds or even everyday situations. Some photographers approach toy photography with a humorous twist, while others aim for dramatic, cinematic compositions. Whatever the style, toy photography challenges you to think like a director and designer, turning each toy into a subject with its personality and story.

Getting Started: Choosing Your Toys and Themes

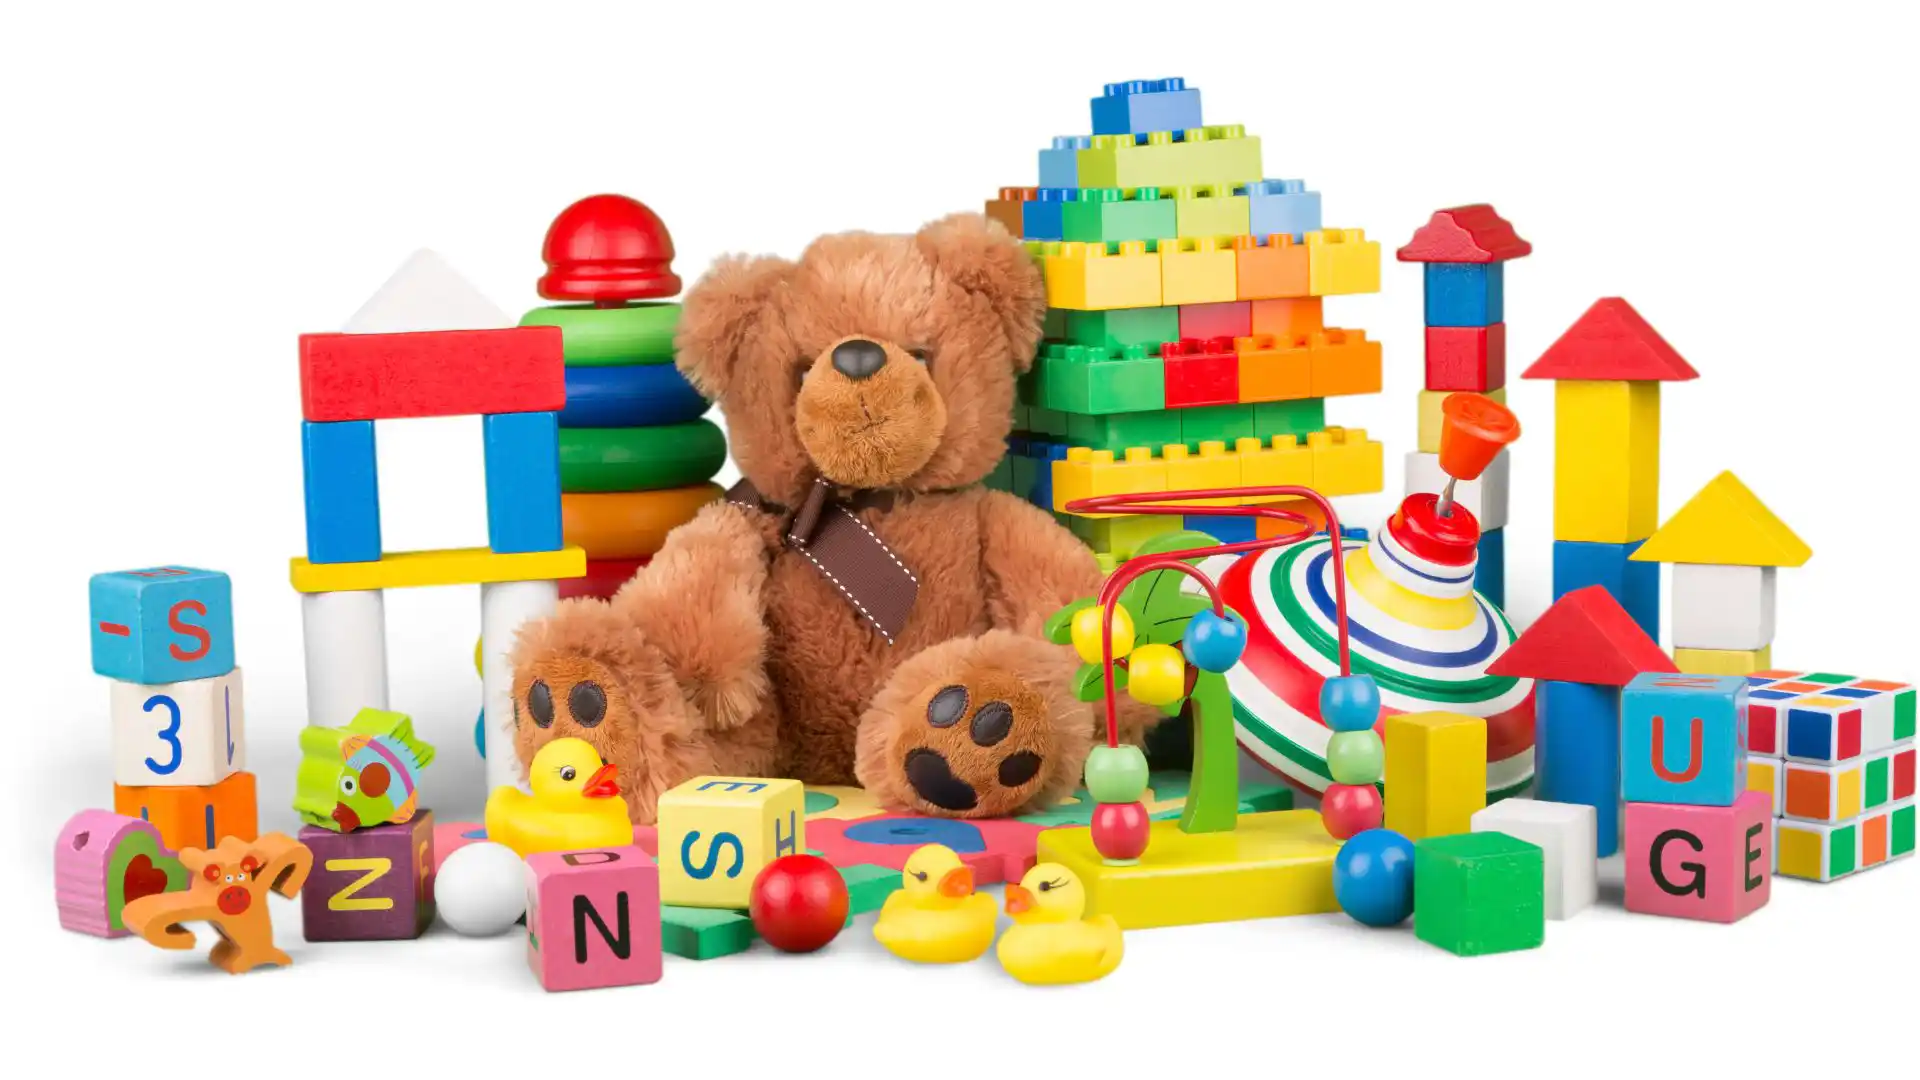
Starting with toy photography doesn’t require an extensive collection. Begin with toys you already own or figures you find inspiring. Many photographers start with iconic action figures or beloved childhood toys, but you can also use figurines, model kits, or anything that sparks your creativity.

Think about the themes or stories you want to tell. Toy photography themes can range from simple, everyday scenes—like a LEGO character on a coffee cup—to elaborate action-packed narratives featuring multiple characters and intricate settings. Choosing a theme early on helps guide your styling, lighting, and background choices, making your photos feel more cohesive and polished.

Essential Equipment for Toy Photography

While toy photography doesn’t require high-end gear, having the right equipment can significantly improve your results. Here’s what you’ll need:

  1. Camera: Many toy photographers use DSLR or mirrorless cameras because they allow precise control over settings like focus and depth of field. However, you can achieve great results with a smartphone camera as long as it has a good resolution and allows for manual adjustments.
  2. Tripod: A tripod is essential for keeping your camera stable, especially when working with small subjects. It’s particularly helpful for long exposures, which are common when using low lighting setups.
  3. Lighting: Good lighting can make a toy scene look realistic. Natural light is ideal for beginners, as it’s soft and free. However, investing in small LED lights or a ring light gives you more control over shadows and highlights, adding depth and drama to your shots.
  4. Lenses: Macro lenses are popular in toy photography because they allow you to get close-up shots of small details, which is crucial when working with miniature subjects. A standard 50mm lens can also work well, especially if you’re focusing on wider scenes.
  5. Backgrounds and Props: Backgrounds can be as simple as a plain piece of paper or as complex as a handcrafted diorama. Everyday objects can double as props to create scale and context, adding realism and creativity to your scenes.

Mastering Composition in Toy Photography

Composition plays a major role in storytelling through toy photography. The following techniques will help you create visually engaging scenes that draw the viewer in.

  1. Rule of Thirds: Dividing your frame into thirds and positioning your toy along these lines makes the composition more interesting. Placing the subject off-center gives a sense of movement and direction.
  2. Leading Lines: Use lines to guide the viewer’s eye toward the main subject. For instance, if you’re photographing a toy car, place it along a path that naturally draws the viewer’s gaze from one end of the image to the other.
  3. Perspective and Scale: Experiment with different angles to make the toys appear larger than life. By shooting from a low angle, you give toys an imposing presence. Alternatively, capturing them alongside everyday objects can emphasize their small scale, adding a sense of whimsy.
  4. Depth of Field: Using a shallow depth of field can create a dreamy, cinematic look. By focusing on your toy and blurring the background, you can add a sense of realism while isolating the subject.

Lighting Tips for Toy Photography

Lighting can transform a simple toy setup into a professional-looking scene. Here are some lighting techniques to elevate your toy photography:

  • Natural Light: If you’re starting with minimal equipment, using natural light is a great choice. Shoot near a window to get soft, diffused lighting. Avoid harsh sunlight, as it can create unflattering shadows.
  • Artificial Light: LED lights, flashlights, and even smartphone lights can be useful for toy photography. Positioning lights from different angles lets you create dynamic shadows and highlights, which add drama to the scene.
  • Backlighting: Place a light source behind your toy to create a silhouette effect. This technique is especially effective for creating moody or mysterious scenes.
  • Colored Lights and Gels: Experimenting with colored lights can make your photos stand out. For instance, red and blue lighting can create a sci-fi or futuristic look, while warm tones can give a cozy, nostalgic vibe.

Adding Realism with Backgrounds and Props

Backgrounds and props are essential in toy photography because they help set the scene and context. Here’s how to use them effectively:

  • Printed Backgrounds: Print photos of landscapes, cityscapes, or abstract textures as backdrops. When placed out of focus, these can mimic real-world settings and make your toys look like part of a larger scene.
  • Miniature Sets and Dioramas: If you’re serious about toy photography, consider building a miniature set. With some simple crafting materials, you can create small-scale environments tailored to your toys.
  • Household Items as Props: Everyday objects, like cups, books, and plants, can be used to add depth to your scenes. Position these objects around your toys to create context and scale.
  • Seasonal Props: For added realism, incorporate seasonal props like fake snow, leaves, or sand. These props add a unique twist to your toy photography and enhance the storytelling aspect.

Telling a Story Through Toy Photography

One of the most compelling aspects of toy photography is its ability to tell stories. Start by imagining a short narrative for your scene. Perhaps your toy figure is a hero on a quest, a character in a café, or even a villain planning a scheme. Create scenes that capture pivotal moments in this imagined story.

Using emotions in your scenes can make toy photography feel even more relatable. Pose the toys to convey a mood, like joy, surprise, or contemplation. For example, angling a toy’s arms and positioning the head slightly downward can suggest sadness or reflection, while open arms and a raised head convey excitement.

Editing Your Toy Photography for Impact

Post-processing is an essential step in toy photography. Editing your photos allows you to adjust lighting, colors, and contrast, making the toys look more realistic or stylistically dramatic. Here are some editing tips to enhance your images:

  1. Adjust Brightness and Contrast: Increasing contrast can make colors pop and add depth to your scene. Adjusting brightness is especially useful if your photo appears too dark.
  2. Add Vignettes: A subtle vignette draws the viewer’s focus to the center, emphasizing your toy subject.
  3. Color Grading: Play around with color tones to evoke different moods. Warmer tones can give a nostalgic feel, while cooler tones are great for sci-fi or action scenes.
  4. Sharpen Details: Adding a touch of sharpness makes the details in your toys stand out, especially the textures and small features.
  5. Remove Background Distractions: Many editing apps allow you to blur or erase distracting elements in the background, which keeps the focus on the toy.

Advanced Techniques in Toy Photography

Once you’re comfortable with the basics, there are several advanced techniques you can try:

  • Long Exposure and Light Painting: Long exposure creates unique effects, especially in night scenes. Use a flashlight or other small light source to “paint” light into your scene for a surreal, illuminated look.
  • Forced Perspective: This technique involves positioning the toy closer to the camera than other objects, making it appear larger. Forced perspective is ideal for scenes where you want the toy to look life-sized.
  • Composite Photography: Combining multiple images in post-processing lets you create scenes that would be difficult to achieve in a single shot. For example, you can photograph a background separately from the toy and merge them for a flawless result.
  • Weather Effects: Add real or digital effects like rain, fog, or snow to create atmosphere. Spritzing water or using a fog machine in front of the lens can bring extra realism to outdoor scenes.

Building Your Style and Portfolio in Toy Photography

As you experiment with different setups and techniques, you’ll naturally begin to develop your style. Embrace this personal touch, as it’s what sets your work apart. Document your favorite shots in a portfolio, either online or in a photo book, to track your growth and share your work with others.

If you enjoy sharing your toy photography, consider joining online communities where you can connect with others, receive feedback, and stay inspired. Social media platforms like Instagram, as well as photography forums, are great places to showcase your creations.

Final Tips for Beginners in Toy Photography

Toy photography is all about creativity and exploration. Don’t be afraid to try new ideas, experiment with different angles, and learn from each photo session. Patience is key, as it may take time to get the perfect shot, but every effort brings you closer to mastering the art. Remember that toy photography is a journey, not a destination, and every photo tells a new part of your story. With practice and imagination, you’ll soon be capturing toy photography that truly comes to life.

Leave A Comment

Your email address will not be published. Required fields are marked *