Hello there, fellow creator and real estate enthusiast! Are you looking to elevate your real estate photography game? Whether you’re a seasoned professional or just starting, a well-structured plan is your best friend. In this article, we’ll dive deep into the essential steps to ensure every shoot is a resounding success. This isn’t just a simple list; it’s a comprehensive guide to help you capture stunning images that make properties fly off the market. We’re going to explore every nook and cranny of the process, from the moment you book the gig to the final image delivery. So, let’s get started and craft your very own real estate photography checklist!
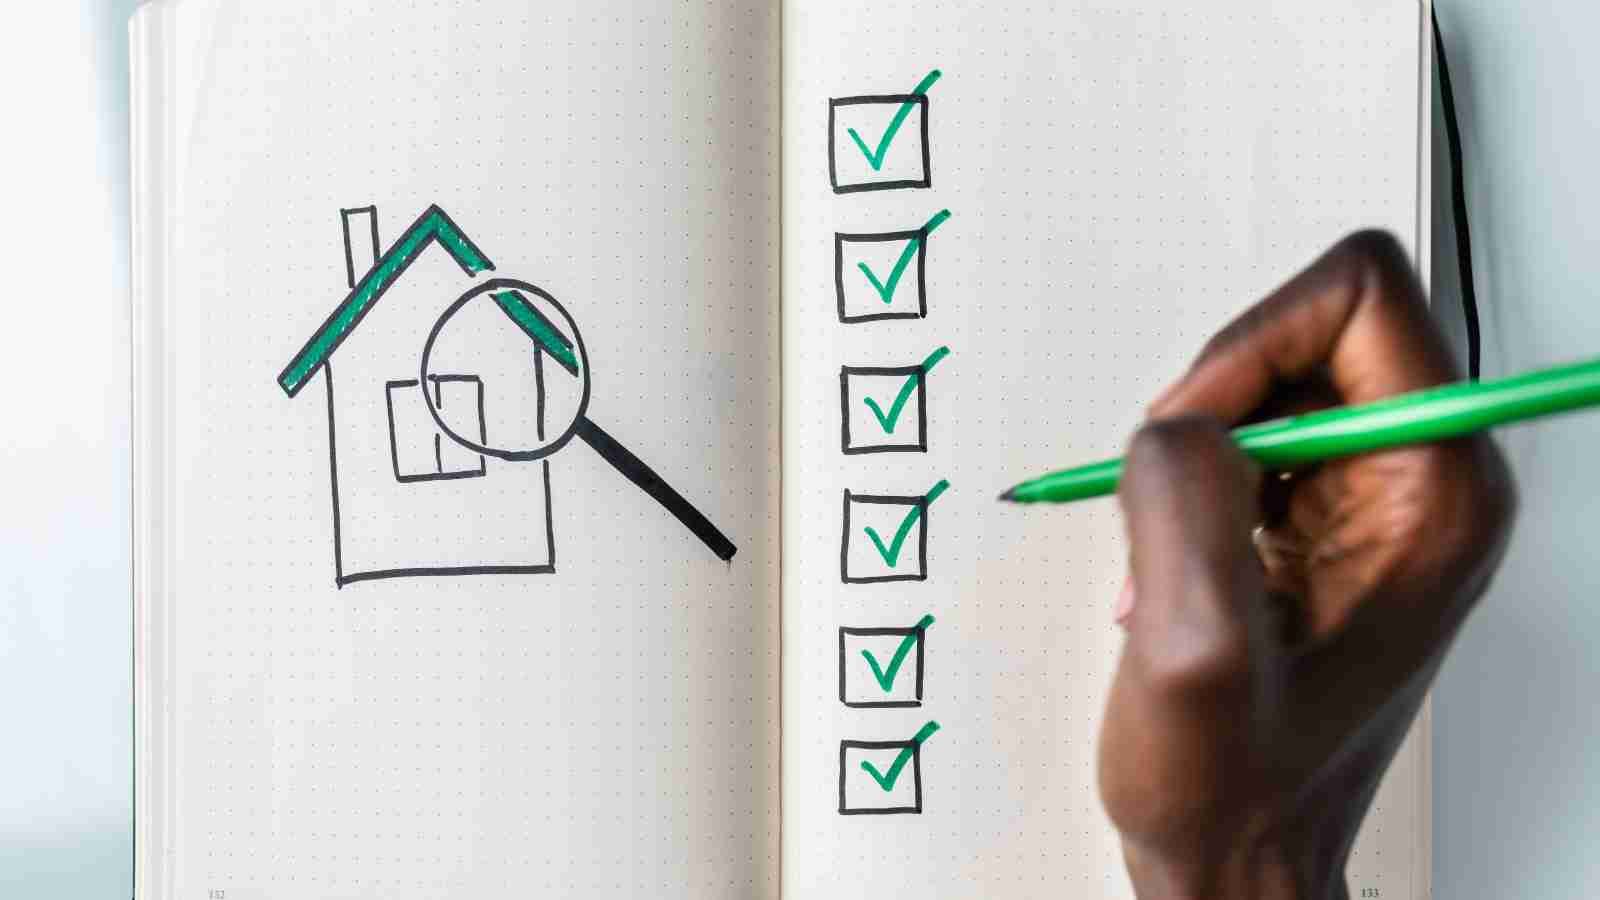
Before you even think about picking up your camera, the real work begins. A successful shoot is 80% preparation and 20% execution. This section of our real estate photography checklist is all about getting everything in order so you can arrive at the property confident and ready to work your magic.
The first step in any project is clear communication. Once a client books you, get all the essential details. Confirm the property’s address, the date and time of the shoot, and the type of property you’ll be photographing. Ask them about their expectations and any specific shots they have in mind. Understanding their vision is crucial for delivering a product they’ll love. It’s also a good idea to discuss the expected turnaround time for the edited photos. This manages client expectations and ensures a smooth workflow. A friendly and professional email or phone call can set the tone for the entire project.
This is arguably the most critical part of the pre-shoot process. No amount of editing can fix a cluttered or poorly staged home. A great real estate photography checklist includes detailed instructions for the homeowner. Send them a preparation guide well in advance of the shoot. This guide should be a gentle but firm reminder of what needs to be done. Advise them to declutter every room, put away personal items, clean all surfaces, and open all blinds and curtains. Suggest they turn on all lights, replace any burnt-out bulbs, and tidy up the exterior. The more they do beforehand, the less time you’ll spend on-site rearranging things, and the better the final images will be. You can even include a link to a blog post on your website about “How to Stage Your Home for a Photo Shoot” to provide them with more detailed tips. This adds value and positions you as an expert.
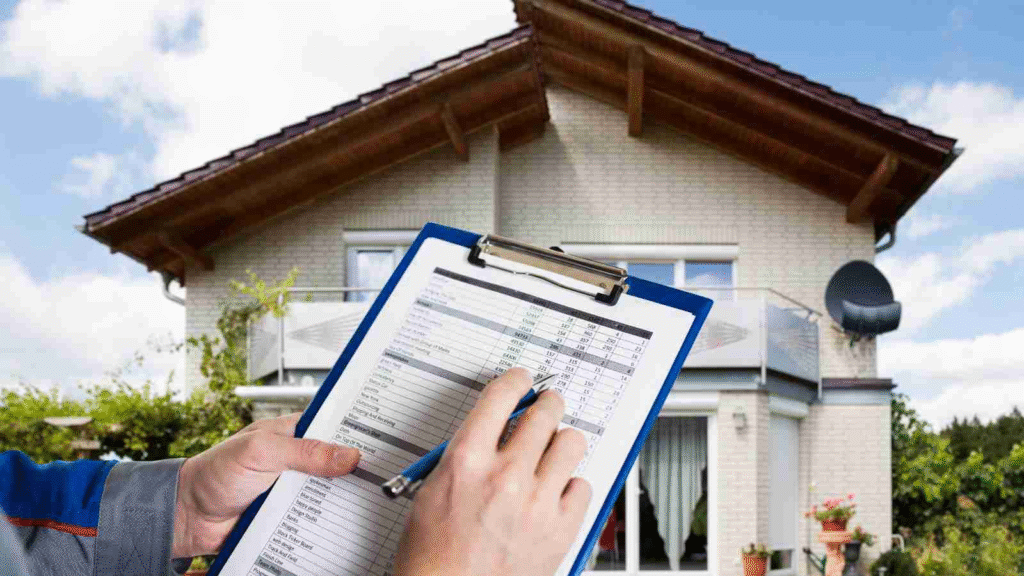
There’s nothing worse than arriving at a shoot and realizing you’ve forgotten a crucial piece of equipment or, even worse, your batteries are dead. Your real estate photography checklist must include a thorough gear inspection. A day before the shoot, lay out all your equipment. This should include your camera body, lenses (wide-angle is a must-have!), a tripod, a flash and trigger, extra batteries, memory cards, and cleaning supplies. Make sure all your batteries are fully charged, and format your memory cards to ensure you have plenty of space. Double-checking your gear gives you peace of mind and allows you to focus solely on your creative work when you get to the property. Think of it as a pilot’s pre-flight check; it’s non-negotiable for a smooth journey.
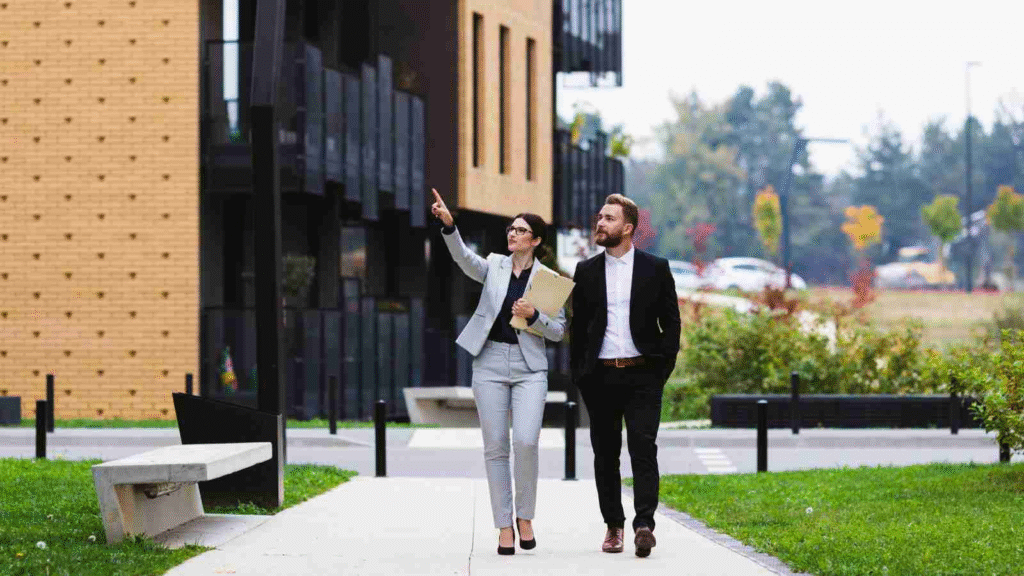
Take a few minutes to do some light research on the property you’ll be shooting. Use Google Maps to get a sense of the layout, the direction the house faces, and what the surrounding area looks like. This helps you plan your shots and even predict the best time of day for certain angles. For example, if the backyard faces west, you might want to schedule the shoot in the late afternoon to capture beautiful golden hour light. Understanding the context of the property allows you to tell a more compelling visual story. This foresight is a key component of a professional real estate photography checklist.
You’ve done the prep work, you’ve arrived at the property, and your gear is ready. Now it’s time to put your skills to the test. This part of our comprehensive real estate photography checklist is all about the actual shooting process, from setting up your camera to capturing every single detail.
The exterior of the house is the first thing potential buyers see, so it’s essential to get these shots right. Start with a wide shot of the front of the house. Use your tripod to ensure a perfectly level and straight horizon line. Take multiple shots from different angles to give options. Pay attention to the landscaping; if there’s a lovely garden or a well-maintained lawn, make sure to highlight it. Don’t forget the back of the house, and any side yards or outdoor living spaces. Capture the porch, the deck, and any unique architectural details. If there’s a pool, a patio, or a gazebo, these should be high on your real estate photography checklist.
Once you’ve captured the exterior, it’s time to move inside. Approach each room systematically. Start by walking through the entire house to get a feel for the flow and light. This helps you plan your shots. For each room, start with a wide-angle shot to capture the entire space. Your tripod is your best friend here, as it ensures sharpness and consistent angles. For each room, capture multiple shots from different corners to showcase the entire layout. Pay close attention to the details. A beautiful fireplace, a unique light fixture, or a charming built-in bookshelf are all details that can make a room stand out.
As you move through the home, your real estate photography checklist should remind you to capture specific, key rooms. The living room, kitchen, and master bedroom are non-negotiable. For the kitchen, get a wide shot, but also close-ups of the countertops, appliances, and any special features like a kitchen island or a unique backsplash. In the bathroom, a clean, bright shot is essential. Make sure the toilet seat is down and any clutter is hidden. The dining room and other bedrooms should also be captured. Remember to turn on all lights to create a warm and inviting atmosphere.
Beyond the standard wide shots of each room, think about how to capture the “flow” of the house. Hallways, staircases, and entryways are just as important as the main rooms. A good real estate photography checklist will remind you to take shots that connect spaces. For example, a shot from the living room looking into the dining room can give a great sense of the open floor plan.
Don’t forget the small details that make a house a home. These can be beautiful, unique elements that add character. This might be a stunning tile floor, a rustic barn door, or an elegant window with a great view. While it’s important to declutter, these special touches are what make a property memorable. A good photo shoot balances showing the potential of a home while also highlighting its unique personality.

Lighting is everything in photography, and real estate is no exception. While natural light is often best, you can’t always rely on it. Use a combination of ambient light and flash to create bright, even-toned images. Your camera settings should be carefully considered. Use a low ISO to minimize noise and a high f-stop (around f/8 to f/11) to ensure everything in the shot is sharp. Your shutter speed will be slower, which is another reason why a tripod is so important. Using bracketing can also be a fantastic technique. This means taking three or more photos of the same scene at different exposures to capture the full range of light. You’ll then combine these in post-production to create a perfect HDR (High Dynamic Range) image.
The shoot is over, but your work is far from done. The final part of your real estate photography checklist focuses on the crucial steps that happen after you’ve left the property. This is where the magic of editing transforms your raw images into polished, professional photographs.
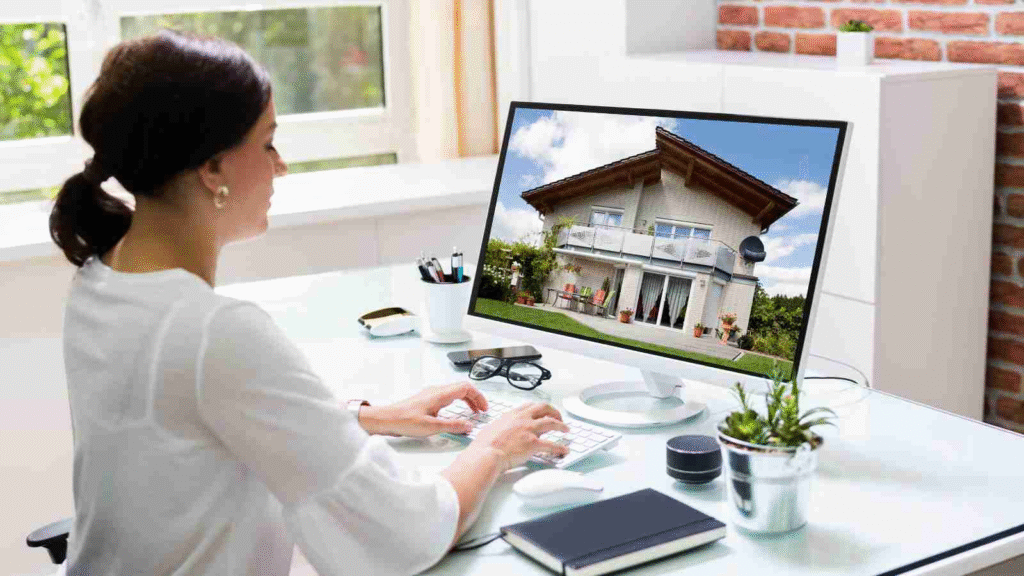
As soon as you get back to your office, the first thing on your real estate photography checklist should be to back up your images. Copy the files from your memory cards to your computer and then to an external hard drive or cloud storage. This is a non-negotiable step to protect your work. Once your images are safely stored, begin the culling process. Go through all the shots and select the best ones. Be ruthless. Choose only the sharpest, most well-composed photos that tell the best story of the property. For a standard shoot, you might end up with 25-50 final images, but you might have taken hundreds of shots to get there.
This is where your images truly come to life. The editing process is a critical part of the real estate photography checklist. Your editing software of choice (like Adobe Lightroom or Photoshop) will be your new best friend. Here’s what you’ll be doing:
This is also a great place to talk about what we do. We know that editing can be time-consuming and sometimes tricky. That’s why we at aitinsider.com offer a professional Image Editing Service. We can take your raw photos and turn them into stunning, magazine-quality images, so you can focus on what you do best: shooting! We handle everything from color correction to advanced retouches, making your job easier and your results even more spectacular.
Once your images are edited and looking their absolute best, it’s time for the final delivery. Your real estate photography checklist should include a plan for how you’ll get the images to your client. You can use a cloud-based service like Dropbox, Google Drive, or a specialized photo gallery platform. Provide the images in high resolution for printing and a web-optimized resolution for online listings. Always ask for feedback. This not only helps you improve but also shows your client that you value their opinion. A happy client is a repeat client and a fantastic source of referrals.
After the project is complete and the client is happy, don’t forget to archive your work. Store the final images and the original raw files in a safe place. This is your professional portfolio and can be a lifesaver if a client ever needs a copy of the images in the future.
By following this comprehensive real estate photography checklist, you are not just taking pictures; you are building a professional, repeatable process that guarantees quality and efficiency on every single shoot. This systematic approach will not only help you deliver exceptional results but also build your reputation as a reliable and talented photographer.
Remember, every great shot starts with a great plan. And if you ever need a hand with the editing, we’re here to help! Visit our website aitinsider.com to learn more about our Image Editing Service. Happy shooting!
Colorado Springs Real Estate Photography | Professional Property Photos
[…] an impact photography has on real estate sales. Multiple studies show that homes with professional photos sell faster and often for more money. One study from Redfin found that homes photographed with professional […]