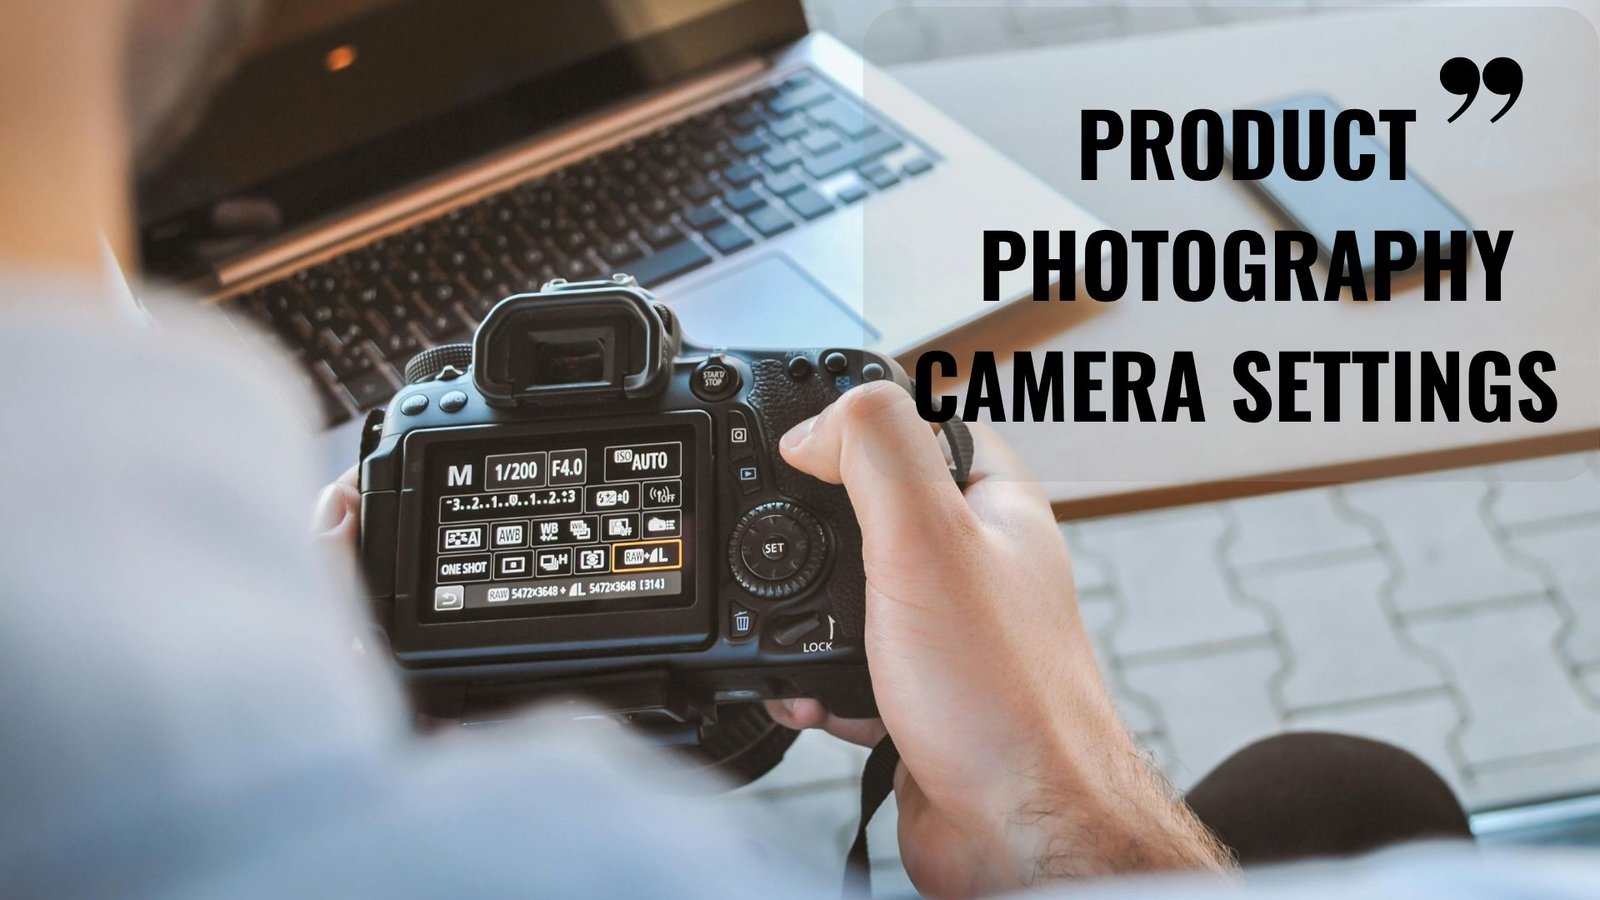
If you’re selling products online, your images are your first impression. High-quality product photos can be the difference between someone clicking “Buy Now” and scrolling past. That’s why understanding the right product photography camera settings is so important. Whether you’re a beginner with a DSLR or a pro upgrading your gear, getting the perfect lighting, focus, and exposure is essential for creating photos that truly sell.
This article will walk you through the camera settings that make a difference. No fluff-just real, practical advice written in a friendly, easy-to-understand way. Whether you shoot for your online store, Etsy shop, Amazon listings, or client work, this guide will help you get the best results possible.
We’ll use the keyword product photography camera settings multiple times throughout this article to ensure it stays focused and helpful for anyone making a purchasing or learning decision.
Before we dive into specific settings, let’s talk about why they’re so important. Product photography isn’t just about clicking the shutter-it’s about showing off your item in the best possible light. You want every detail sharp, the colors accurate, the background clean, and the image to look professional.
Getting the right product photography camera settings helps you avoid common problems like:
Even a slight adjustment to your aperture, ISO, or white balance can significantly alter the appearance of your photo. If you’ve ever taken a picture that looked great on your camera but terrible on your computer, it likely came down to incorrect settings.
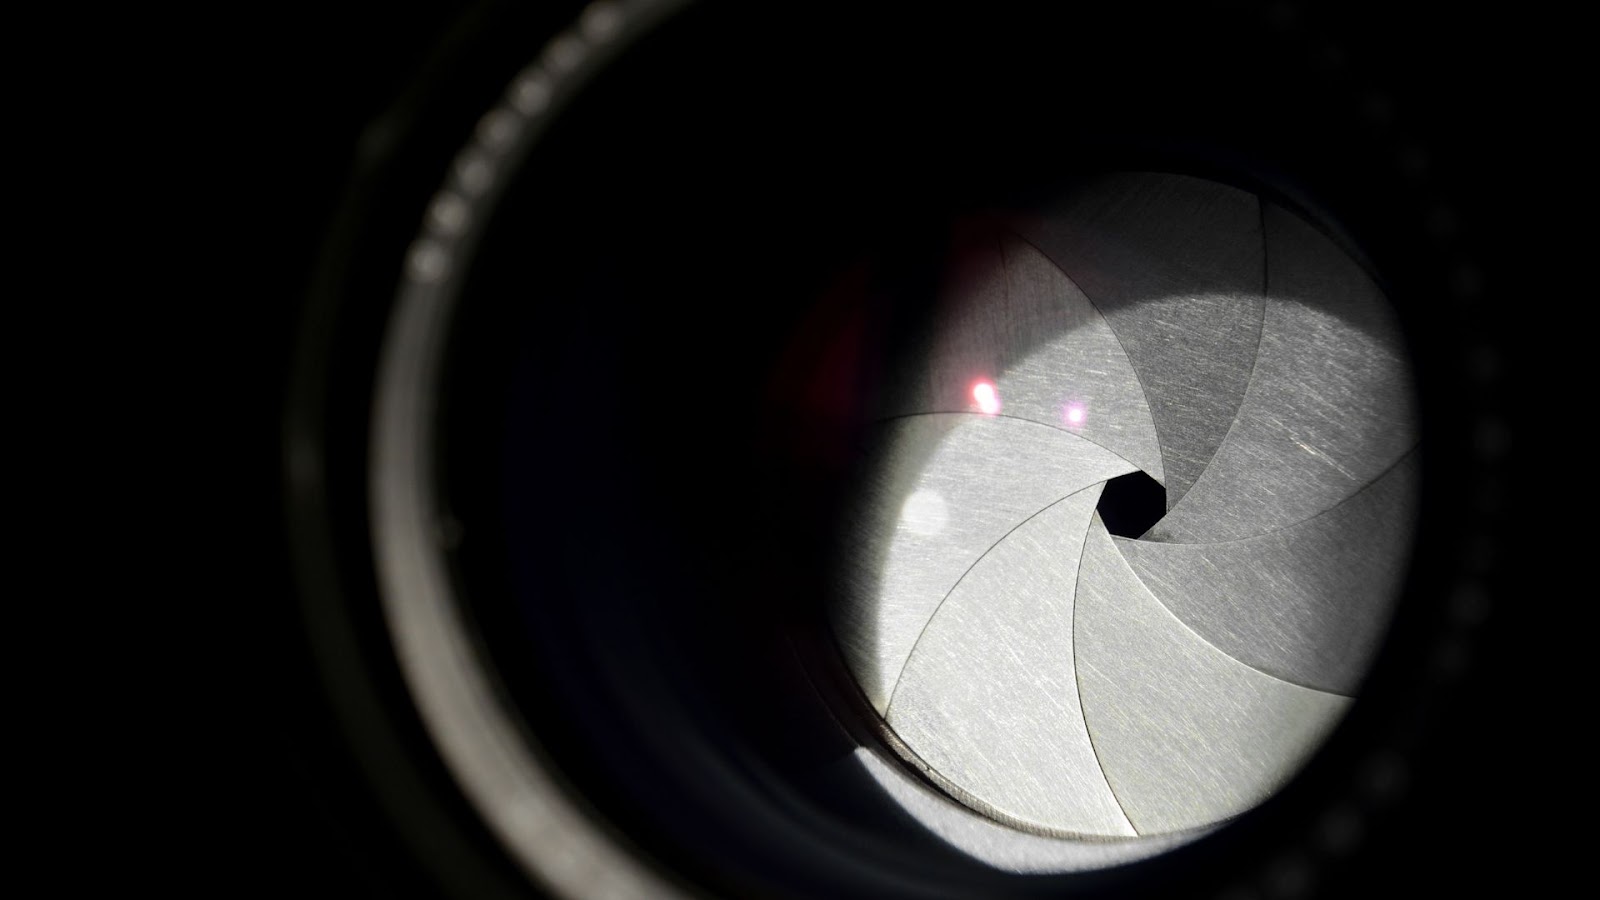
Let’s start with aperture-this controls how much of your image is in focus. In product photography, you typically want the entire product to be sharp. That means using a smaller aperture (higher f-stop number) like f/8, f/11, or even f/16.
Using a wide aperture (like f/2.8) may blur parts of the product, which works for portraits but not for selling a physical item. Remember, your customers want to see every texture, label, and detail. If you’re photographing something like jewelry or shoes, clarity is key.
Setting your aperture correctly is one of the most critical parts of mastering product photography camera settings. Start at f/8 and adjust based on how much of your subject is in focus.
Shutter speed determines how long your camera’s sensor is exposed to light. In product photography, there’s no action-your subject isn’t moving-so you can use slower shutter speeds without issue. This is often encouraged if you’re using a low ISO and small aperture.
That said, slow shutter speeds (like 1/60 or slower) require a tripod. Even a small shake can ruin your shot. A sturdy tripod will help you use longer shutter speeds without introducing blur.
The key takeaway? A slow shutter speed is perfectly fine in product photography, as long as your camera is stable. This is a must-know when exploring the best product photography camera settings.
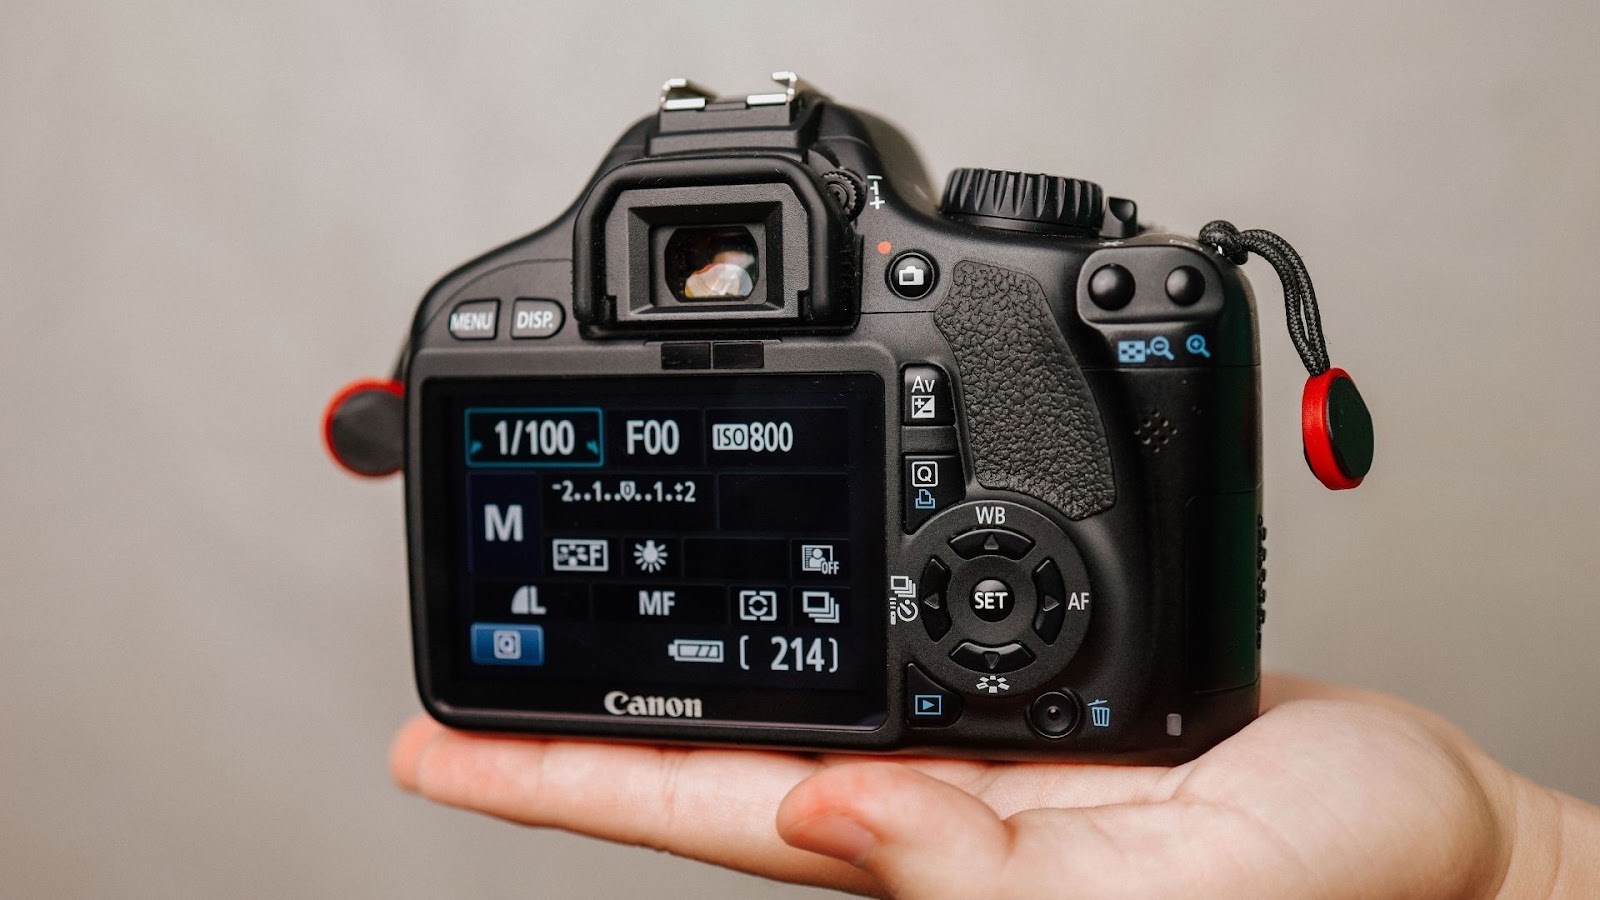
ISO controls your camera sensor’s sensitivity to light. The higher the ISO, the more sensitive the sensor becomes-but the more noise (grain) you’ll introduce into your photo. For product photos, clean and noise-free images are crucial, so keep your ISO as low as possible-ideally around 100 or 200.
If you’re using artificial lighting or a studio setup, you should have enough light to shoot at low ISO values. If you’re relying on natural light, you may need to raise ISO slightly, but don’t go too high-try not to go above 800, or you’ll start to see noticeable grain.
Understanding ISO is a big part of refining your product photography camera settings, especially when shooting under different lighting conditions.
Ever taken a photo where a white product looked yellow or blue? That’s a white balance issue. Your camera is trying to “guess” the color of light in the scene, and sometimes it guesses wrong.
For product photography, you want color accuracy, especially if you’re selling items like clothing, art, food, or anything where color is a major decision factor. Set your white balance manually or use a gray card to calibrate it. If you’re shooting under LED lights, set your camera to match the color temperature (e.g., 5500K for daylight-balanced LEDs).
White balance is often overlooked, but it’s one of the most essential product photography camera settings for creating professional-looking images. Customers will notice if your colors are off, and it can lead to higher return rates or lower trust in your store.
Autofocus is fast and convenient, but it’s not always the most accurate for still product shots. For tighter control, switch to manual focus, especially when using a tripod. Zoom in on your LCD screen and adjust the focus ring until the important details are razor-sharp.
If your camera has focus peaking (common in mirrorless cameras), turn it on-it highlights sharp edges in real time, making manual focusing much easier. Accurate focus is crucial for things like product labels, texture, stitching, and fine details.
So if you’re dialing in your product photography camera settings, don’t rely on auto-everything. Take control of your focus, and your images will instantly look more polished.
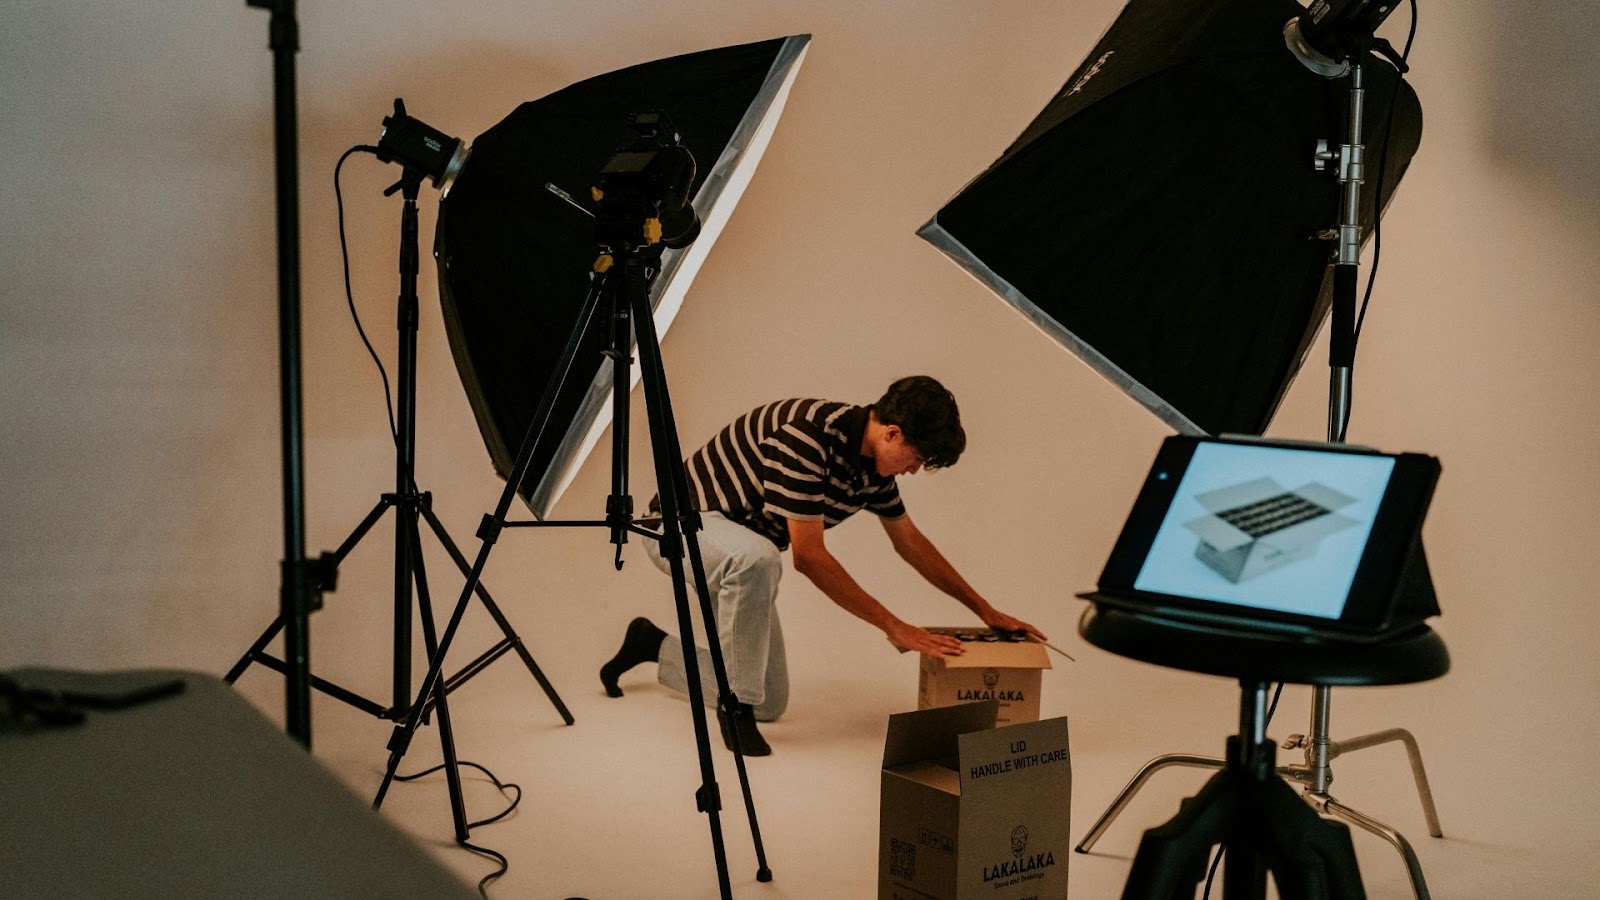
Lighting might not be a camera setting in the traditional sense, but it works hand-in-hand with your exposure settings. You can’t talk about product photography camera settings without discussing the light source.
If you’re using natural light (like from a window), shoot during the day when the light is soft and even. Avoid harsh sunlight, which creates deep shadows and blown-out highlights. A simple diffuser-like a white curtain or softbox-can help.
Artificial lighting gives you more control. LED panels, softboxes, or continuous lights let you shoot consistently regardless of the time of day. When using artificial light, you can fine-tune your white balance, ISO, and shutter speed for consistent results.
Remember, the quality of light affects how your camera interprets color, sharpness, and contrast. So, understanding your lighting environment is just as important as knowing your camera’s buttons.
If you want the best results from your product photos, shoot in RAW format. This gives you far more flexibility in editing, especially when it comes to white balance, exposure correction, and sharpening.
JPEGs are compressed files, which means you lose data every time you edit. RAW files preserve the full range of tones and details, making them ideal for professional use. They also come in handy when working with image editing services (like ours at aitinsider) since editors have more to work with.
So if you’re wondering whether file type fits into product photography camera settings, the answer is yes, because shooting RAW is the best decision for serious results.
Although a tripod isn’t a camera setting, it plays a huge role in achieving perfect product photography camera settings. Why? Because when you shoot with low ISO, small apertures, and slow shutter speeds, your camera must remain still. A slight hand movement can introduce blur that ruins sharpness, especially when shooting small or intricate products.
A good tripod helps you compose your shots better, too. You can adjust your frame gradually and ensure consistency when photographing multiple products from the same angle. If you’re planning a product catalog, consistency matters more than you think.
So, don’t underestimate the power of stability when aiming for sharp, professional product photos. A tripod supports all the other settings you’ve worked hard to fine-tune.
Now, let’s talk about reflective surfaces and backgrounds-two things that often throw off exposure and white balance. Many product photographers shoot against white backgrounds. That’s a smart choice because it looks clean and professional and works well on most eCommerce platforms.
But shooting on white also confuses your camera’s metering system. It may try to “average” the exposure and underexpose your subject. That’s why using manual exposure settings is so important. Instead of letting the camera decide, you set the shutter, ISO, and aperture based on your lighting and subject, not on what the camera thinks.
Reflective products like watches, jewelry, and electronics can also cause trouble. You may see your camera, tripod, or even yourself reflected in the product. To avoid this, use larger softboxes for broader, even lighting, and position your lights and camera carefully. Editing tools help, too, but starting with smart product photography camera settings will save you editing time later.
Even with the best lighting and camera settings, your images might still need a bit of polishing. That’s where editing comes in-but the better your in-camera settings, the less editing you’ll need.
Color accuracy is vital. Your customer expects the product to look the same in real life as it does online. Misleading colors can lead to negative reviews and returns. Make sure your white balance, color profile, and exposure settings are spot-on. Shooting in RAW gives you more flexibility here, especially in tricky lighting situations.
For photographers or eCommerce businesses that want consistently professional-looking images, outsourcing your edits can be a smart move. And this brings us to…
At aitinsider, we specialize in image editing services for photographers, online sellers, and agencies. We know how important it is to make your product images look flawless, but still natural. Whether you’re working with RAW files or JPEGs, we help adjust color, correct exposure, remove distractions, add shadows, and make your products look their absolute best.
If you’ve worked hard to get your product photography camera settings right, let us help you bring the final image to life. We work fast, we’re affordable, and most importantly, we care about your brand looking good.
Whether you’re shooting for Amazon, Shopify, Etsy, or your site, our editing services are designed to help you sell more with better-looking photos.
Learning how to master product photography camera settings isn’t just about understanding technical terms. It’s about knowing how your camera works with light, how small changes affect the final image, and how to create a repeatable system that delivers beautiful, consistent product photos every time.
From aperture to ISO, from focus to white balance-each setting plays a role in capturing a product in its best light. Once you understand how they all work together, you’ll find that product photography becomes much more intuitive, and your results improve dramatically.
Remember, you don’t need the most expensive camera to get professional results. What matters most is understanding your gear and applying the right techniques. So experiment, learn from each shoot, and don’t be afraid to reach out for editing help when you need it.
And when you’re ready to take your product photos to the next level-whether it’s for an eCommerce site, portfolio, or catalog-know that aitinsider is here to help. Let us polish your images so your products shine and your brand stands out.
Thanks for reading, and happy shooting! If you’d like an SEO-optimized version, image examples, or camera setting cheat sheets, just let us know!
Best Camera Setting For Real Estate Photography (2025 Guide)
[…] best camera setting for real estate photography is to keep ISO as low as possible, ideally between ISO 100 and ISO 400. […]