Capturing the perfect dental photo isn’t just about pointing and clicking. In the world of dentistry, images matter-a lot. Whether you’re showcasing cosmetic results, documenting clinical procedures, or building patient trust, having a good camera for dental photography is essential. But what actually makes a camera “good” for this kind of detailed work? And why do professionals invest so much into getting the right gear?
In this article, we’ll explore what makes a good camera for dental photography, what the pros are using right now, and how the right setup can seriously boost the quality of your practice. Whether you’re a dental student, a seasoned dentist, or a clinic owner aiming to up your visual game, you’re in the right place.
Dental photography is no longer just for textbooks or conferences. Today, high-quality images are central to a dental practice’s success. Think about it-patients are more likely to accept treatment plans when they see before-and-after photos. Insurance companies often require photographic evidence for claims. And with social media becoming a go-to platform for showcasing results, your reputation might just depend on what you post.
That’s why investing in a good camera for dental photography isn’t just a luxury-it’s a necessity.
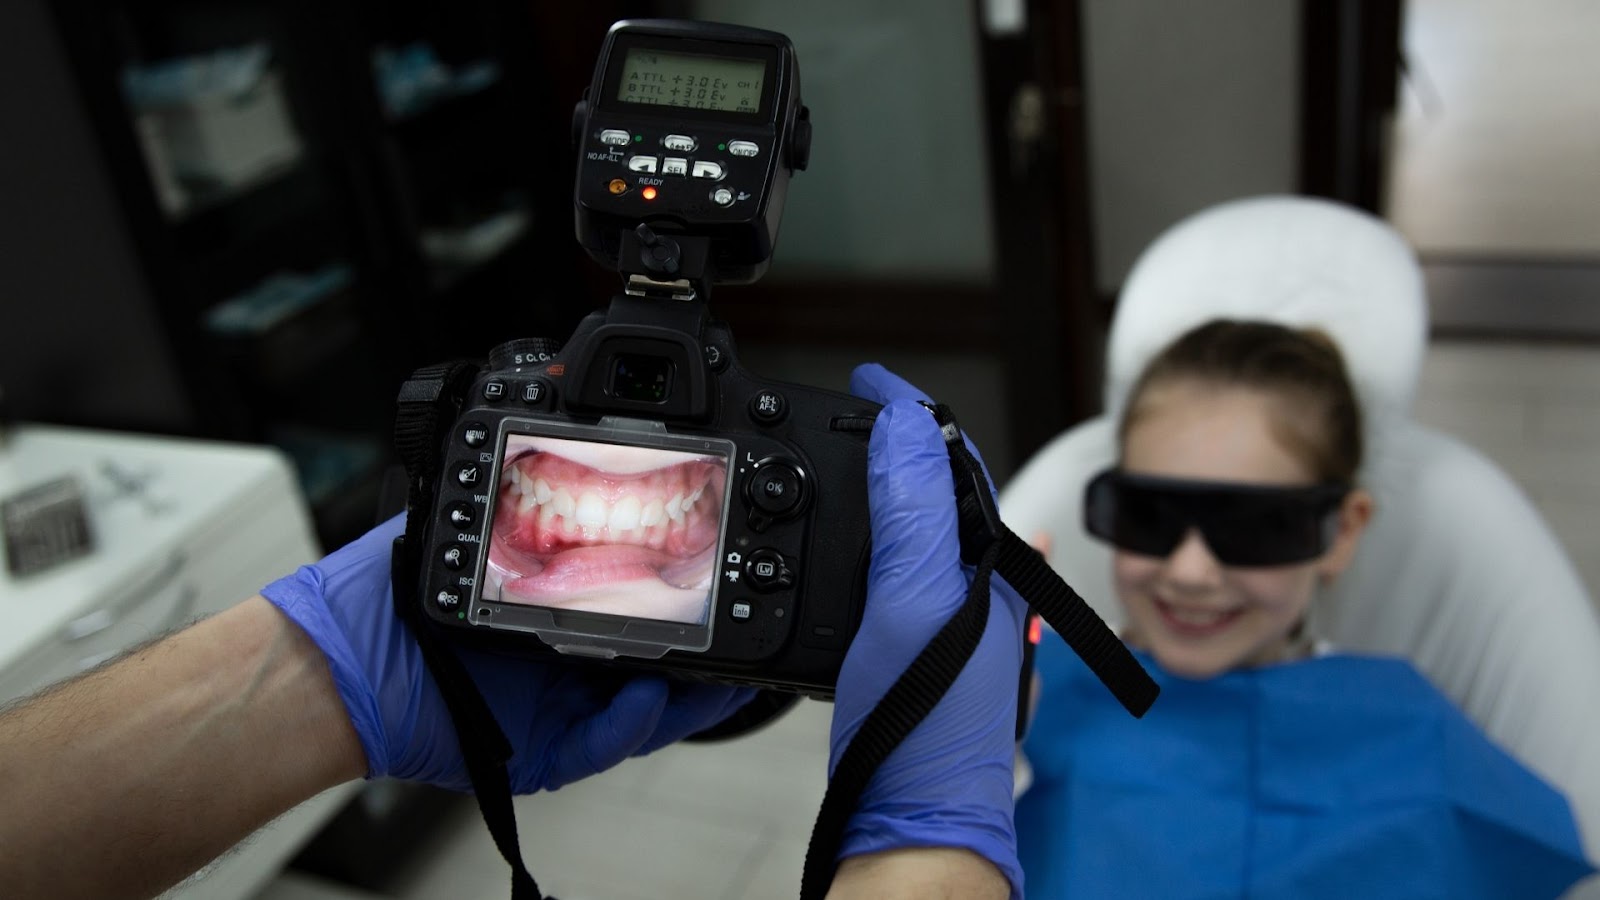
Not all cameras are created equal. A good camera for dental photography must capture fine details like enamel texture, gum condition, and tooth color accurately. Unlike general photography, there’s little room for artistic interpretation here-you need clinical precision.
What sets these cameras apart?
First, resolution matters. A higher megapixel count helps capture small details that are often missed with standard cameras. But it’s not just about the resolution. You need a camera that works well with a macro lens and a ring flash. This combination allows for close-up shots with even lighting, reducing shadows and enhancing clarity.
Color accuracy is also crucial. Your camera must reproduce true-to-life colors so that tooth shades, gum health, and other oral conditions appear as they are in real life. A good camera for dental photography also needs to offer full manual controls so you can adjust settings like aperture, shutter speed, and ISO to suit different shooting conditions.
And don’t forget about ergonomics. You’ll likely be using the camera frequently, sometimes with gloves on. A comfortable grip and intuitive button layout go a long way.
The two main types of cameras professionals use in dental photography are DSLRs and mirrorless models. Both have their advantages.
DSLRs (Digital Single-Lens Reflex cameras) have long been the gold standard. Models like the Canon EOS 90D or Nikon D7500 offer excellent image quality, robust performance, and compatibility with a wide range of macro lenses and ring flashes. Their battery life tends to be longer, which is great for busy clinics.
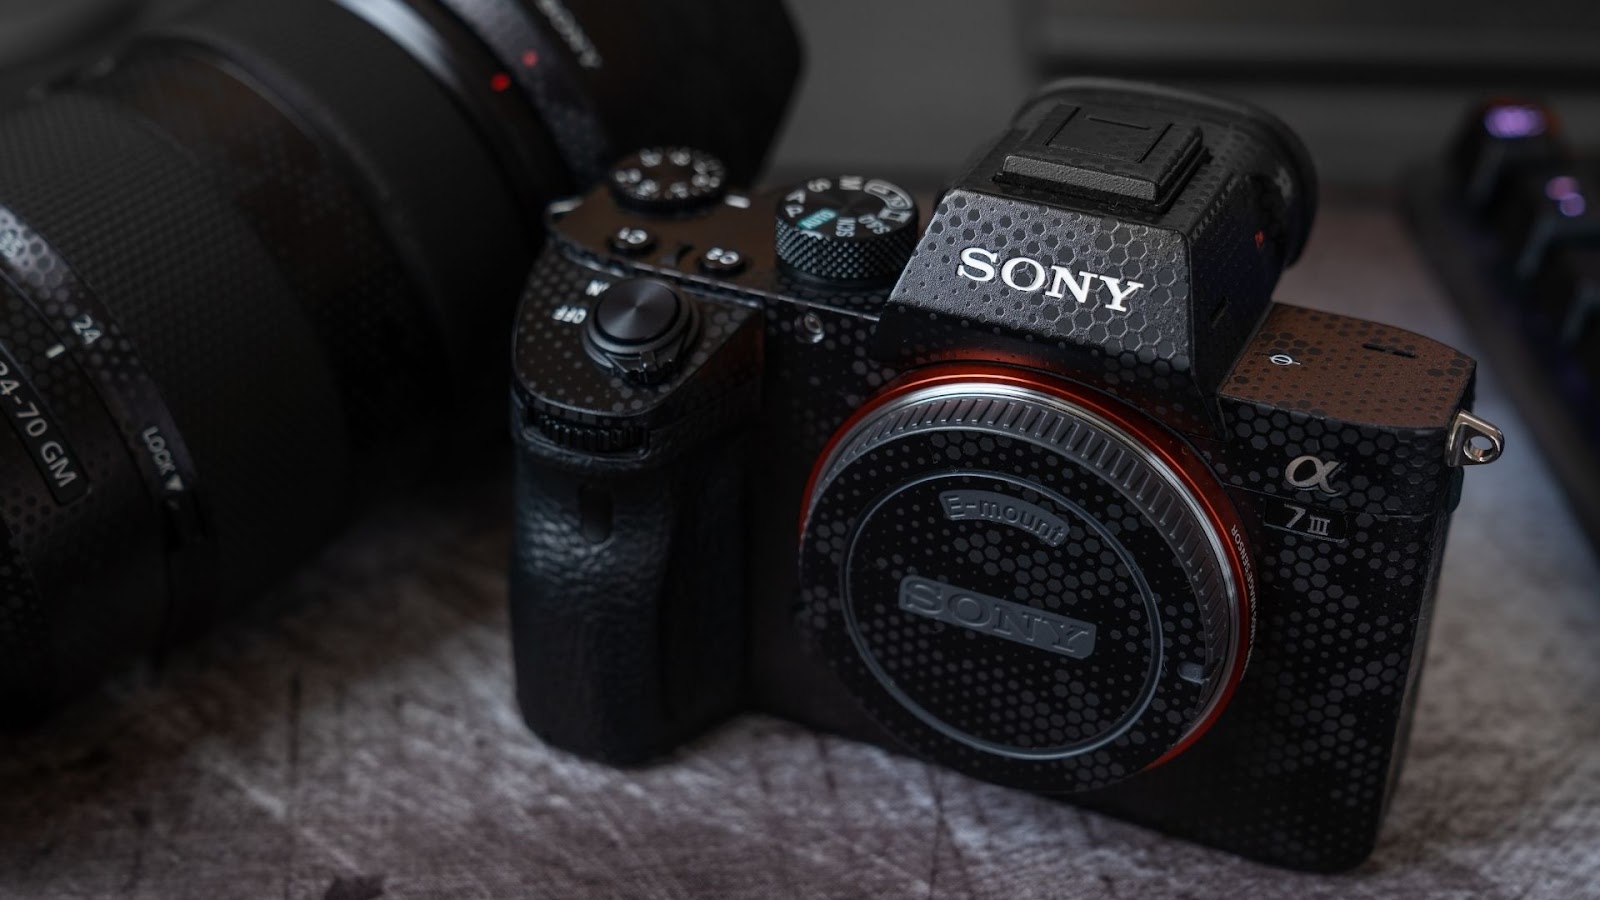
However, mirrorless cameras are gaining traction. The Sony Alpha a6400 or Canon EOS R50 are compact, lightweight, and offer cutting-edge autofocus systems. They’re quieter, easier to handle, and often come with newer tech features like touchscreens and better video capabilities. If you’re looking for a good camera for dental photography that’s future-proof, mirrorless might be the way to go.
That said, both types can deliver stunning results if paired with the right accessories.
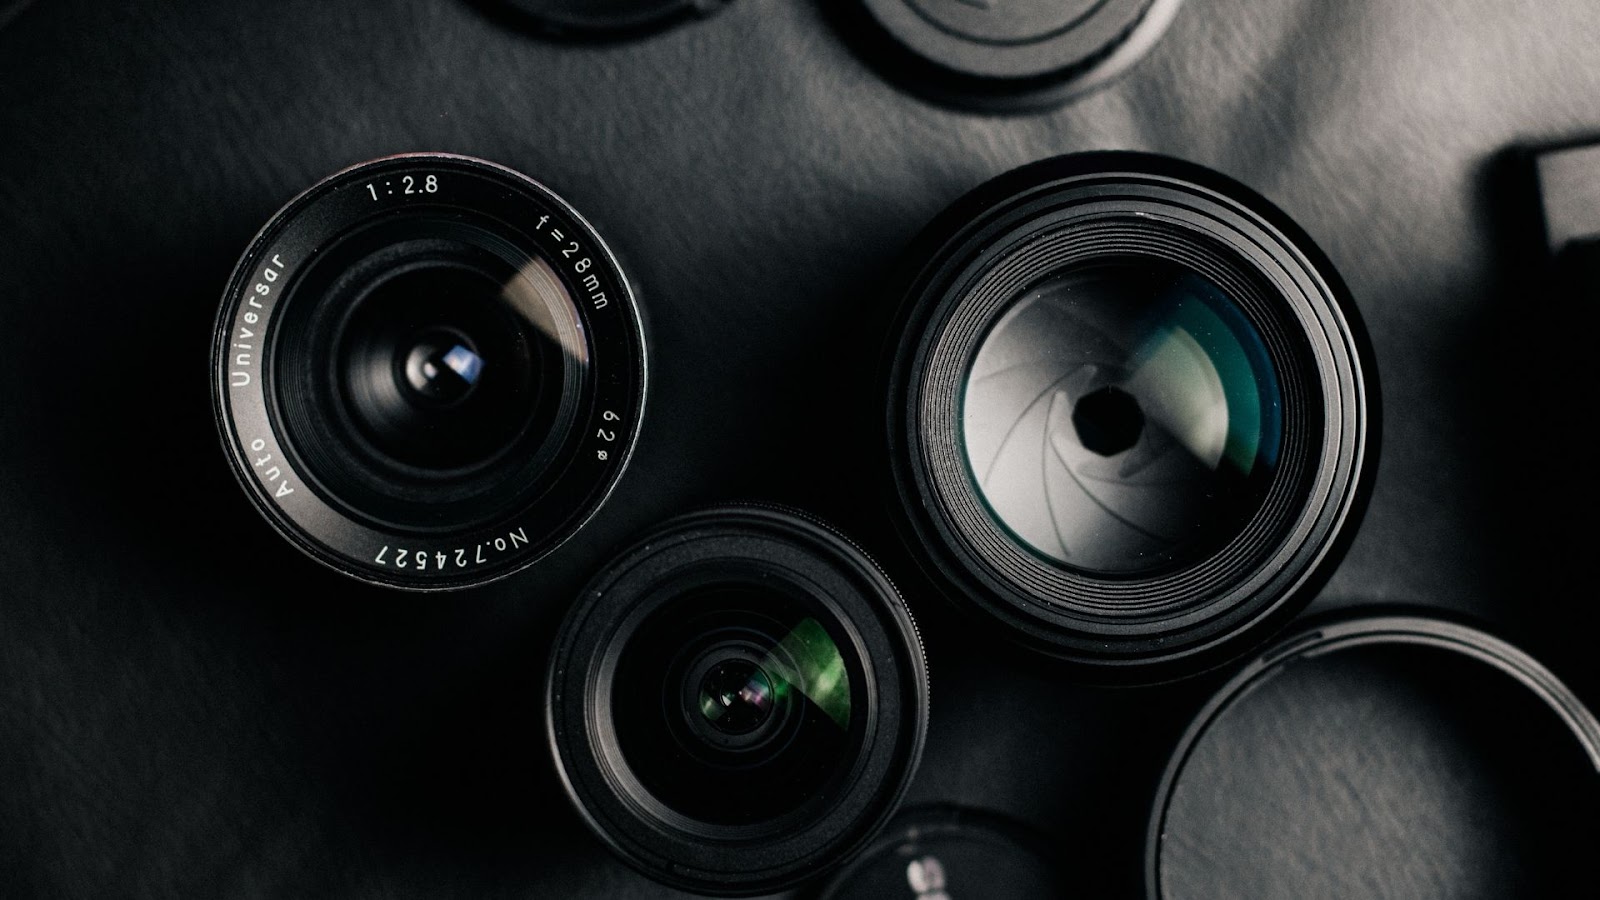
Your camera body is only half the equation. The lens is equally, if not more, important. A good camera for dental photography must be paired with a true macro lens. Macro lenses are designed for close-up shots and can capture minute details at a 1:1 ratio, meaning what you see is exactly what gets recorded.
The most popular focal length for dental photography is 100mm (or 105mm for Nikon). Lenses like the Canon EF 100mm f/2.8L Macro IS USM or Nikon AF-S 105mm f/2.8G VR Micro are trusted by professionals worldwide. These lenses allow you to shoot from a comfortable distance while still capturing ultra-detailed images.
You might be tempted to use a standard lens or zoom lens, but they won’t give you the sharpness and focus accuracy needed for intraoral or close-up shots.
No matter how good your camera and lens are, without proper lighting, your photos will fall flat. A ring flash is the most common lighting tool in dental photography. It provides even illumination, eliminates harsh shadows, and brings out every contour of the teeth and gums.
Twin flashes are another option. They give you more control over lighting direction, allowing for more depth and contrast. However, they come with a steeper learning curve.
If you want a plug-and-play setup, go with a ring flash. Look for models that are compatible with your camera system and offer adjustable brightness.
Again, what you’re really aiming for is clarity, sharpness, and natural-looking colors. The combination of a good camera for dental photography, a macro lens, and a proper lighting system will help you achieve all three.
Let’s talk real-world examples. Many dental professionals rely on tried-and-true camera setups that deliver consistent results. Here are a few combos that are especially popular:
Canon EOS 90D + Canon 100mm Macro + Canon MR-14EX II Ring Flash
This setup is one of the most widely recommended by dental photography educators. It offers a perfect balance of image quality, reliability, and ease of use.
Nikon D7500 + Nikon 105mm Macro + Nissin MF18 Ring Flash
Nikon users love this combo for its excellent ergonomics and outstanding macro performance. It’s a solid choice if you’re already invested in Nikon gear.
Sony Alpha a6400 + Sony 90mm Macro + Godox MF-R76C Ring Flash
For those leaning toward mirrorless, this setup is sleek and lightweight while still delivering professional-grade results.
Each of these is a good camera for dental photography in its own right, but when paired with the right lens and lighting, they become indispensable tools in a clinical setting.
Having a good camera for dental photography is one thing, but knowing how to use it properly is another. The goal is to capture consistent, high-quality images every single time-and that’s where manual settings come in.
Start with your aperture, which controls how much of the image is in focus. For dental photography, you usually want a small aperture (like f/22) to ensure the entire tooth or quadrant is sharp and detailed. This setting gives you more depth of field, which is critical in clinical images.
Next is shutter speed. Since your subject (the patient) might move slightly and you’re often shooting handheld, a shutter speed of around 1/125s to 1/200s is ideal to avoid blur.
Then we have ISO, which affects your image brightness. Keep it low-like ISO 100 or 200-to avoid noise and maintain image clarity.
Finally, always use manual focus when shooting intraoral photos. Autofocus can be inconsistent when working up close, especially with small subjects like teeth.
With these basic settings, you’ll be able to fully take advantage of your good camera for dental photography and produce clean, professional images.
Before you buy, think about how the camera will fit into your workflow. A good camera for dental photography should not only produce high-quality images but also be efficient in a busy clinical environment.
Check compatibility with accessories-especially your lens and lighting setup. Also, make sure the camera has a hot shoe mount if you’re using an external flash.
Battery life matters more than you think. Some mirrorless cameras don’t last as long as DSLRs on a full charge. If you’re photographing many patients a day, you’ll need extra batteries or a camera with longer runtime.
You should also think about ease of use. Can your dental assistants or other team members operate the camera with minimal training? The simpler and more intuitive the controls, the better.
And finally, consider your budget. You don’t always need the most expensive camera on the market. Sometimes, a mid-range DSLR with a macro lens and ring flash delivers excellent results. Invest where it matters most: lens and lighting.
Once you’ve invested in a good camera for dental photography, the fun really begins. These photos are powerful tools in several areas of your practice.
For patient education, showing a patient clear before-and-after photos helps build trust and improve case acceptance. It’s easier for someone to commit to a procedure when they can clearly see the benefit.
In insurance documentation, high-quality images support your claims and reduce the chances of reimbursement delays. Insurance companies prefer visual proof, and good photos can make a difference.
In social media and marketing, dental photography is one of the most effective ways to attract new patients. Everyone loves a transformation story, and crisp, clear photos show off your skills.
And don’t forget dental education and research. If you’re involved in teaching or publishing, your images need to meet high clinical standards. Having the right equipment ensures your work is taken seriously.
Even with the best gear, practice makes perfect. Here are some friendly tips to help you get better at using your good camera for dental photography:
Work with a consistent background, like a black or grey retractor, to make teeth and gums stand out. Always use retractors and mirrors properly to minimize distortion.
Position your lighting correctly. Even though ring flashes are automatic, small tweaks in distance and angle can greatly affect image quality.
Use a patient bib or backdrop to eliminate distractions in the background.
Shoot in RAW format if your camera allows it. RAW files store more data than JPEGs, giving you more flexibility during post-processing.
Lastly, review your photos often and don’t be afraid to reshoot if something feels off. A blurry or poorly lit photo isn’t worth keeping.
Choosing a good camera for dental photography is more than just a technical decision-it’s an investment in your practice. Whether you’re just starting out or upgrading your gear, remember that your camera is a clinical tool, just like a mirror or scaler. It should help you diagnose, educate, communicate, and grow your practice.
As you move forward, think of dental photography as a skill you can continually improve. The gear is important, but so is the technique. With practice and the right setup, you’ll be creating professional-level dental photos that not only support your work-but elevate it.
At aitinsider, we understand that even the best camera setups sometimes need a finishing touch. That’s where we come in. We specialize in image editing services for dental professionals, helping you turn great photos into flawless visuals. Whether it’s correcting color, enhancing contrast, or creating clean before-and-after presentations, we’ve got your back.
If you’re using a good camera for dental photography and want to make your images truly stand out-aitinsider is here to help. Visit our website to learn more and take your visual presentation to the next level.