Food photography has become one of the most popular photography trends, especially with the rise of social media platforms like Instagram, Pinterest, and TikTok. Whether you’re a food blogger, restaurant owner, or simply a foodie who loves to share your meals online, capturing mouth-watering food photos is essential. And the best part? You don’t need a fancy DSLR camera to do it. Food photography using iPhone has become a powerful and accessible way to capture beautiful images that look professional and appealing.
However, while iPhones come with powerful cameras, many people still make common mistakes that ruin their shots. In this article, we’ll talk about the most frequent errors people make when doing food photography using iPhone-and, of course, how to fix them. So, if you want your food photos to look as tasty as they do in real life, read this guide carefully.
Before diving into the mistakes, it’s important to understand what makes food photography using iPhone so special. Apple has continuously improved its camera technology over the years, giving users access to features like Portrait Mode, Smart HDR, ProRAW, and AI-based image processing. These tools make it possible for anyone to capture professional-quality photos with just a smartphone.
The convenience of having your camera in your pocket means you can capture food at its freshest moment-right when it’s served. But despite all these features, success in food photography using iPhone still depends more on your eye for detail and technique than on the device itself. Great lighting, composition, angles, and editing all play critical roles.
That’s why understanding what not to do is just as important as knowing what to do. So, let’s look at the most common mistakes people make when shooting food photos with their iPhones.
One of the biggest mistakes beginners make in food photography using iPhone is ignoring natural light. Artificial lighting from overhead bulbs, fluorescent lamps, or harsh spotlights can create strange shadows, dull colors, and unwanted reflections. Natural light, on the other hand, brings out the real color and texture of the food.
When photographing food, try to set up your scene near a large window. The soft daylight will evenly illuminate the dish, making it look more appetizing. If the light is too strong, you can diffuse it by placing a thin white curtain or paper in front of the window. Avoid using your iPhone’s flash-it often creates an unflattering, flat look that takes away the warmth and detail from your dish.
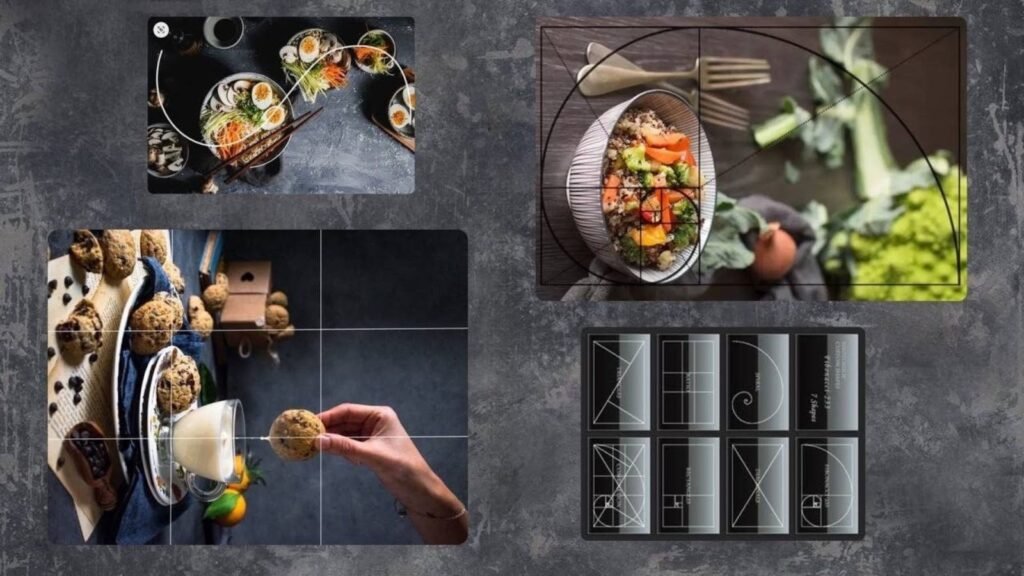
Composition can make or break a food photo. Many people just point their iPhone at the plate and snap a picture, but without considering framing, angles, or the story behind the dish. Food photography using iPhone should feel intentional, not random.
Try applying the “Rule of Thirds.” This means dividing your frame into a 3×3 grid and placing the most important elements of your dish along the lines or at the intersections. This simple trick creates balance and visual interest. Also, think about your background-cluttered tables or distracting patterns can draw attention away from your subject. Use simple, clean surfaces that complement the food rather than compete with it.
Editing is a big part of food photography using iPhone, but many beginners overdo it. Too much saturation, sharpness, or contrast can make food look fake or unappetizing. The goal of editing should be to enhance, not transform.
Apps like Lightroom Mobile, Snapseed, or VSCO are great for subtle edits. Adjust the exposure, tweak the white balance, and gently sharpen the details. Avoid filters that drastically change the food’s color-especially with items like fruits, desserts, or sauces. If your strawberry looks neon red, you’ve gone too far!
Always remember, the best food photos maintain authenticity. Your viewers should feel like they can almost taste the food through the screen.
This might sound simple, but a dirty lens can completely ruin a shot. Since we use our iPhones all the time, the lens easily gets smudged with fingerprints, dust, or oil. A foggy or hazy image often comes from a dirty camera lens, not poor technique.
Before shooting, take a few seconds to wipe your lens with a microfiber cloth. You’ll instantly notice sharper details and more accurate colors. Clean equipment is a small but vital step in food photography using iPhone that many overlook.
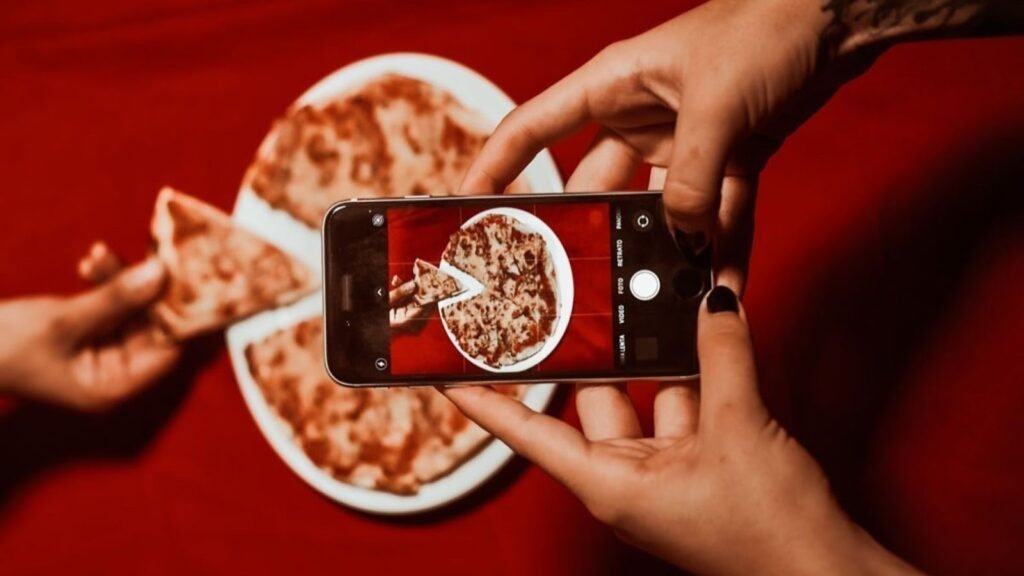
Another common error is choosing the wrong angle. Every dish has its best side, and finding it is key in food photography using iPhone. For example, flat foods like pizzas or toast look great when shot from above (flat lay), while layered foods like burgers, cakes, or sandwiches look better from the side.
Try experimenting with 90-degree, 45-degree, and straight-on angles to see what works best. Also, move around the dish instead of always keeping the phone fixed in one position. The best photographers know that the magic often happens when you change your perspective just a little.
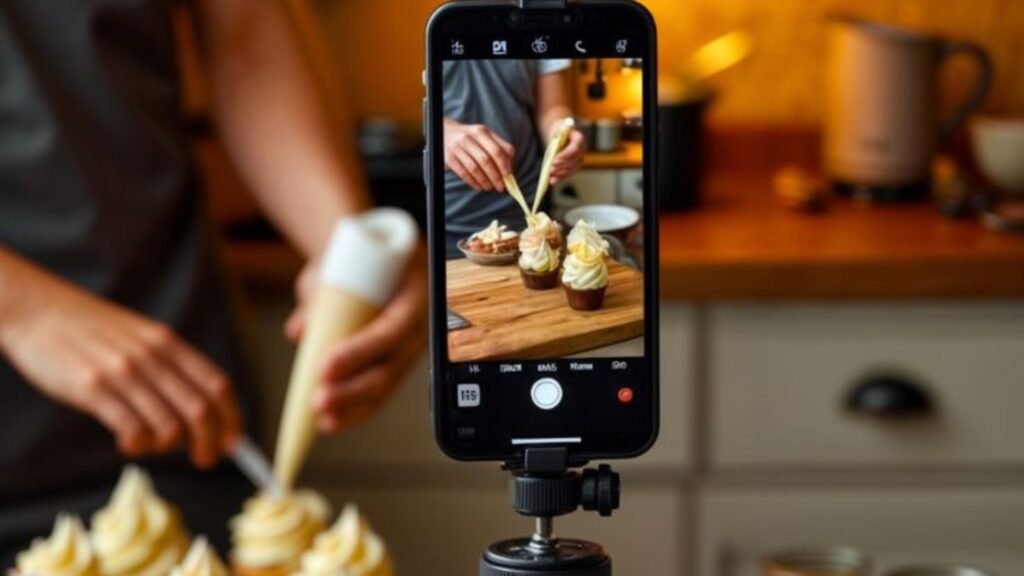
When doing food photography using iPhone, many people focus only on the main dish and forget about presentation. A beautiful setup adds story and depth to your photo. You don’t need fancy props-simple items like wooden boards, napkins, utensils, or ingredients used in the recipe can make your image more engaging.
Think about color harmony. If you’re photographing a bright green salad, place it on a neutral-colored plate. For darker foods, use lighter backgrounds to create contrast. This kind of visual balance makes the photo more inviting and professional.
Low-light situations can be tricky for food photography using iPhone. Even though iPhones have improved low-light performance, noise and blur can still occur. Avoid shooting in dimly lit rooms or at night unless you have a soft light source, like a ring light or LED panel, to brighten your setup.
If you must shoot in low light, increase exposure manually in your camera app and keep your iPhone steady-preferably on a small tripod. You can also use night mode carefully, but don’t rely on it too much, as it can change the mood and color tone of your shot.
When you’re doing food photography using iPhone, small details matter. A few crumbs on the plate, uneven sauce drips, or smudges on glass can distract viewers. Clean your dish, arrange your food neatly, and look at the overall composition before taking the shot.
Zoom in slightly to capture the texture the crispness of fried chicken, the creaminess of pasta sauce, or the shine on melted chocolate. These tiny details bring the image to life and make it feel real.
Forgetting to Tell a Story
Every good photo tells a story, even in food photography using iPhone. Instead of just taking a photo of a plate, show context. Add hands reaching for food, steam rising from a hot meal, or ingredients scattered around the main dish. These elements evoke emotions and make your audience feel part of the scene.
A story makes your photo memorable. It connects your viewers to the food beyond just appearance-they start to imagine the taste, smell, and moment behind it.
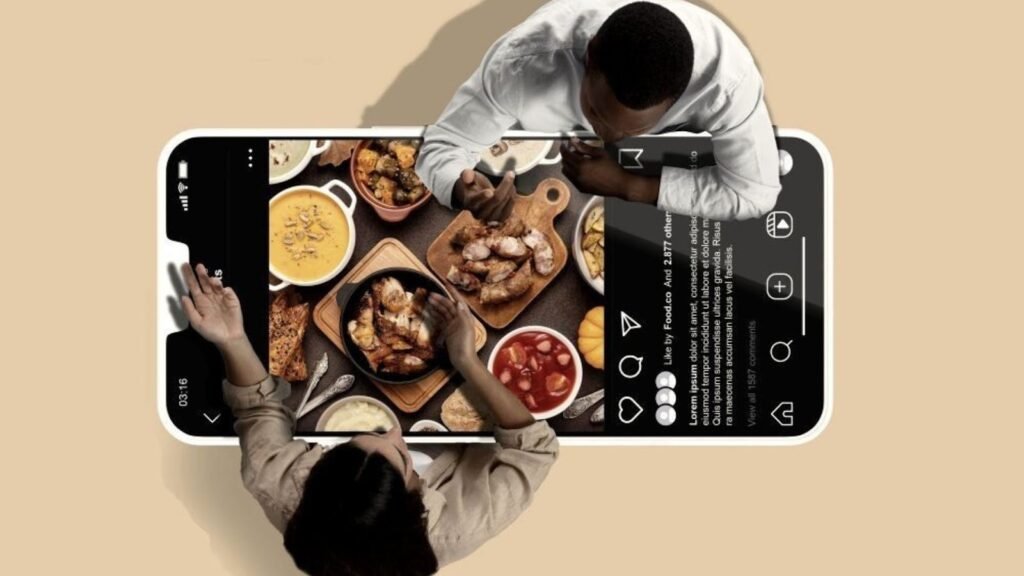
When doing food photography using iPhone, you should always think about where you’ll share your photos. Instagram, Pinterest, and blogs each have different optimal sizes and formats. Editing for the right platform ensures your photo looks its best everywhere.
For example, Instagram favors square or vertical images, while Pinterest prefers tall images. Adjust the crop and framing accordingly before posting. That little adjustment can make your photo perform much better online.
A lot of people find one good setup and stick to it forever. But food photography using iPhone thrives on creativity. Don’t be afraid to try new lighting angles, props, or color schemes. You’ll be surprised how a small change can transform a photo from average to stunning.
Experimentation also helps you discover your unique style. Whether you love bright, minimalistic shots or dark, moody vibes, practice and exploration will guide you to your signature look.
The iPhone camera app comes with powerful built-in tools that can make your food photography using iPhone much easier. Features like Portrait Mode, Focus Peaking, and Gridlines can help improve your composition and sharpness.
Portrait Mode, for instance, beautifully blurs the background and focuses on your dish, creating a professional look. Smart HDR balances light and shadows, while the ProRAW feature captures more data for high-quality editing later. Take the time to learn these features-they can significantly elevate your results.
While over-editing can be harmful, skipping editing completely is another mistake. Even the best iPhone photos need slight adjustments to bring out their full potential. Use photo editing apps to adjust lighting, contrast, saturation, and sharpness. A well-edited photo looks clean, vibrant, and professional.
Remember, post-processing doesn’t mean faking it-it means polishing your image so it reflects what you saw in real life.
One of the easiest ways to ruin image quality in food photography using iPhone is using digital zoom. When you zoom in on your iPhone screen, you’re not actually magnifying the subject optically-you’re cropping and enlarging the image, which reduces resolution and sharpness. The result? A grainy, less-detailed photo that lacks that crisp professional look.
Instead of zooming, simply move closer to the dish. Your iPhone’s lens performs best when it captures images at its native focal length. If you’re using a newer iPhone with multiple lenses, switch between the wide, telephoto, or ultra-wide lens instead of pinching to zoom. Getting physically closer helps maintain texture and clarity, which are essential in food photography using iPhone.
Color plays a massive role in food photography. Unfortunately, many beginners ignore color temperature. For example, some iPhone users shoot under yellow or blue-toned lights, which can make food look unappetizing. Food photography using iPhone should aim for color accuracy-your greens should look fresh, your meats should look juicy, and your desserts should look inviting.
Before taking your shot, check your white balance. Natural daylight provides the most balanced tones, but if you’re indoors, adjust the color temperature manually using editing apps like Lightroom Mobile or Snapseed. Neutral white or slightly warm tones usually work best for food.
This attention to color temperature ensures that your dish looks true-to-life and delicious, not dull or artificial.
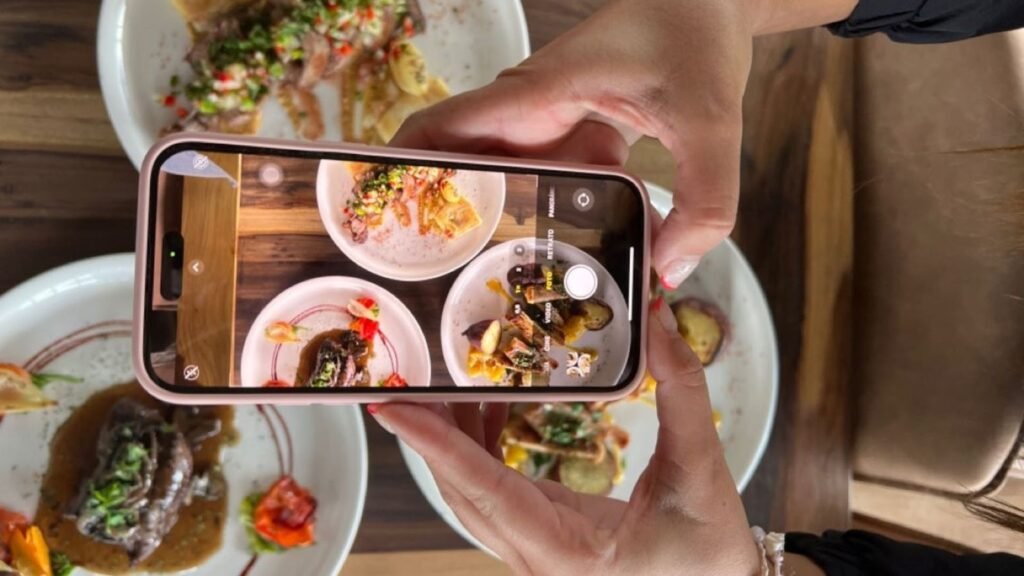
Food doesn’t stay perfect for long-ice cream melts, steam fades, and garnishes wilt. A common mistake in food photography using iPhone is taking just one or two photos and stopping. The best photographers take multiple shots from different angles, distances, and lighting conditions.
Your iPhone makes this super easy. Use the Burst Mode to take multiple frames quickly, especially when photographing dynamic scenes like pouring sauce or sprinkling sugar. Later, you can choose the sharpest and most visually appealing image.
The difference between an average and stunning food photo often comes down to that one perfect shot you almost missed.
When using your iPhone camera, tapping on the screen lets you control focus and exposure. Many beginners overlook this feature and end up with photos that are either too dark, too bright, or out of focus.
For perfect food photography using iPhone, tap on the main part of the dish-like the center of a pizza or the top of a cake-to set focus. Then slide your finger up or down to manually adjust brightness (exposure). This small adjustment ensures your food looks well-lit and sharp without losing details in the highlights or shadows.
It’s one of the simplest but most powerful habits you can build to improve your food shots instantly.
When photographing food, not every inch of your frame needs to be filled. Leaving some space-known as “negative space”-around your subject makes the photo feel balanced and gives your viewer’s eyes room to rest.
Many people crowd the frame with too many props or dishes, making the photo feel chaotic. In food photography using iPhone, negative space can actually highlight your subject better, giving it more presence and focus.
Try leaving one side of your frame open or using a minimal background. It helps your food stand out and gives your photo that modern, editorial look often seen in magazines and blogs.
Even though food photography using iPhone can produce incredible results, it’s still important to understand your phone’s limits. While iPhones have advanced cameras, they can’t always handle extreme low light or excessive backlighting as well as professional cameras.
The key is to work with your iPhone’s strengths-like its sharpness, ease of focus, and color accuracy-and avoid situations that might expose its weaknesses. With practice, you’ll learn how to adapt your techniques to get the best results in any lighting condition.
Sometimes, beginners focus so much on the food itself that they forget to include the atmosphere around it. A beautiful dish can look flat without a bit of context. Adding elements like utensils, table settings, or even ingredients can create a cozy and relatable mood.
Food photography using iPhone isn’t just about the dish-it’s about the experience. If you’re photographing a Sunday breakfast, show a steaming cup of coffee in the corner. If it’s a homemade cake, include a slice missing with crumbs on the plate. These storytelling elements invite viewers into the moment, making your photo more memorable.
Once you’ve avoided the common mistakes, you can take your food photography using iPhone to the next level with a few advanced techniques.
Start by learning about light direction. Side lighting often works best for food because it enhances texture and depth. Try placing your dish near a window and rotating it to see how shadows and highlights interact.
Also, don’t underestimate the power of editing RAW photos. If your iPhone supports Apple ProRAW, shoot in this format. It captures more data, allowing for better editing control without losing quality. Editing in RAW helps you adjust brightness, shadows, and color tones more naturally.
Lastly, use gridlines to improve composition. Keeping your food aligned along the grid or centered perfectly can make your photos look more balanced and intentional.

After capturing your shots, editing is the final step in food photography using iPhone that brings your image to life. You don’t need to be a professional editor-just follow a few basic principles.
Start with exposure and brightness. Increase them slightly to make your image pop, but not so much that you lose detail. Then, enhance contrast to give your photo more depth. Adjust the white balance to ensure your food’s colors look accurate and natural.
Sharpening is another key step-just a little can make textures like crust, cream, or garnish stand out. Finally, apply a touch of vignette to draw attention toward the center of the frame.
If you want to go further, you can use advanced editing tools or outsource your post-production to professionals. Websites like aitinsider provide image editing services for photographers, businesses, and food bloggers who want flawless images without spending hours editing.
The beauty of food photography using iPhone lies in its simplicity and accessibility. You don’t need expensive gear to create stunning, high-quality images-just practice, patience, and creativity.
Start by exploring your local cafes or trying new dishes at home. Practice capturing food in different lighting setups and from various angles. Don’t be afraid to experiment with props, themes, and editing styles. Over time, you’ll develop your own signature look that people will recognize and love.
Remember, photography is an art form-it’s not about perfection, it’s about storytelling. Let your photos express your personality and passion for food.
Avoiding these common mistakes can transform your food photography using an iPhone from average to extraordinary. Pay attention to lighting, composition, and styling. Keep your editing natural, and always remember to clean your lens!
With the right techniques and mindset, your iPhone can become a powerful photography tool that rivals professional cameras. Each photo you take is a chance to tell a story-of flavors, moments, and emotions.
If you want to take your food photos to a professional level, visit aitinsider. At aitinsider, we provide expert image editing services that can enhance your food photos, remove imperfections, and make them look picture-perfect for your website, blog, or social media. Whether you’re a food photographer, influencer, or restaurant owner, our editing services help your images stand out and attract more attention.
So the next time you’re snapping that delicious brunch or fancy dessert, remember-great food photography using iPhone isn’t about the phone, it’s about how you use it. And with these tips, you’ll be ready to capture every bite in its most mouth-watering form.
Creative Food Photography Ideas & Styling Tips 2025
[…] is where creative food photography becomes art. It’s not about fake food or excessive gimmicks; it’s about thoughtful placement […]
Food Photography Services – Professional Food Images | Aitinsider
[…] or perhaps you specialize in bold, indulgent flavors. The key is making that story visible. Food Photography Services help brands express their personality visually, ensuring that every image reflects their […]
Food Photography Studio – Capture Delicious Perfection | Aitinsider
[…] Food Photography Studio also helps maintain consistency across your marketing platforms. Whether your images appear […]