Food photography is one of the most creative and rewarding niches in photography. But while bright, airy food photos dominate social media, there’s a growing trend that captures the attention of viewers in a completely different way: dark food photography. This style emphasizes deep shadows, moody lighting, and dramatic contrasts to create images that feel rich, sophisticated, and cinematic.
If you’re just starting out, dark food photography may seem intimidating. How do you make food look appetizing when the scene is intentionally dark? How do you control shadows without making the image too gloomy? Don’t worry – this beginner’s guide will walk you through everything you need to know, from equipment and lighting to styling and editing, helping you confidently master this captivating style.
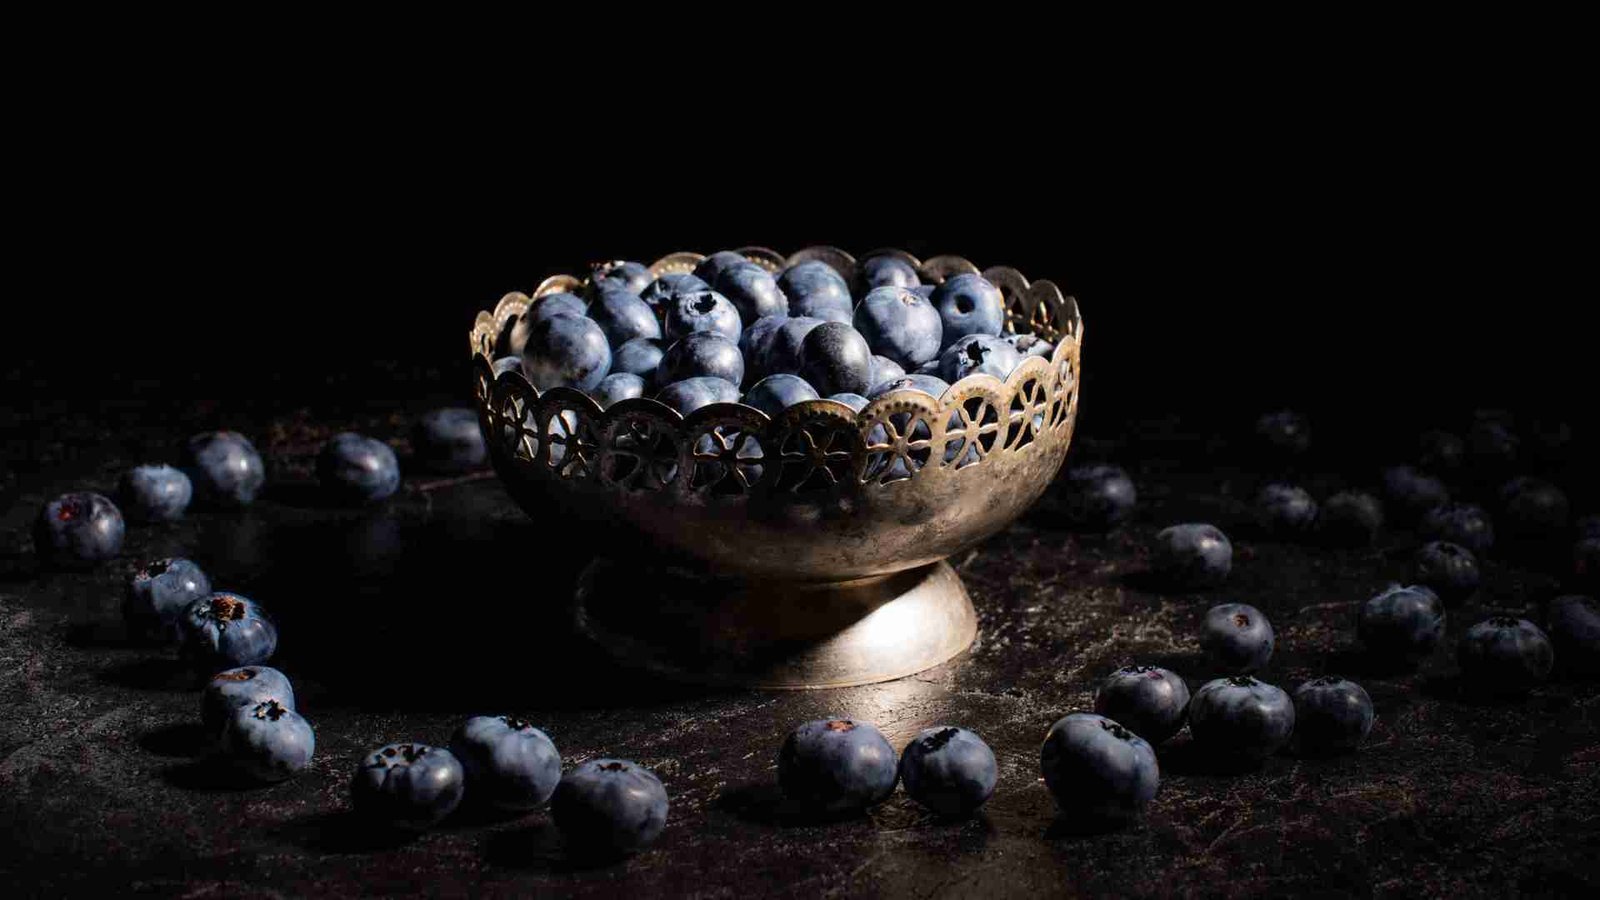
Unlike traditional bright food photography, which emphasizes freshness and vibrancy, dark food photography is all about mood, drama, and storytelling. By using shadows and selective lighting, photographers can create images that feel rich, intimate, and often luxurious.
This style is especially popular in editorial food photography, cookbook photography, and high-end restaurant promotions. It draws the viewer’s eye to textures, highlights key ingredients, and evokes emotion in a way that bright, flat images often cannot. Dark food photography can turn a simple dish into a visual experience, making the viewer feel like they’re sitting at a candlelit table savoring every bite.
For beginners, understanding the emotional impact of dark food photography is key. It’s not just about taking photos in low light – it’s about creating an atmosphere that enhances the food itself.

At its core, dark food photography is about controlling light and shadow. Unlike bright photography, where you want even illumination, here the shadows are intentional and crucial to the composition.
One of the first principles is contrast. You need a strong difference between the light areas and the dark areas to make the food pop. This doesn’t mean exposing the photo incorrectly – it means carefully choosing where the light falls and letting shadows do the storytelling.
Composition is equally important. In dark food photography, negative space is your friend. Leaving areas of the frame in shadow creates depth and directs attention to the focal point of the dish. This style also allows for more dramatic camera angles, like overhead shots or tight close-ups on textures.
You don’t need an expensive studio to get started, but the right tools make a huge difference. A DSLR or mirrorless camera with manual settings is ideal because it allows you to control exposure, ISO, and shutter speed. A tripod is essential for stability since dark food photography often requires longer shutter speeds to capture the subtle lighting.
Lighting is the real game-changer. Continuous light sources like LED panels or softboxes give you control over shadows, while natural light can also work if you diffuse it with sheer curtains. Many photographers use a single light source positioned at an angle to create dramatic shadows and highlights. Reflectors can be used sparingly to bounce light back into shadowed areas without flattening the image.
Lenses in the 50mm to 100mm range are popular because they capture detail without distortion. Macro lenses are also great if you want to highlight textures like the crust of bread, the drizzle of sauce, or the froth of a coffee cup.

Dark food photography relies heavily on creating the right environment for the shot. Start with a dark or neutral background – black, deep gray, or rich wood tones work wonderfully. Avoid clutter and bright distractions, as they can pull attention away from your main subject.
Think of your scene like a painting. Every element, from plates to utensils, contributes to the mood. Matte surfaces often work better than glossy ones because they reduce unwanted reflections. Minimal props are usually best – a rustic wooden board, a linen napkin, or a simple spoon can enhance the scene without overpowering it.
Angles also matter. While overhead shots work well for flat lays, angled side shots can emphasize textures and depth. Experiment with positioning your camera relative to the light source to see how shadows play across the dish.
Lighting is the most critical aspect of dark food photography. Unlike bright food photography, where you aim for soft, even illumination, here you want directional light that creates drama.
Side lighting or backlighting often works best. Place your light source to the side of the dish, and let shadows fall naturally. This emphasizes textures, shapes, and layers within the food. For example, the ridges on a croissant or the bubbling edges of a stew become more pronounced under side lighting.
Diffusers are invaluable. They soften harsh highlights and ensure your light transitions smoothly into shadow. If you’re using natural light, a thin white curtain over a window is an inexpensive and effective diffuser. Reflectors, placed strategically, can fill in shadows just enough to reveal detail without eliminating the moody atmosphere.
Controlling reflections is also key, especially with shiny surfaces like sauces, glassware, or polished plates. Sometimes a slight tilt of the dish or the light source can remove unwanted glare and maintain the mood.

Styling is where your creativity can shine in dark food photography. Unlike bright, cheerful photos that use vivid props, this style is more restrained and intentional.
Start with the food itself. Fresh, textured ingredients work best because they catch the light and create visual interest. Avoid overcooked or flat-looking dishes, as the shadows will only exaggerate imperfections.
Next, think about color contrast. Dark food photography doesn’t mean everything must be black. Rich, deep colors like red wine, dark chocolate, roasted vegetables, and coffee look striking against dark backgrounds. Small pops of lighter tones, like a sprinkle of powdered sugar or a fresh herb, can guide the viewer’s eye.
Props should complement the scene. Textured napkins, rustic plates, and matte utensils add depth without stealing attention. Avoid shiny or reflective items unless you want to create intentional highlights.
Compositionally, embrace negative space. Let the shadows breathe and avoid overcrowding the frame. This creates a cinematic feel and makes the focal point more compelling.
Beginners often face several challenges with dark food photography, but most can be solved with patience and experimentation.
One common issue is underexposure. Since you’re working in darker conditions, it’s easy to let the photo become too dark, losing detail. The solution is to carefully balance shutter speed, aperture, and ISO. A tripod is essential here to avoid camera shake.
Another challenge is noise, especially when shooting in low light. Higher ISO settings introduce grain, which can be distracting. Use a camera with good low-light performance, and consider post-processing noise reduction if needed.
Reflections and glare, as mentioned earlier, can also pose problems. Matte surfaces, angled lights, and polarizing filters help manage this issue.
Lastly, don’t underestimate the power of post-processing. Dark food photography often requires fine-tuning shadows, highlights, and contrast to achieve the desired mood. Programs like Adobe Lightroom and Photoshop give you control over these adjustments.

Editing is where dark food photography truly comes alive. While the shooting process sets the mood, post-processing refines it, enhances textures, and balances light and shadow.
Start by adjusting exposure and contrast. Often, dark food photos need subtle tweaks to ensure details aren’t lost in shadows. Enhance textures carefully to make ingredients pop without looking artificial. Color grading is also important – dark food photography benefits from deep, rich tones that reinforce the moody aesthetic.
Background cleanup is another critical step. Even small specks or unwanted highlights can distract in a minimalist dark scene. Tools like the healing brush, clone stamp, or background removal features can ensure the focus remains on the food.
If you want professional-level editing but don’t have time or experience, services like aitinsider can help. Their image editing services ensure your dark food photography looks polished, consistent, and ready for publication or e-commerce.
Once you’re comfortable with the basics, you can start exploring advanced techniques to elevate your dark food photography. These methods help create more depth, mood, and cinematic quality, allowing your images to stand out.
One powerful approach is low-key lighting. This technique emphasizes shadows and selectively illuminates parts of the subject, creating a dramatic contrast. Low-key lighting is perfect for highlighting textures, such as the crisp crust of bread, the gloss on chocolate, or the steam rising from a hot dish.
Selective focus is another technique that works well. By using a shallow depth of field, you can blur the background and foreground, directing attention to the main subject. This is especially effective for plated meals or beverages where the main element should dominate the viewer’s attention.
Experimenting with color grading in post-processing can also elevate your images. Dark food photography benefits from rich, deep tones – warm browns for roasted dishes, jewel-like reds for sauces, or muted greens for herbs. Carefully adjusting highlights and shadows enhances mood without losing realism.
Let’s look at practical scenarios to understand how dark food photography works in real settings.
Consider a dark chocolate dessert. Using a single softbox angled from the side creates soft shadows while highlighting the chocolate’s glossy texture. Adding a few scattered crumbs and a delicate sprinkle of powdered sugar adds storytelling without overwhelming the composition.
For coffee or beverages, dark food photography can emphasize steam and reflections. A cup of espresso against a matte black background with soft light hitting the foam creates a luxurious, inviting mood. Small props, like a silver spoon or coffee beans, can enhance texture and storytelling.
Even simple meals like roasted vegetables or grilled meat can be elevated with dark food photography. Position the light to highlight textures, and allow shadows to add depth. The result is a rich, editorial-quality image that feels both intimate and appetizing.
These examples show that dark food photography isn’t limited to fancy dishes – it’s about mood, composition, and lighting. Every dish can look cinematic with the right approach.

If you want to turn dark food photography into a professional service, understanding client needs is essential. Clients are often seeking images that not only look good but tell a story and match their brand identity.
Start by asking detailed questions about the intended use. Is the photo for a website, social media, menu, or editorial publication? Each platform has specific requirements for style, resolution, and composition. A social media post might allow for more creative freedom, while a website image may need precise clarity and detail.
Sharing mood boards or sample images before shooting is a great way to align expectations. This ensures both you and the client have a clear understanding of lighting style, composition, props, and mood.
Delivering files in multiple formats also adds value. High-resolution images are perfect for print or marketing materials, while optimized web versions ensure fast loading times for online platforms. Clients appreciate this flexibility, and it positions you as a professional who understands their business needs.
Pricing can be tricky, especially for beginners. Should you charge per image, per hour, or per project? It often depends on the complexity of the shoot.
For simple product-style shots, per-image pricing works well. Clients may want a series of images with consistent lighting and composition, and charging per image ensures fairness for both parties. For more elaborate shoots with styled setups, props, and lifestyle elements, project-based pricing is usually better.
Factor in your time for planning, shooting, editing, and client communication. Dark food photography often requires longer shooting times due to lighting adjustments and setup. Don’t undervalue your work – your photography can directly impact a brand’s perception and sales. Framing your pricing as an investment in their brand’s image helps clients understand your value.

Editing is where dark food photography comes to life. Even carefully shot images benefit from fine-tuning in post-processing.
Adjust exposure and contrast carefully. The goal is to enhance details in the shadows without overexposing highlights. Texture enhancement can bring out the richness of ingredients, such as the flaky crust of pastries or the juiciness of roasted vegetables.
Color grading is crucial. Deep, warm tones often enhance the mood and make food appear more appetizing. However, subtlety is key – over-editing can make dishes look unrealistic or unappetizing.
Background cleanup is another essential step. Dust, crumbs, or minor reflections can distract in minimalist dark setups. Professional editing ensures the focus remains on the food. If you need expert assistance, aitinsider provides professional image editing services that perfect your dark food photography for commercial or editorial use.
Your portfolio is your most powerful tool for attracting clients. A strong portfolio showcases your technical skill, creativity, and understanding of mood.
Start with practice at home. Photograph everyday dishes using dark backgrounds and directional light. Focus on composition, textures, and props that enhance the story. Even unpaid practice shots can demonstrate your capability.
Include variety. Showcase different types of dishes, beverages, baked goods, and textures. Highlight your ability to manage lighting, shadows, and mood consistently. Over time, this builds credibility and attracts clients looking for high-quality dark food photography.
Reach out to local restaurants, cafes, or food brands. Offering discounted sessions in exchange for permission to use images in your portfolio is a common strategy. With persistence and practice, you can gradually transition from beginner to professional.
Dark food photography isn’t just artistic – it’s a marketing tool. Images with dramatic lighting and rich textures engage viewers emotionally, encouraging them to connect with a brand.
For restaurants, dark food photography can communicate sophistication and quality. For packaged foods, it highlights textures and ingredients, making products more enticing. In digital marketing, moody food images stand out in crowded social feeds, increasing engagement and brand recall.
By mastering dark food photography, you’re not only enhancing your creative skills but also providing clients with images that drive results. This combination of artistry and marketing makes this niche both rewarding and profitable.

Here are some key takeaways to help you succeed in dark food photography:
Patience is essential. Setting up lighting, props, and angles may take longer than traditional bright photography. Take your time and experiment.
Practice lighting control. Shadows are your friend, but they require precision. Learn how to position your light and adjust modifiers to achieve the mood you want.
Keep props minimal and intentional. In dark food photography, simplicity enhances drama. Each element should contribute to the story.
Refine your editing skills. Subtle adjustments in exposure, contrast, and color grading make a big difference. Don’t be afraid to seek professional editing services when needed.
Lastly, stay inspired. Study magazines, cookbooks, and food blogs that feature dark food photography. Observe how professionals use light, shadow, and composition to create impact.
Even the best photos can benefit from professional editing. Subtle enhancements in contrast, color balance, and texture can turn good dark food photography into exceptional visuals.
At aitinsider, we specialize in image editing services that elevate food photography. From adjusting lighting and shadows to removing distractions and perfecting backgrounds, we ensure your photos look polished and professional. Whether you’re a beginner or a seasoned photographer, our services help your dark food photography stand out in competitive markets.
By combining your creative skills with professional editing support, you can deliver images that captivate audiences, build brand trust, and showcase food in the most appetizing way possible.
Creative Fall Food Photography For Seasonal Feasts
[…] your work instantly. In short, editing should enhance what’s already there. The essence of fall food photography lies in authenticity, not […]
Food Photography Online Course | Learn To Shoot Delicious Photos From Home
[…] Food Photography Online Courses usually come with personal feedback, professional editing tutorials, and sometimes […]