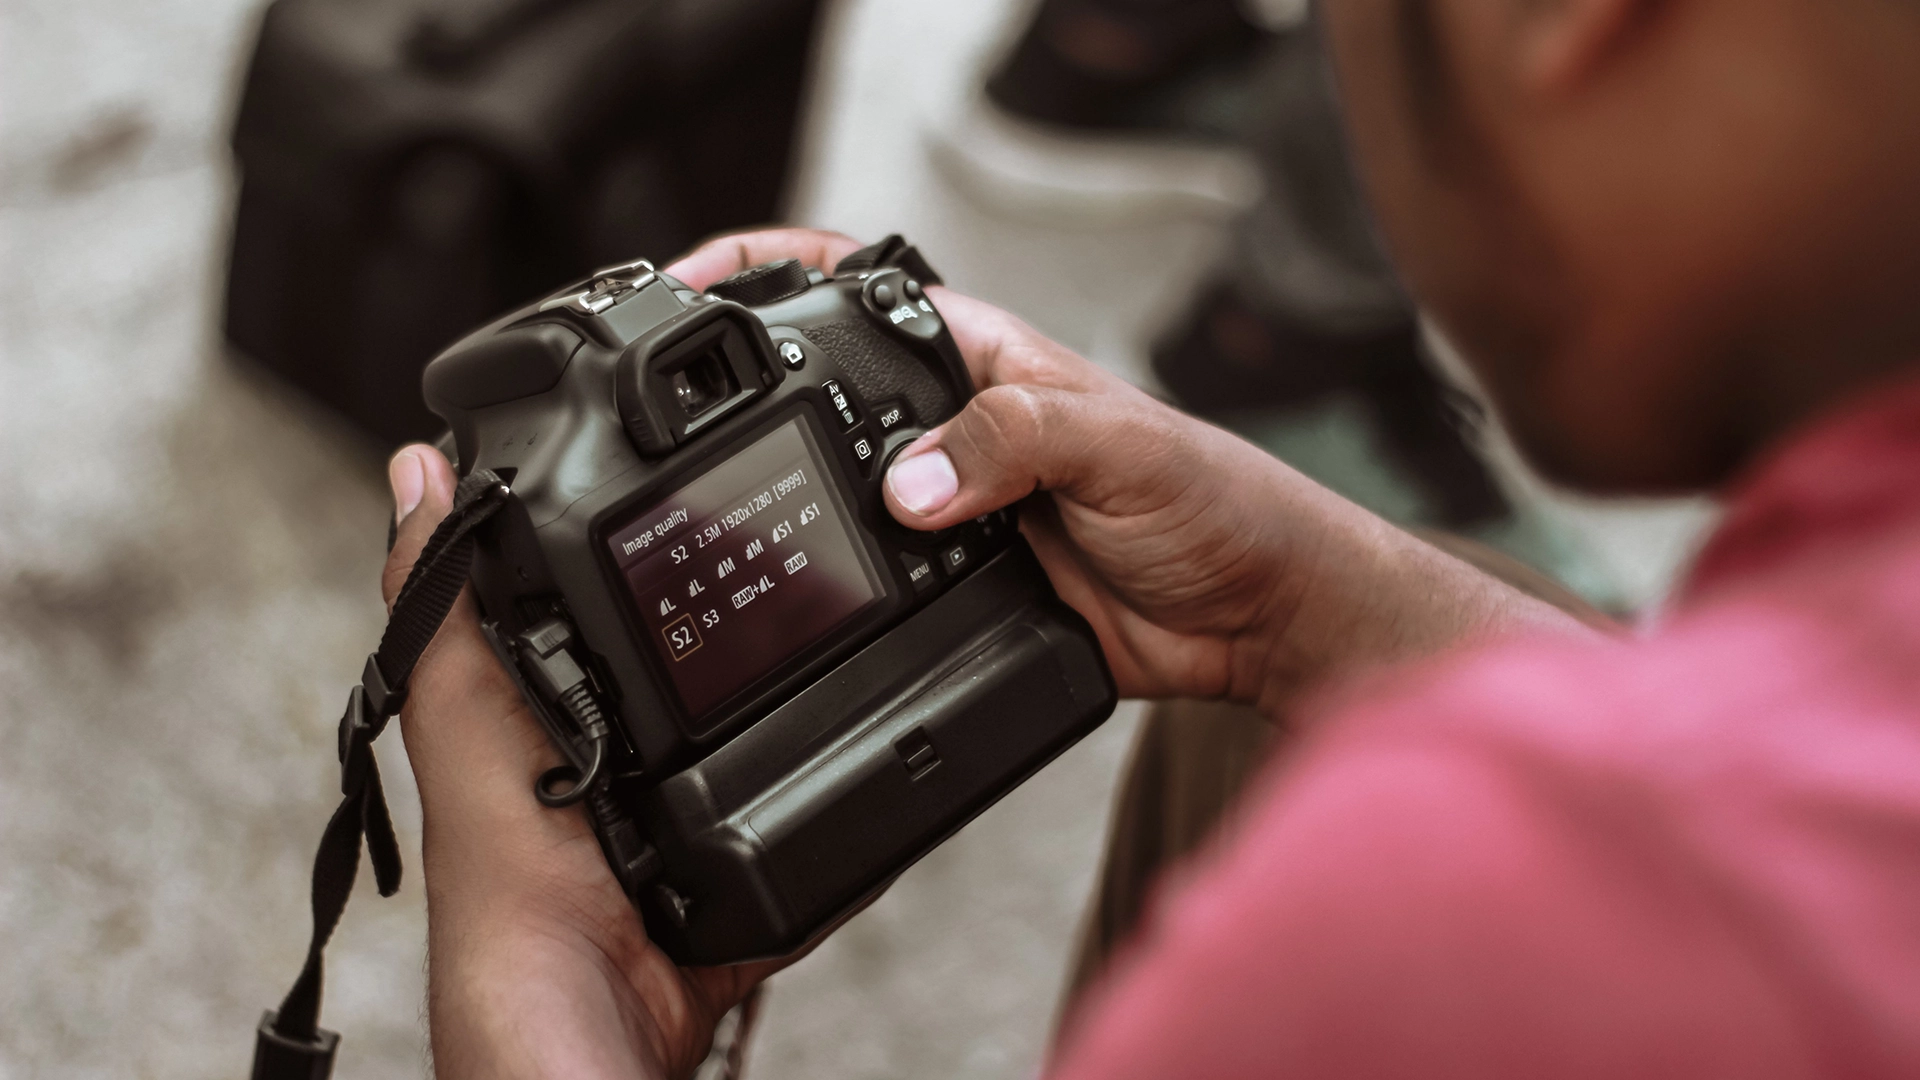
Wrestling is a sport full of intense action, quick movements, and raw emotion. Capturing it all with your camera can be thrilling-but also challenging. Whether you’re shooting a high school match in a dimly lit gym or covering a professional wrestling event with complex lighting, understanding the camera settings for wrestling photography is key. In this article, we’ll walk through every major camera setting-from ISO to aperture-and help you get the most out of your gear so you can freeze those jaw-dropping moments with clarity and power.
If you’re in the market for a new camera or lens and wondering how to choose the best tools for wrestling photography, you’re in the right place. We’ll also touch on how different gear can affect your results. Let’s jump in and demystify the camera settings for wrestling photography once and for all.
Photographing wrestling isn’t like snapping shots of a sunny picnic or a slow-paced sport. It’s fast. The lighting is usually poor or mixed. The action is unpredictable. The ring or mat is often surrounded by distractions. And you usually can’t use a flash.
All of this makes choosing the right camera settings for wrestling photography incredibly important. Your camera has to be able to react quickly. It needs to see well in low light. It should focus fast and accurately. And it should give you images sharp enough to freeze that epic suplex or winning pin. Let’s explore how to make that happen.
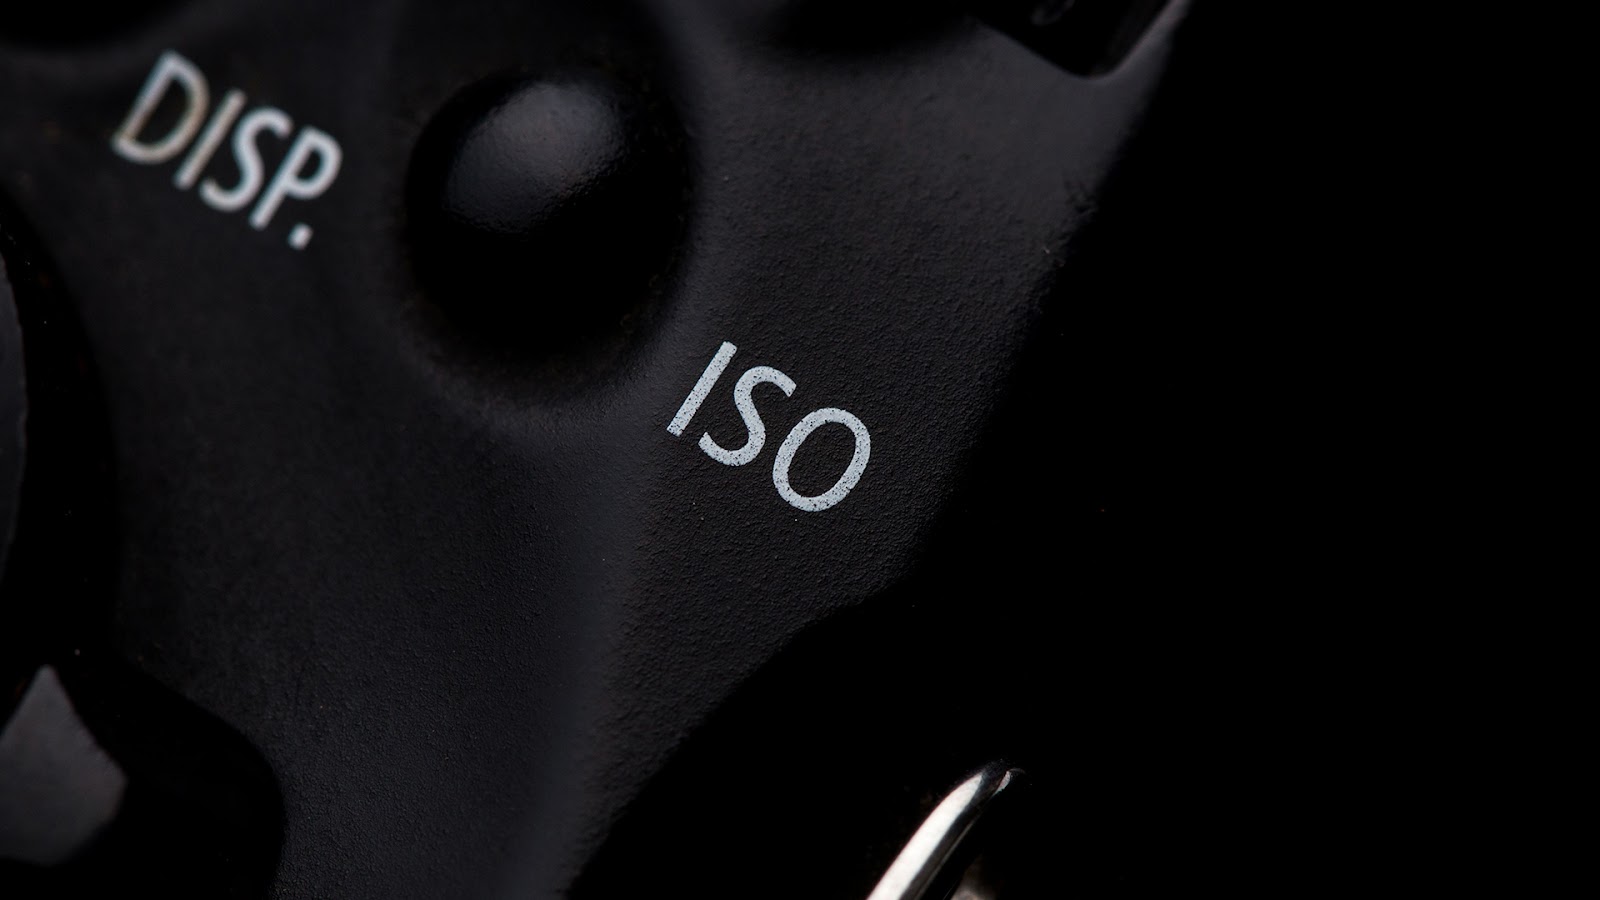
ISO is one of the most important camera settings for wrestling photography because you’re often shooting indoors where lighting is less than ideal. ISO controls how sensitive your camera’s sensor is to light. A higher ISO lets you shoot in darker conditions without making your images too dark-but it comes with a trade-off: noise.
For wrestling, especially in high school gyms or smaller venues, you’ll likely need to push your ISO quite high. It’s common to shoot at ISO 1600, 3200, or even 6400 depending on your camera. Newer mirrorless and DSLR cameras handle high ISO much better than older models, so choosing a camera with good low-light performance can really pay off.
Here’s a little trick: if your image looks slightly grainy because of high ISO, don’t panic. You can clean it up with editing software later-and if you ever need help, aitinsider offers professional image editing services to make your wrestling photos look stunning.
Shutter speed is what helps you freeze that perfect wrestling move. Set it too low, and your subjects will be a blurry mess. Set it too high, and you might need a very bright environment or higher ISO to compensate.
The best camera settings for wrestling photography usually start with a shutter speed of at least 1/500 of a second. But to really lock in those explosive takedowns or jumps, go faster-1/1000 or more. Of course, the faster the shutter, the more light you’ll need, so again, you may have to raise your ISO or open up your aperture (which we’ll cover next).
Some sports photographers even use shutter priority mode, letting the camera automatically adjust aperture while you control how fast the shutter opens and closes. That’s a helpful setting if you’re new and just starting to experiment.
Aperture is the opening in your lens that lets light in. A wide aperture (like f/2.8) allows more light to hit the sensor and creates a blurry background effect that makes your subject stand out. A smaller aperture (like f/8 or f/11) gives more depth of field but lets in less light.
For wrestling, especially in low-light gyms, a wide aperture is often best. Lenses with f/2.8 or wider are ideal for this type of photography. They let you keep your shutter speed fast and ISO a bit lower while still getting enough light. This is one reason why many pros use “fast lenses” with wide apertures-they make a big difference.
If you’re looking to invest in a lens and wondering which one will help you nail the best camera settings for wrestling photography, go for something in the f/2.8 range. Prime lenses like 50mm f/1.8 or 85mm f/1.8 are affordable and great for indoor sports. Zoom lenses like the 70-200mm f/2.8 are more expensive but extremely versatile and sharp.

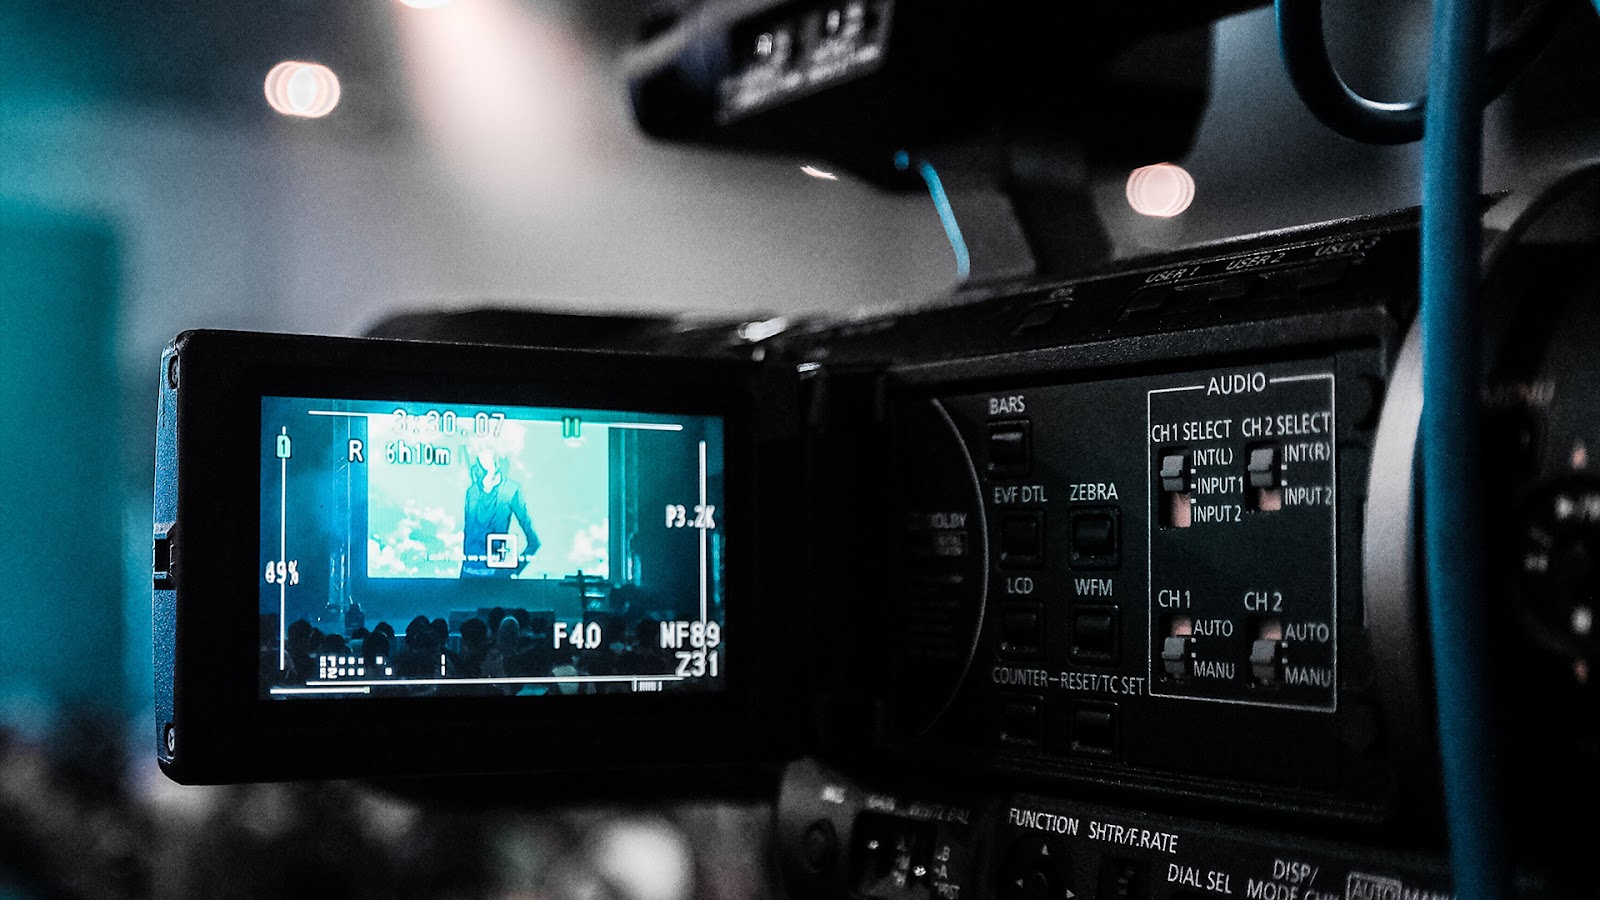
Fast and accurate autofocus is critical in wrestling photography. Wrestlers don’t stop moving, and neither should your camera. Modern mirrorless cameras offer incredible focus-tracking features, but even DSLRs can perform well with the right settings.
Switch your camera to continuous autofocus (AI Servo on Canon, AF-C on Nikon and Sony). This mode keeps tracking your subject as they move across the frame. Combine this with a single point or zone focus area to stay locked on the wrestler you’re following.
Some cameras also offer face detection or eye tracking-those can be a game-changer, especially when wrestlers are up close and facing the lens. But these features often work best on newer mirrorless models.
Knowing how to use your autofocus settings well is just as crucial as choosing the right lens or ISO. It’s all part of mastering your camera settings for wrestling photography and getting shots that don’t miss the mark.
Wrestling arenas and gyms often have mixed lighting-some overhead lights, maybe some natural light, and sometimes colored lights for special effects. This makes white balance tricky.
If you leave your white balance on auto, your camera may get confused, especially if the light color changes during the event. This can leave your photos looking too yellow, too blue, or just unnatural.
The solution? Set your white balance manually. Most cameras offer presets like “Tungsten” or “Fluorescent,” which are great for indoor environments. Or, even better, shoot in RAW format. This lets you adjust the white balance later in editing without hurting image quality.
Many pros prefer shooting RAW for this reason alone-it gives full control after the fact, and when paired with expert editing services like those from aitinsider, your photos will always come out color-accurate and polished.
Metering mode tells your camera how to read the light in a scene. For fast-paced sports like wrestling, you usually don’t want the camera averaging the entire scene-it might overexpose the crowd or underexpose the wrestlers.
Spot metering or center-weighted metering are better choices. These modes tell the camera to prioritize the lighting on your subject-usually in the center or where your focus point is. This helps you expose the wrestler correctly, even if the background is very bright or dark.
Adjusting this setting might not seem obvious at first, but it’s one of those little tweaks that makes a big difference in your final results. It’s another example of how thoughtful camera settings for wrestling photography can turn a good photo into a great one.
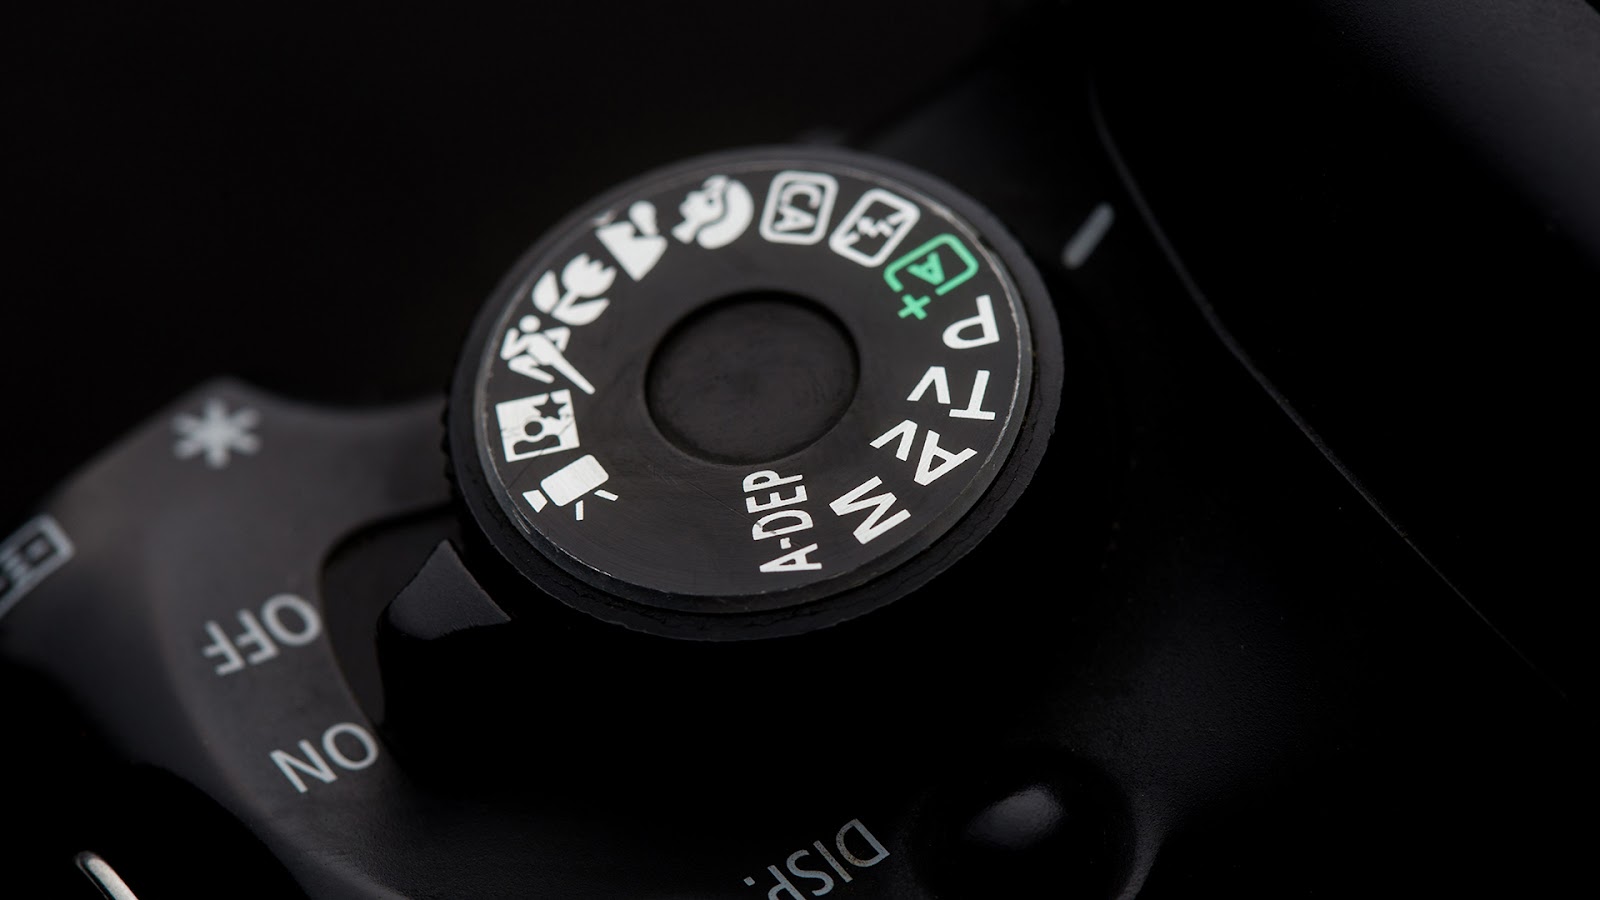
When you’re getting serious about wrestling photography, switching your camera out of full auto mode is a must. To really master the camera settings for wrestling photography, you’ll want more control over how your camera behaves in different lighting and motion conditions.
Many professionals prefer shooting in full manual mode (M), where they can dial in shutter speed, aperture, and ISO to get the exact look they want. Manual mode gives you the consistency you need when lighting is predictable or when you want precise control over exposure.
However, if you’re just starting out, don’t be afraid to use semi-auto modes like Shutter Priority (S or Tv) or Aperture Priority (A or Av). In Shutter Priority mode, you set the shutter speed-like 1/1000 to freeze action-and let the camera decide the aperture. This is a great starting point for wrestling where freezing motion is your top priority. Aperture Priority is also useful when you want that nice background blur but aren’t dealing with very fast action.
The key is to experiment. Try different modes in different situations and review the results. The more you practice, the better you’ll understand how each setting affects your final image-and that’s when you truly begin to master camera settings for wrestling photography.
While technique matters most, having the right tools can give you a serious edge. If you’re comparing gear for this kind of sports photography, here’s what to keep in mind.
Cameras: You want a camera with excellent high-ISO performance and fast autofocus. Mirrorless cameras like the Sony A7 III, Canon R6, or Nikon Z6 II are all strong contenders. On the DSLR side, options like the Canon 90D, Nikon D750, or Canon 7D Mark II are still excellent choices, especially if you find them used at a good price.
Lenses: A fast lens (f/2.8 or wider) is essential. If you’re shooting from the sidelines or bleachers, a 70-200mm f/2.8 zoom gives you reach and flexibility. For mat-side photography, prime lenses like 50mm f/1.8 or 85mm f/1.8 deliver beautiful image quality for a low cost.
Memory cards: Action photography creates tons of images fast. Use a high-speed memory card (UHS-II or above) so your camera doesn’t lag behind while writing images.
Tripods or monopods: In some cases, a monopod can help you stabilize longer lenses without restricting your movement too much.
Investing in the right gear helps, but the magic really happens when you understand and optimize your camera settings for wrestling photography. Good gear plus good technique equals great results.
Wrestling photography isn’t just about freezing motion-it’s about telling a story. The body language, the emotion on the faces, the struggle, and the victory-all of that should come through in your images. That’s where composition comes in.
Try to shoot from angles that show both wrestlers clearly. Look for reactions-the coach shouting, the referee’s hand slamming the mat, the fans going wild. All of these elements bring your photos to life.
Use the background creatively, but also try to avoid clutter. A shallow depth of field (achieved by using a wide aperture like f/2.8) helps blur the background and isolate your subjects, making them pop.
Don’t be afraid to move around. If you’re allowed to shoot from multiple positions, take advantage of it. Mat-level angles can be incredibly powerful and give a different perspective than the bleachers. Your knowledge of camera settings for wrestling photography will help you adapt quickly to changing conditions as you move.
Once you’ve captured your shots, post-processing is the next step. Even the best cameras won’t get everything perfect in the moment-so editing helps you correct colors, reduce noise, crop tighter, and enhance contrast.
Here’s where RAW files shine. If you shoot in RAW, you can adjust exposure, fix white balance, sharpen details, and remove grain without damaging image quality. If you shoot in JPEG, your options are more limited, but basic corrections are still possible.
Tools like Adobe Lightroom, Capture One, or even free options like Darktable can help you process your wrestling photos effectively. Still, if you’re overwhelmed or want your images to look truly professional, this is where we come in.
AITInsider offers expert image editing services tailored for sports and event photography. We help photographers take their raw images and turn them into polished, eye-catching visuals-perfect for portfolios, prints, or sharing online. Whether you’re an amateur shooter or a seasoned pro, we can make your wrestling photos stand out from the crowd.
Mastering camera settings for wrestling photography isn’t about memorizing numbers-it’s about understanding how your camera sees the world and learning how to adapt to the fast, unpredictable energy of a wrestling match. It takes time, practice, and a bit of trial and error. But once you start getting those sharp, powerful, emotional shots-you’ll be hooked.
Remember: it’s okay to mess up. Every pro photographer had to start somewhere. The most important thing is to keep shooting, keep learning, and keep refining your craft.
And if you ever need help turning your good shots into great ones, don’t forget that aitinsider is here to support you with professional image editing services. We’re passionate about helping photographers create stunning, impactful images that tell real stories. Whether you’re shooting your first match or your hundredth, we’ve got your back.