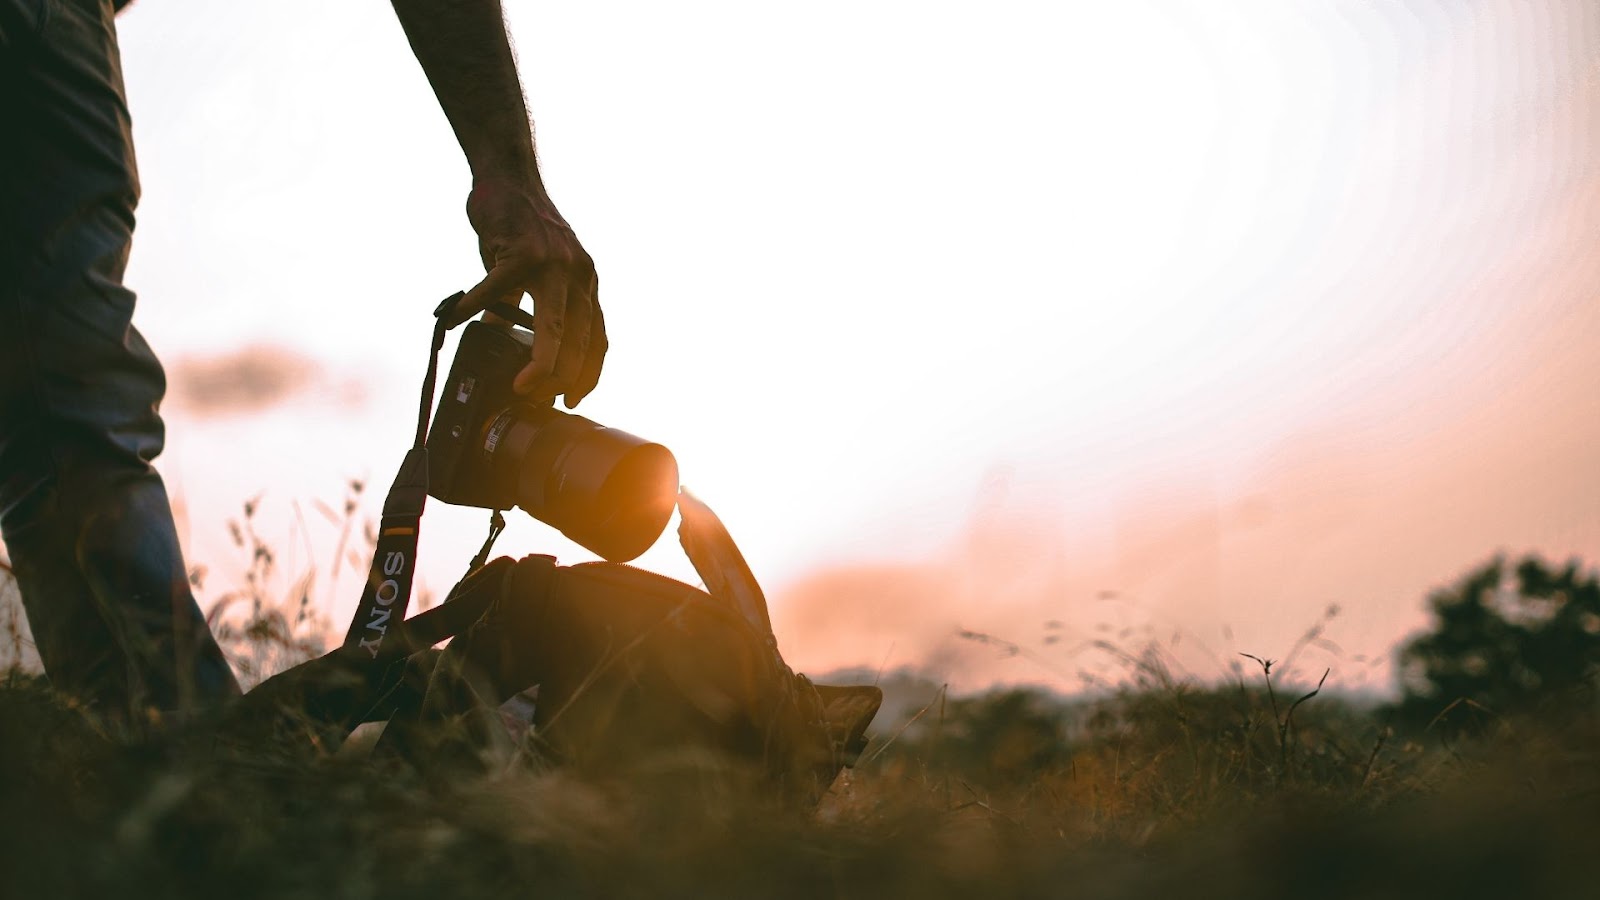
Evening photography is truly magical. There’s something so captivating about the golden glow before sunset or the deep blues and purples that emerge after dusk. But to capture the perfect evening shot, you need more than just timing – you need to master your gear, especially your camera settings for evening photography. Whether you’re just starting out or already have some experience, understanding how to adjust your settings and choose the right lens can make a dramatic difference in your shots.
In this guide, we’ll walk you through the best camera settings for evening photography, the lenses that work beautifully in low light, and why choosing the right combination can take your evening photos from average to stunning. If you’re comparing gear and looking for the best setup, this article will help you make smart, confident choices.
Evening photography sits in a space between daylight and full night. This period is sometimes called the “blue hour” or the “golden hour,” depending on the exact time and lighting conditions. The light is softer, shadows are longer, and colors become more vivid. But here’s the catch: the light changes fast. That’s why mastering the right camera settings for evening photography is essential.
You’re often working with lower light levels, which means your camera needs to be extra sensitive. And without the right settings, your photos may turn out too dark, too noisy, or just blurry. But don’t worry – once you understand what your camera needs during this time, you’ll have full creative control.

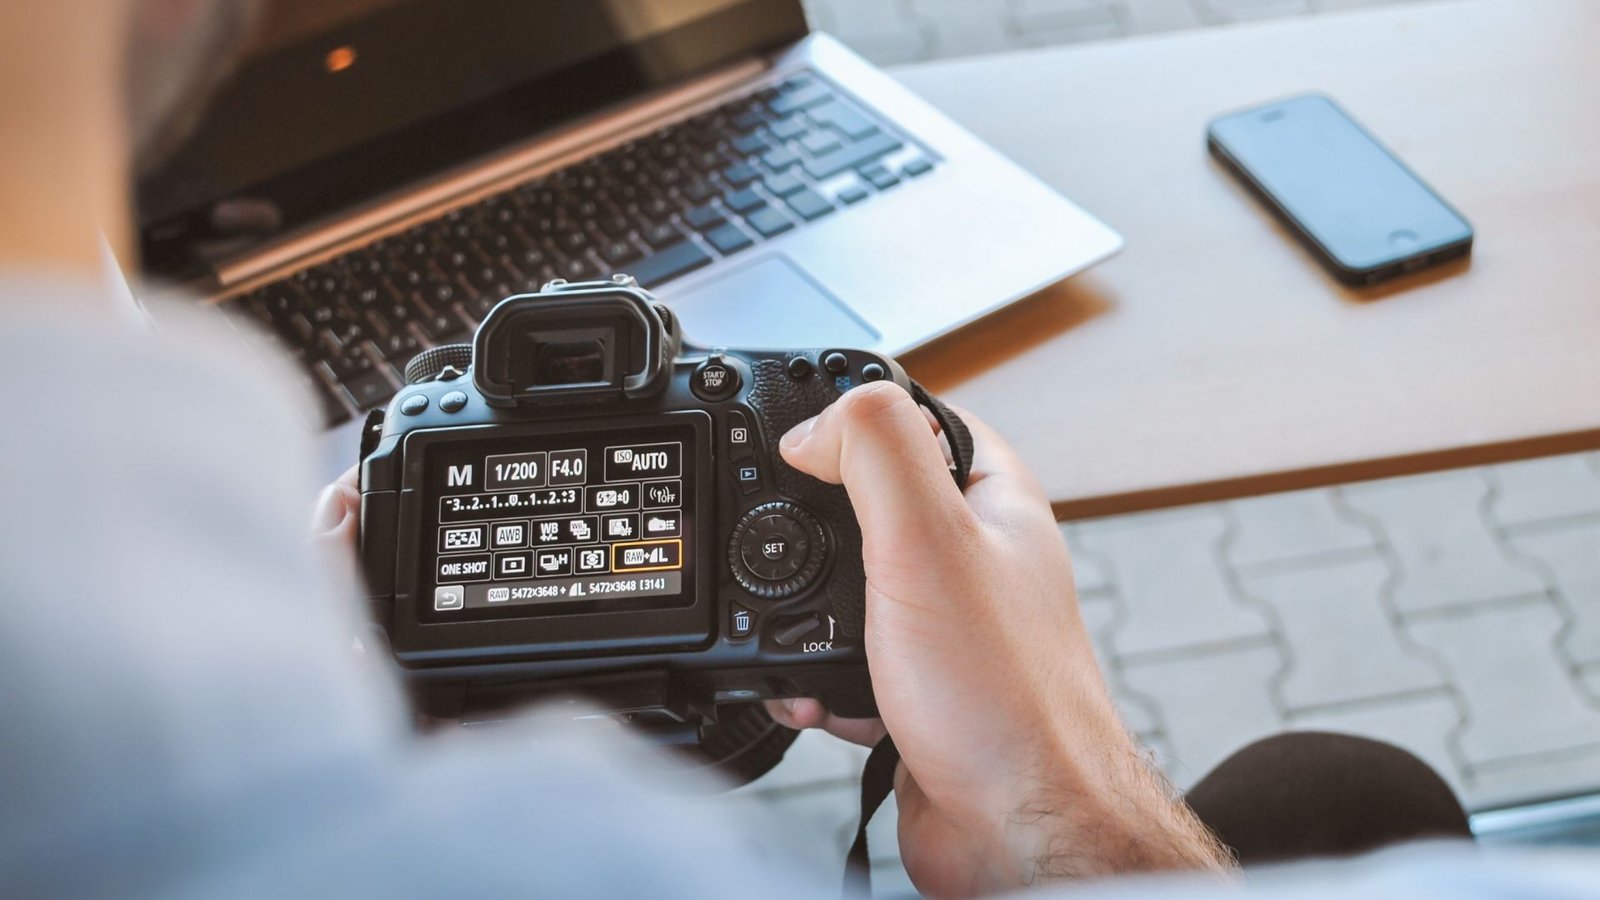
Now let’s dive into the most important part: the camera settings. These are the foundations of a great shot in evening conditions. We’ll explain everything clearly, so whether you’re using a DSLR, mirrorless, or even a high-end compact, you’ll know what to adjust and why.
In low-light conditions like evening shoots, you’ll need to increase your ISO. This setting controls how sensitive your camera sensor is to light. For evening photography, ISO between 400 to 1600 is common, depending on how dark it gets and the kind of camera you’re using. Modern mirrorless cameras, like the Sony Alpha a7 III or Canon EOS R6, handle high ISO better with minimal noise.
But here’s the trick – don’t push your ISO too high if your camera struggles with noise. Start low, maybe ISO 400, and bump it up slowly as the light fades. Always aim to strike a balance between brightness and grain.
Evening light is soft, but it’s also less intense. So a wide aperture (small f-number) is your friend. Apertures like f/1.8 or f/2.8 are ideal because they let in more light. That’s why many photographers invest in prime lenses with wide apertures – they’re perfect for low-light settings.
Wider apertures also help create a beautiful background blur (bokeh), which is especially lovely when you’re photographing subjects like people or architecture during evening golden hour.
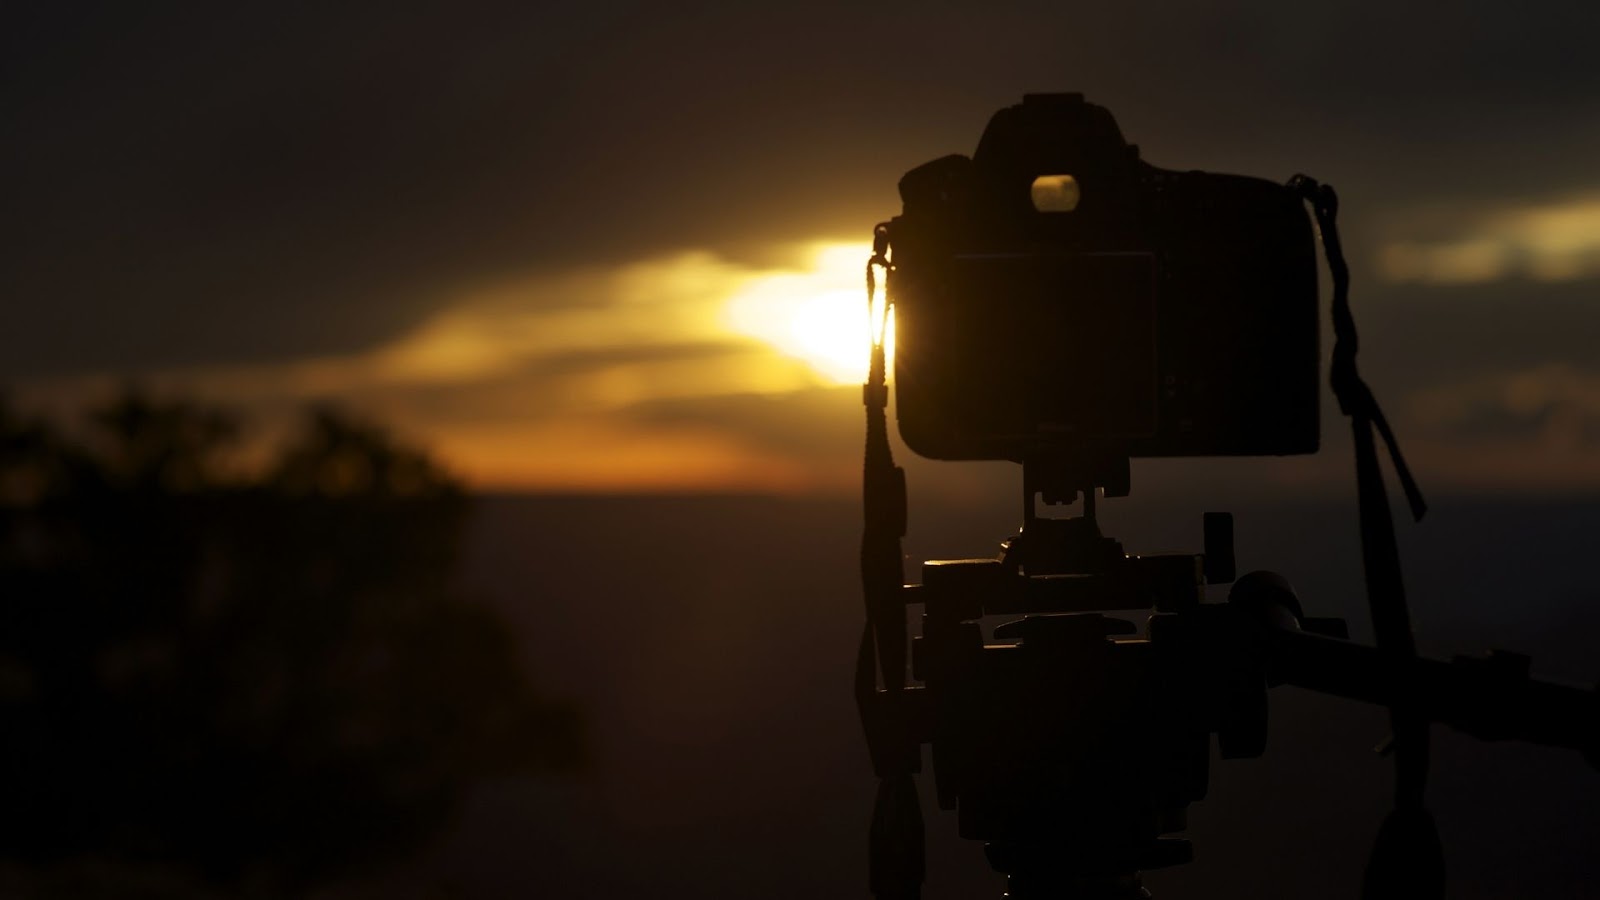
As the evening progresses, your shutter speed becomes a crucial setting. A slower shutter speed lets more light hit the sensor, but it also increases the chance of blur, especially if you’re shooting handheld. If you’re photographing a still scene like a landscape or cityscape, you can go slower – maybe 1/30 or even 1 second – but you’ll need a tripod.
For handheld shots, try not to go below 1/60 unless your lens or camera has built-in stabilization. Otherwise, your images might look shaky.
So when adjusting camera settings for evening photography, always think about how steady your hands are and whether you’re shooting moving subjects.
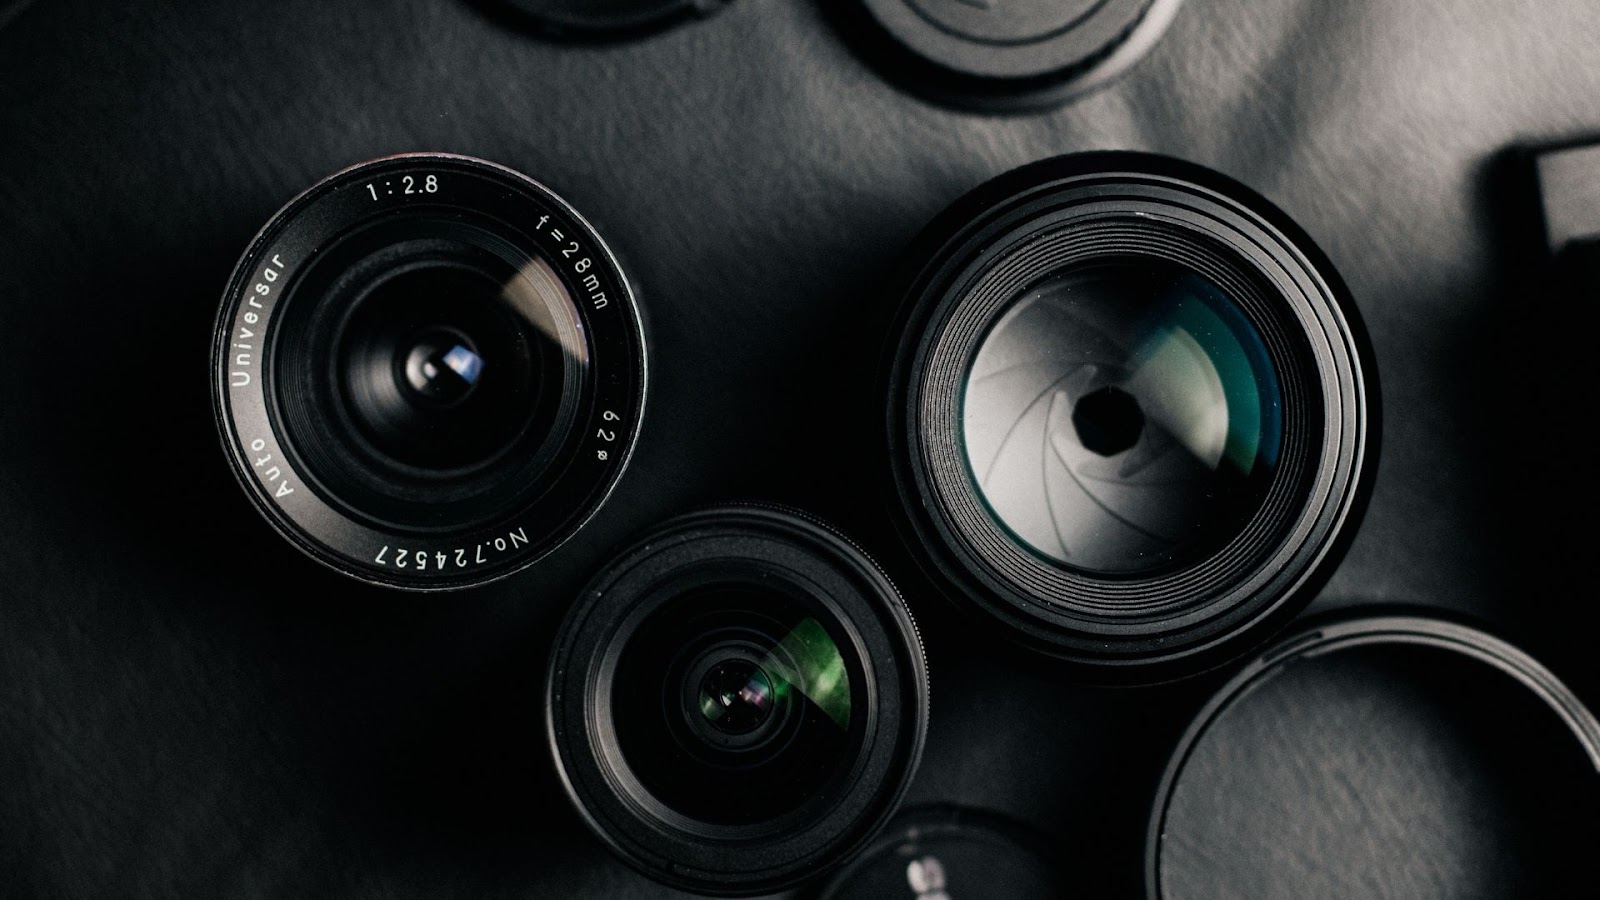
Your lens is just as important as your camera. The best lenses for evening photography have wide apertures, sharp optics, and low distortion. Here’s a breakdown of some top choices, especially if you’re shopping around and comparing options.
Prime lenses (those that don’t zoom) often offer much wider apertures. This is perfect for evening light. Lenses like the Canon RF 50mm f/1.8, Sony FE 85mm f/1.8, or Nikon Z 35mm f/1.8 are extremely popular for evening portraits, street photography, and landscapes.
They offer excellent sharpness and depth of field. Plus, since they let in more light, you won’t need to push your ISO so high.
If you need versatility, a zoom lens like the Sigma 24-70mm f/2.8 is a fantastic option. It gives you flexibility in framing while still performing well in lower light. For many photographers, a good f/2.8 zoom lens can handle most evening situations – especially if paired with a modern full-frame camera.
Look for lenses labeled with “constant aperture” across the zoom range. This means they won’t shift to a smaller aperture as you zoom in, which is very helpful for consistent exposure.
Some lenses come with built-in image stabilization (IS or OSS depending on brand). This feature helps reduce blur from shaky hands, especially useful in evening photography when shutter speeds are slower. If you’re not using a tripod, a stabilized lens can make a noticeable difference.
During evening photography, you might notice that your images turn too blue or too orange. That’s where white balance comes in. Instead of leaving it on auto, try setting it manually or selecting a preset like “Shade” or “Cloudy” to warm up your photos naturally.
Shooting in RAW is also a good idea – it allows you to adjust the white balance later without degrading image quality. That way, if the lighting conditions change mid-shoot, you won’t lose control of your final result.
When the light is constantly changing, using fully automatic mode can lead to inconsistent exposures. Instead, shoot in manual (M), aperture priority (A/Av), or shutter priority (S/Tv) modes. These modes give you control over key camera settings for evening photography, allowing you to adjust for creative effect and changing light.
In aperture priority mode, you set the aperture, and the camera chooses the shutter speed. This is great if you’re focused on controlling depth of field. In shutter priority mode, you set the shutter speed, and the camera adjusts the aperture – perfect for freezing or blurring motion.
As evening light fades, your camera’s autofocus might struggle. You’ll notice it hunting or missing focus entirely. That’s why it helps to use lenses with fast, accurate autofocus systems. Some higher-end lenses also have manual focus override, which is a lifesaver when your camera gets confused.
For landscapes or cityscapes, consider using manual focus with focus peaking (if your camera supports it). This ensures sharp focus even in dim lighting.
Even with the best camera settings for evening photography, certain accessories can help you go further.
A sturdy tripod is a must if you’re planning long exposure shots. Without it, your image may end up blurry no matter how perfect your settings are. A remote shutter release (or your camera’s timer) also prevents any shake from pressing the shutter button.
And don’t underestimate the power of a small LED panel or fill light. If you’re taking portraits or street shots, a touch of extra light can bring out your subject without ruining the ambient vibe.

Understanding camera settings for evening photography is one thing, but applying them in real situations is where the real magic happens. Let’s look at a few common scenarios and how you can approach them with confidence.
If you’re capturing landscapes at sunset or dusk, your goal is often to bring out the rich tones of the sky and any foreground details. In this case, use a small aperture like f/8 to f/11 for greater depth of field, but make sure to use a tripod since the shutter speed will be longer. Keep ISO low (100-400) to maintain image quality, and shoot in RAW to enhance shadows and highlights in post-processing.
Set your white balance to “Daylight” or “Cloudy” to keep the colors natural and warm. Don’t rely entirely on Auto – the subtle color shifts at this time of day deserve to be preserved as authentically as possible.
This is where a wide-aperture lens really shines. A 50mm or 35mm prime lens with an f/1.8 or f/1.4 aperture is perfect. You’ll want a fast shutter speed, especially if you’re capturing people walking or moving vehicles. Set your ISO between 800 and 1600 depending on the available light.
In street settings, use aperture priority mode and set your aperture wide open. That way, you can keep the ISO and shutter speed in check. Also, turn on continuous autofocus (AF-C) to track movement – it helps keep your subject sharp even as they move through changing light.
One of the most beautiful times to take portraits is during golden hour – the hour right before sunset. Use a lens with a wide aperture (f/1.4 to f/2.8) to create a soft, dreamy background. Keep the ISO low (100–400) and use aperture priority mode to let the camera handle shutter speed.
Backlighting works really well here – position your subject with the sun behind them for a beautiful halo effect. To avoid underexposing the face, use spot metering and expose for your subject’s skin tones.
Even with the best camera settings for evening photography, post-processing can elevate your shots even more. Evening light is dramatic, and editing helps enhance the mood without making the image look artificial.
Start with exposure and contrast. You might need to brighten shadows and slightly reduce highlights, especially in sunset shots. Boost the vibrance instead of saturation to bring out colors without making them look too heavy.
Noise reduction is key, especially if you used a higher ISO. Most software like Adobe Lightroom or Capture One offers excellent noise reduction tools. Be gentle though – too much can make your photo look overly smooth or plastic.
For portraits, you can warm up the skin tones and reduce any harsh shadows on the face. For landscapes or architecture, increase clarity to define the edges without adding noise.
If you’re looking to invest in gear for low-light photography, here are a few trusted combinations that work well for both beginners and seasoned shooters:
Sony Alpha a7 III + Sony FE 50mm f/1.8
This full-frame mirrorless combo is excellent for low-light shooting. The camera performs very well at high ISOs, and the 50mm prime lens is sharp and fast.
Canon EOS R6 + RF 35mm f/1.8 Macro IS STM
Canon’s R6 offers incredible autofocus and low-light performance, paired with a 35mm lens that’s ideal for street and lifestyle photography.
Nikon Z6 II + Z 24-70mm f/2.8 S
If you prefer a zoom setup, this combo delivers sharpness, versatility, and strong performance in evening conditions.
Each of these setups allows you to fully take advantage of ideal camera settings for evening photography. They’re reliable, flexible, and built to perform when light is fading.
Evening photography comes with its own set of challenges. One common mistake is underexposing your images. It’s better to slightly overexpose and bring the highlights down in post than to lift shadows on a dark image and add too much noise.
Another mistake is not checking your histogram. Don’t rely solely on your camera screen – it can be misleading in low light. The histogram gives a more accurate picture of your exposure levels.
Also, make sure you’re shooting in RAW. JPEG might be tempting if you want to save space, but RAW gives you far more control during editing – especially helpful when you’re dealing with tricky evening lighting.
Evening photography doesn’t have to be intimidating. Once you understand how to adjust your camera settings for evening photography and choose the right lenses, you’ll unlock a whole new level of creativity. Whether you’re capturing golden-hour portraits, moody streetscapes, or vibrant city lights, it’s all about preparation and understanding your tools.
There’s no single “perfect setting” – it changes with each scene, your subject, and even your artistic style. But by experimenting with ISO, aperture, shutter speed, and white balance, you’ll start to feel more confident and in control.
At aitinsider, we specialize in professional image editing services – from color correction and retouching to background enhancements and HDR blending. If you’ve taken some great evening shots and want them polished to perfection, we can help turn them into stunning visuals that pop.
Whether you’re a hobbyist, a content creator, or a professional photographer, our team can bring out the best in your images. Visit aitinsider and see how we can elevate your evening photography to the next level.