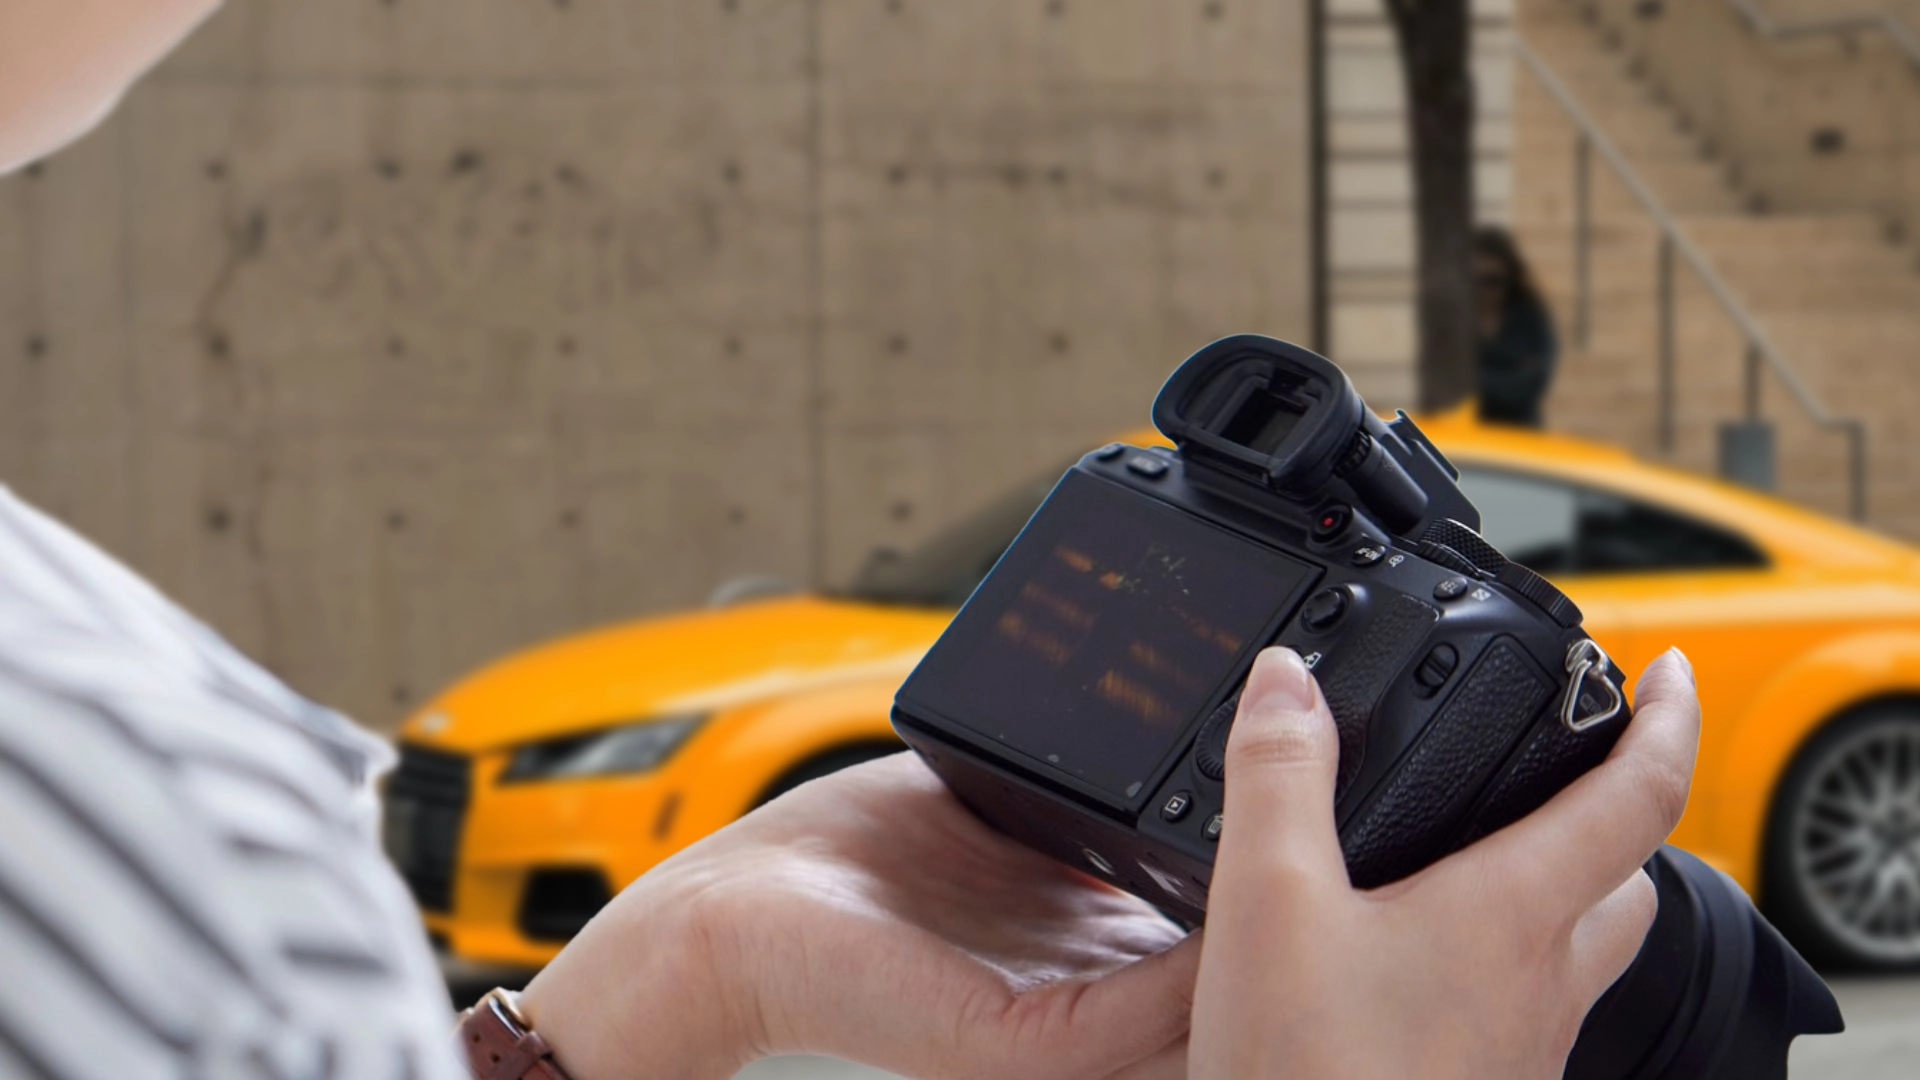
Capturing cars in their best light-literally and creatively-is a craft that takes more than just owning a good camera. Whether you’re a professional automotive photographer or an enthusiastic hobbyist, getting the right camera settings for car photography is the key to making your shots stand out. In this article, we’ll break down the most effective camera settings you should use, how different lighting or environments affect your approach, and what gear settings will help you get that glossy, dramatic car photo that everyone loves.
We’ll explore how shutter speed, ISO, aperture, white balance, and focus modes come together to tell a visual story-whether you’re photographing a fast car in motion or a luxury sedan sitting still in a showroom. And yes, we’ll keep it easy to follow, no tech overload here.
Let’s buckle up and dive deep into the world of camera settings for car photography, step by step.
Before we even talk about which settings to use, it’s helpful to think about what kind of car photo you want. Are you capturing a still shot of a muscle car at sunset? Or are you trying to get a motion blur of a racing car on the track? Different scenes call for different settings, and knowing the goal helps you choose the best camera setup.
In general, car photography is about controlling light, reflections, and sharpness. Unlike portraits or landscapes, cars reflect a lot of light, especially their metal surfaces and windows. That means if your settings aren’t adjusted correctly, your image could be overexposed, have too many glares, or lose details in shadows.
One of the most important camera settings for car photography is shutter speed. It determines how long your camera’s sensor is exposed to light. A fast shutter speed (like 1/1000s) freezes motion-perfect for action shots of cars racing or drifting. A slower shutter speed (like 1/30s or 1/60s) can create motion blur, which is great if you want to emphasize speed or movement.
For still car photography, especially in a controlled environment or during a car show, you can use slower shutter speeds because the car isn’t moving. But make sure you have a tripod to avoid any camera shake.
On the other hand, if you’re shooting a panning shot (where you move the camera along with the car), a shutter speed between 1/125s and 1/250s often works great. This keeps the car in focus while the background becomes beautifully blurred, giving a sense of speed and motion.
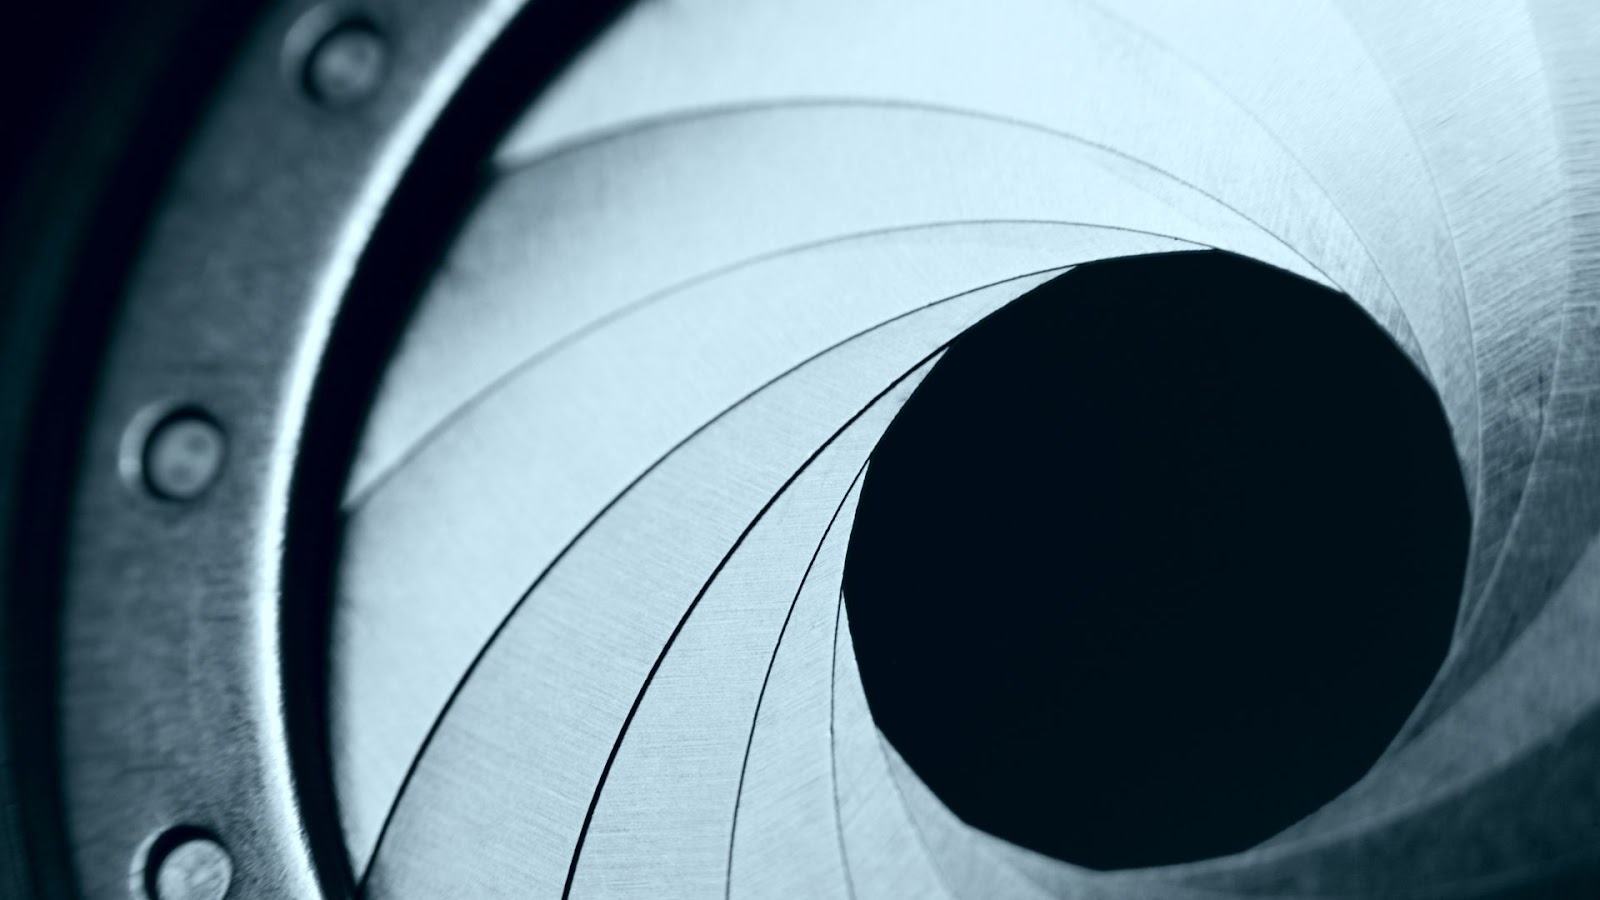
Next up is the aperture, also called the f-stop. This controls how much of the image is in focus from front to back. A wide aperture like f/2.8 gives you a shallow depth of field, making the car pop while blurring out the background. This is useful when you want to draw attention to the vehicle and make it stand out.
If you’re photographing the full car and want every part of it-from the headlights to the tailpipes-in focus, then go for a narrower aperture like f/8 to f/11. It gives you more depth, but it also requires more light or a slower shutter speed, especially during sunset or low-light conditions.
Using the right camera settings for car photography means choosing an aperture that suits your creative goal. For dramatic portraits of cars, wider apertures are your friend. For full-body shots with the landscape included, narrow the aperture to keep more of the scene in sharp detail.
ISO controls how sensitive your camera sensor is to light. In bright daylight, a low ISO (like 100 or 200) will keep your images clean and noise-free. That’s ideal for shiny car surfaces that need to look smooth and polished.
When you’re shooting in low light-like at night, in a garage, or during golden hour-you may need to raise the ISO to 800 or even 1600. But be careful: the higher the ISO, the more digital noise can creep into your photos. This is especially noticeable on the flat panels of a car’s body.
For the best results, try to keep your ISO as low as possible and adjust your shutter speed or aperture to bring in more light instead. This will help maintain high image quality, especially if you’re editing or printing the photos later.
Cars come in all colors-midnight black, candy red, ocean blue-and getting those colors right is crucial. That’s why white balance is one of the most overlooked but vital camera settings for car photography.
If your white balance is off, a silver car might look blue, or a red car might come out orange. Most cameras have presets like “Daylight,” “Shade,” or “Tungsten,” but for full control, use the custom white balance or Kelvin setting.
When shooting outdoors in natural sunlight, a white balance between 5200K to 6000K usually works great. For indoor shoots with artificial light, you may need to lower it to 3200K to 4000K. If you shoot in RAW (and you should), you can adjust white balance later during editing without losing quality.
Fast cars move fast, and autofocus can help you capture them in perfect detail. But autofocus isn’t always accurate, especially if the car is partially hidden or there’s low contrast. In those cases, manual focus gives you full control.
For static car photography-like a car in a studio or parked on the road-manual focus can be a better choice. It allows you to fine-tune what part of the car is sharp, whether it’s the logo, the headlights, or the interior dashboard.
For action shots, especially tracking a car or shooting motorsports, switch to continuous autofocus (AF-C on Nikon or AI-Servo on Canon). This setting tracks moving subjects and adjusts the focus in real-time. It’s a lifesaver for getting crisp shots of cars in motion.
Although not a camera setting, lighting plays a huge role in how your settings behave. Natural light gives your photos a soft and realistic look. Sunrise and sunset are perfect times because the light is diffused and golden, creating natural highlights and shadows that complement the car’s curves.
Shooting during mid-day is tricky because sunlight is harsh and can cause unwanted reflections on the car body. If you have no choice, use a polarizing filter to reduce glare and bring out the car’s paint color more vividly.
For indoor or nighttime shoots, you may need to bring your own lighting setup-like softboxes, LED panels, or flashes. You’ll need to adjust your ISO, shutter speed, and aperture accordingly to make up for the lack of natural light.
One challenge many photographers face when shooting cars is dealing with high-contrast lighting. Sometimes, the sky is too bright while the car is sitting in a shadow. Or the sun might create harsh highlights on one side and deep shadows on the other. This is where HDR (High Dynamic Range) photography can come to the rescue.
Using HDR means taking several shots at different exposures-one underexposed, one correctly exposed, and one overexposed-and blending them together. This process helps preserve both the bright and dark details, creating a more balanced and realistic final image. Most modern cameras have an HDR mode or exposure bracketing feature. When you’re aiming for the perfect camera settings for car photography in difficult lighting, bracketing is a powerful tool.
If you’re shooting in RAW format (which we highly recommend), you can also do this manually in post-processing using editing software like Lightroom or Photoshop.
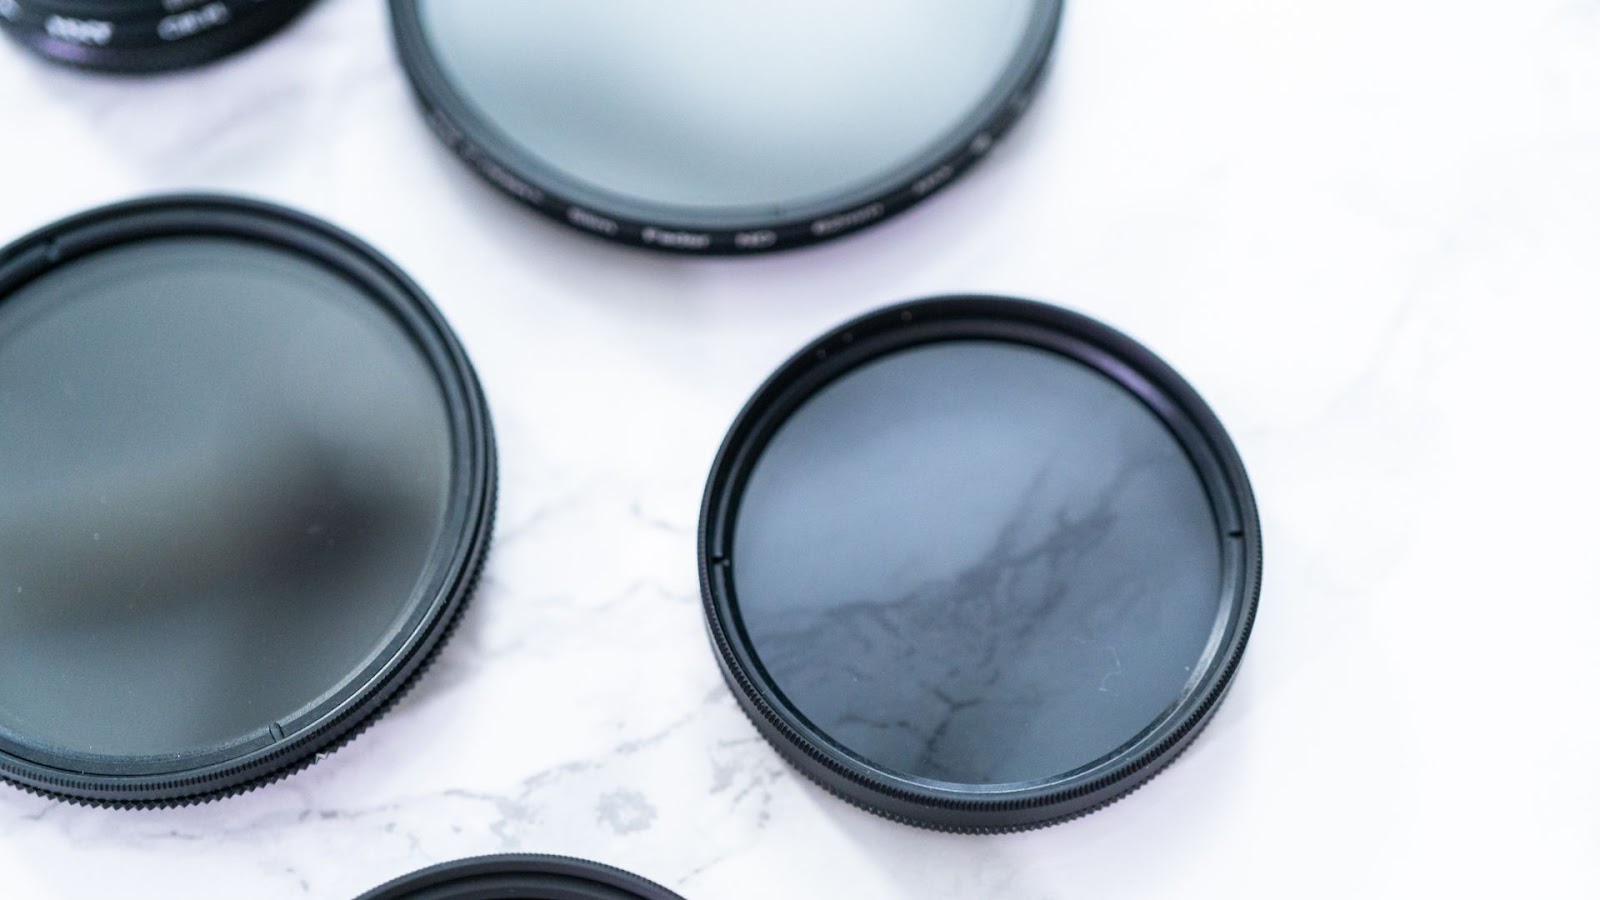
Cars are basically mirrors on wheels. Their shiny surfaces reflect everything around them-trees, people, power lines, and even you! That can be a nightmare if you’re trying to get a clean, professional shot. Luckily, a circular polarizing filter can help.
A polarizing filter screws onto the front of your lens and reduces reflections on glass and metal surfaces. It also deepens colors, making skies bluer and car paint more vibrant. This is especially helpful during outdoor shoots under bright sunlight. When paired with the right camera settings for car photography, a polarizer helps you get magazine-quality results without too much editing.
Just remember, using a polarizer reduces the amount of light hitting your sensor. You might need to compensate by lowering your shutter speed or opening your aperture to maintain proper exposure.
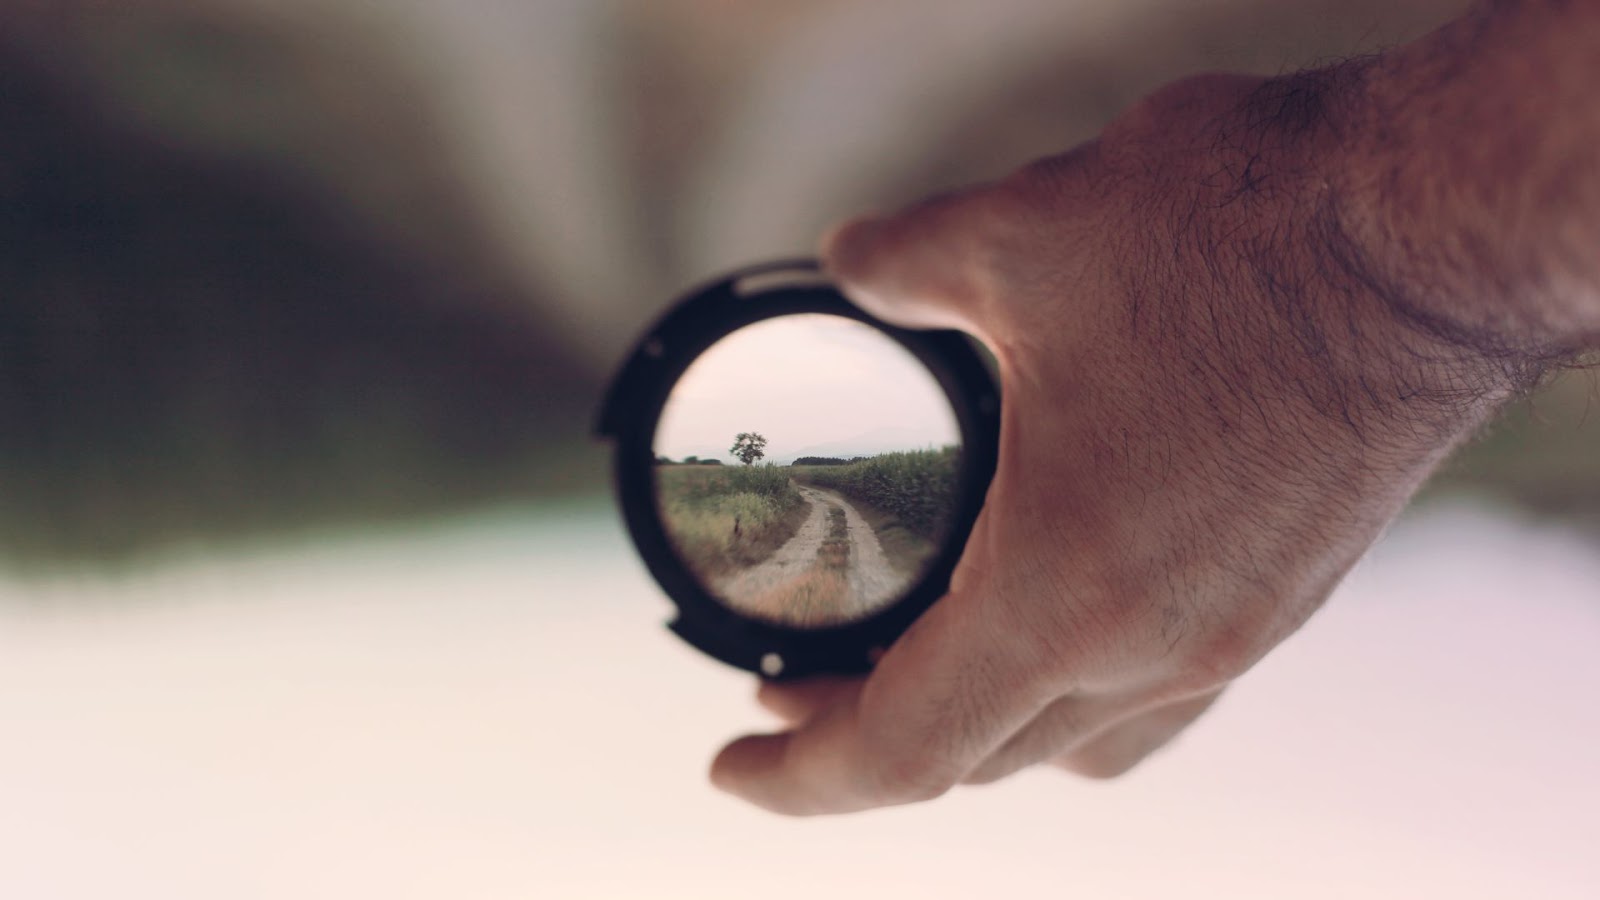
Getting the right angle is just as important as choosing the correct camera settings. For cars, the angle can completely change the mood of the photo. Shooting from a low angle makes the car look more powerful and dramatic. Shooting from above can be great if you want to show the car in its environment-like a winding mountain road or a track.
Walk around the car and try different perspectives. The front three-quarter angle is a classic, showing off both the front and side details. Side profiles work well for long vehicles like sports cars or sedans. Rear shots can be impressive too, especially if the car has bold taillights or a sporty diffuser.
When setting up your camera settings for car photography, remember that different angles may affect lighting, focus, and reflections. Always double-check your exposure and composition as you move around.
Indoor car photography requires a completely different approach. In a showroom or garage, you’re likely dealing with artificial light, limited space, and mixed color temperatures. Use manual white balance to correct any color shifts caused by fluorescent or LED lights.
Tripods become very helpful indoors, allowing you to use slower shutter speeds without camera shake. This gives you the flexibility to keep ISO low and maintain a clean, noise-free image. If possible, control the lighting with softboxes or bounce reflectors to reduce harsh shadows and glare.
Outdoors, you’re at the mercy of natural light. The golden hour-right after sunrise or before sunset-is the best time for car photography because the soft light enhances paint colors and curves without blowing out highlights. Avoid high noon unless you have a polarizing filter or plan to shoot in the shade.
Your camera settings for car photography will differ depending on where you’re shooting. Adjust your strategy according to the lighting, space, and background.
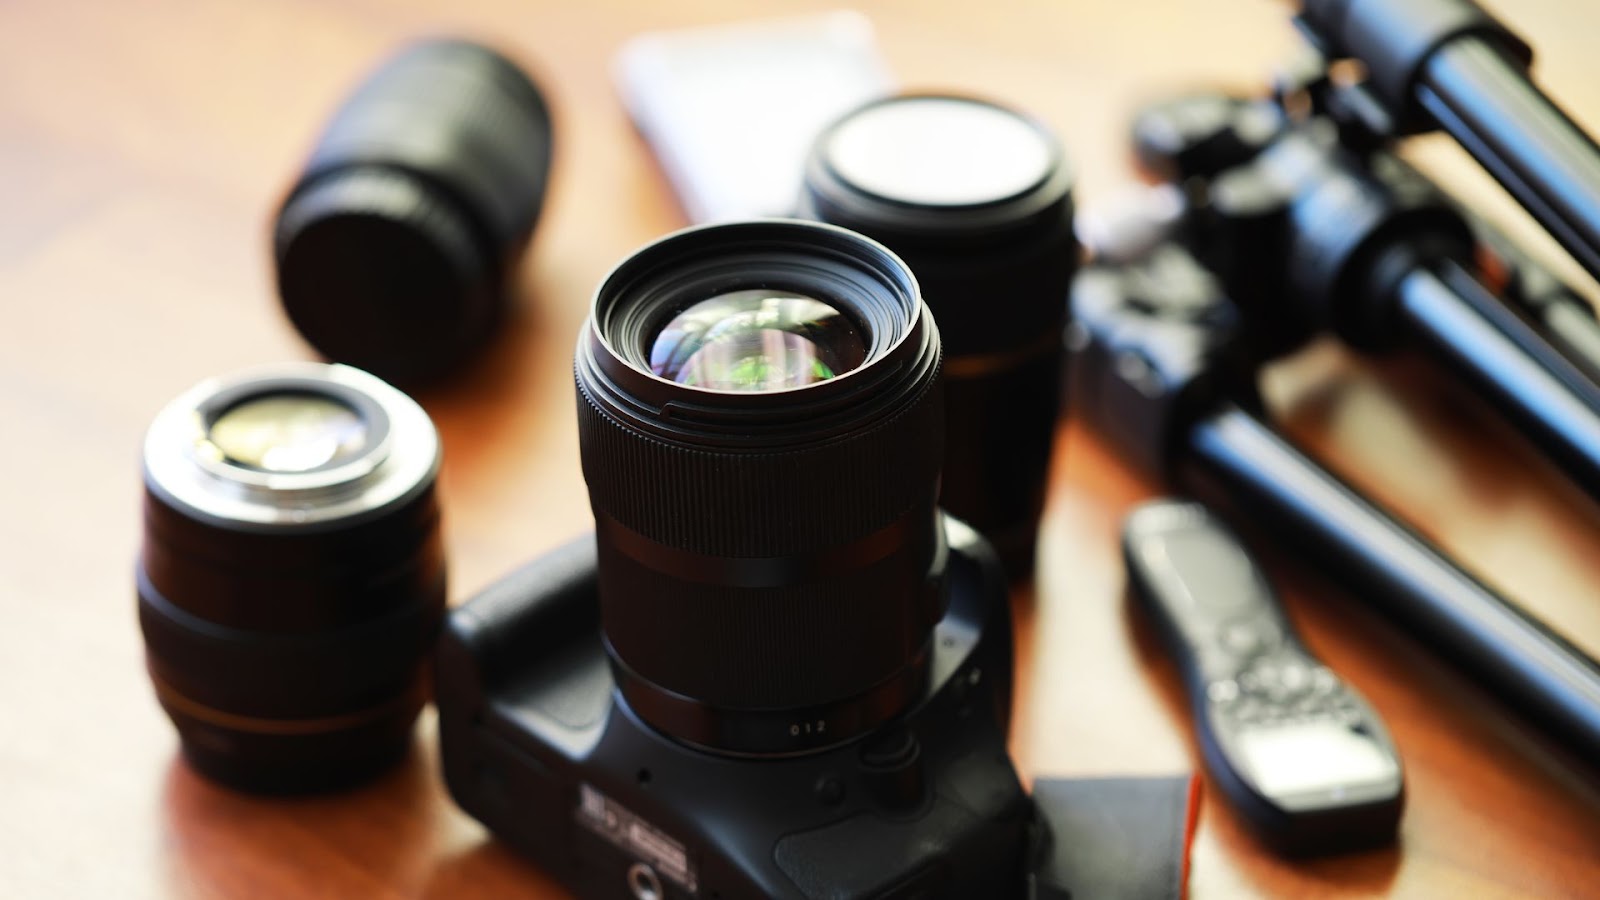
While this article focuses on camera settings for car photography, it’s worth touching on the gear that supports those settings. Here’s what professional and enthusiast car photographers usually carry:
Having good gear allows you to take full advantage of the right camera settings for car photography without being limited by your equipment.
Even with perfect settings and lighting, your photos may need some fine-tuning in post. This step lets you adjust exposure, contrast, sharpness, and colors to really make the image pop. If you shot in RAW, you’ll have more flexibility to correct things like white balance and highlight clipping.
Use Lightroom or Capture One for most adjustments, and Photoshop for more complex edits like removing distractions or enhancing reflections. One common technique in car photography is “dodging and burning”, which involves selectively brightening and darkening areas to add depth and highlight curves.
Another essential post-processing step is removing background clutter. Sometimes even the most well-composed car photo includes trash, street signs, or people in the background. This is where professional editing services-like the ones we offer at aitinsider-can help clean up your images and make them truly shine.
Many beginners make the mistake of shooting with automatic settings and relying on the camera to make the best decisions. But cars are complex subjects-they reflect, they move, and they demand a lot from your exposure settings. Don’t trust auto mode.
Another issue is not paying attention to reflections. Always scan your image and reposition if you see yourself, unwanted lights, or distracting backgrounds reflected in the car’s paint or glass.
And don’t forget the wheels! Make sure they’re turned slightly to the side (towards the camera) unless you’re going for a head-on shot. This small detail adds polish and professionalism to the shot.
Lastly, always shoot more than one version. Vary your aperture, shutter speed, or ISO slightly to give yourself editing options later.
Mastering the right camera settings for car photography takes time, patience, and practice. But once you understand how shutter speed, aperture, ISO, and other settings work together, you’ll be able to capture cars in stunning, creative ways-whether they’re speeding past or parked under studio lights.
Remember, photography is more than just gear-it’s about the story you’re telling. Every curve, every reflection, every background element adds to the mood of the image. Fine-tune your settings, experiment with angles, and take control of your light. That’s how great car photography happens.
At aitinsider, we know how much effort goes into getting that perfect shot. But even the best photos sometimes need a professional touch. That’s why we offer premium image editing services designed specifically for photographers and automotive enthusiasts.
Whether you need background removal, color correction, glare reduction, or high-end retouching, we’re here to help turn your car photos into masterpieces. With our fast turnaround and expert team, your images will look as stunning as the cars themselves.