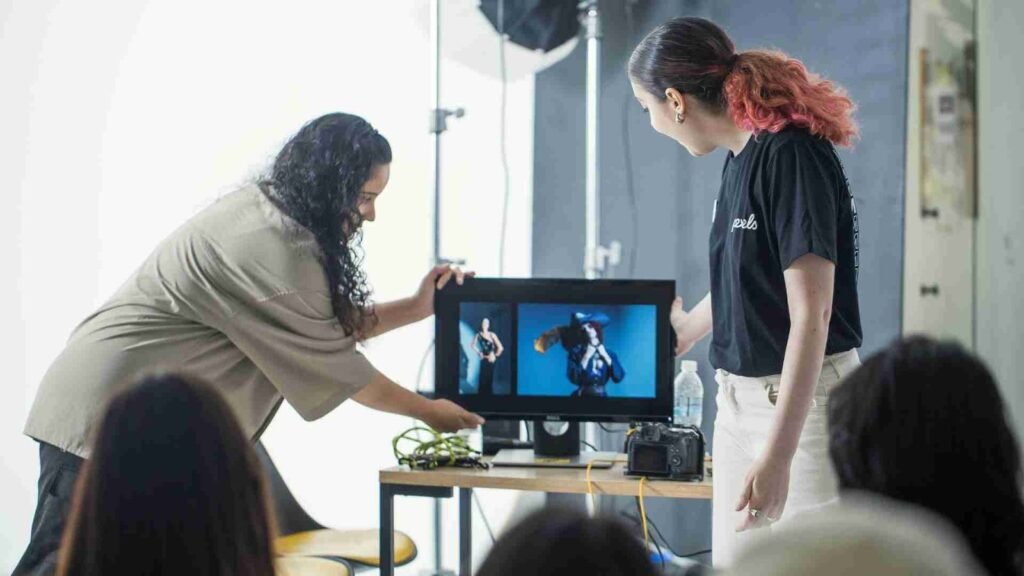
If you’re starting product photography for your business, online store, or freelance work, one of the first questions you’ll run into is what is the best lighting for product photography? Lighting is everything in product photos-more than the camera, more than the lens, and even more than the background. Without the right lighting setup, your colors won’t look accurate, your textures won’t show, and your products won’t look appealing enough to convince someone to buy.
That’s why in this guide, we’re going to break down the Best Lighting for Product Photography in the simplest, friendliest way possible. Whether you’re a beginner working from a bedroom studio or someone preparing to invest in better equipment, this guide will help you compare options and understand what each type of light offers. Since the intent of this keyword is commercial, this article is written to help you make smarter purchasing decisions with confidence.
Before buying anything, you need a clear understanding of how lighting affects your shoot. Good lighting makes your products stand out, improves click-through rates, increases conversions, and makes your brand look more professional. The good news is-you don’t need to spend thousands to achieve a clean, high-quality look. You simply need to choose lighting that matches the style of your products, your space, and your workflow.
Now let’s dive deep into the world of Best Lighting for Product Photography and explore everything from softboxes to ring lights, continuous lights to strobes, and even affordable beginner-friendly alternatives.
When people begin product photography, they often rush to buy a new camera. While good cameras help, lighting affects the actual look of the product far more than your lens or camera body. You can have the most advanced setup, but without the best lighting for product photography, the final results will still look dull or flat.
Proper lighting brings out true colors, reduces unwanted shadows, and gives your images a polished, high-quality appearance that attracts buyers. Whether you’re shooting jewelry, clothing, electronics, or food items, lighting determines how appealing the product looks. A beautifully lit product instantly looks more trustworthy, more premium, and more desirable. This is why professional photographers prioritize lighting above everything else.
Another reason lighting is so important is consistency. Good product photography often requires shooting several items in the same style. With a proper lighting setup, you can recreate your look every single time. This consistency helps build brand identity, makes your catalog look polished, and keeps customers engaged. The best lighting for product photography gives you control-control over brightness, shadows, and color accuracy.
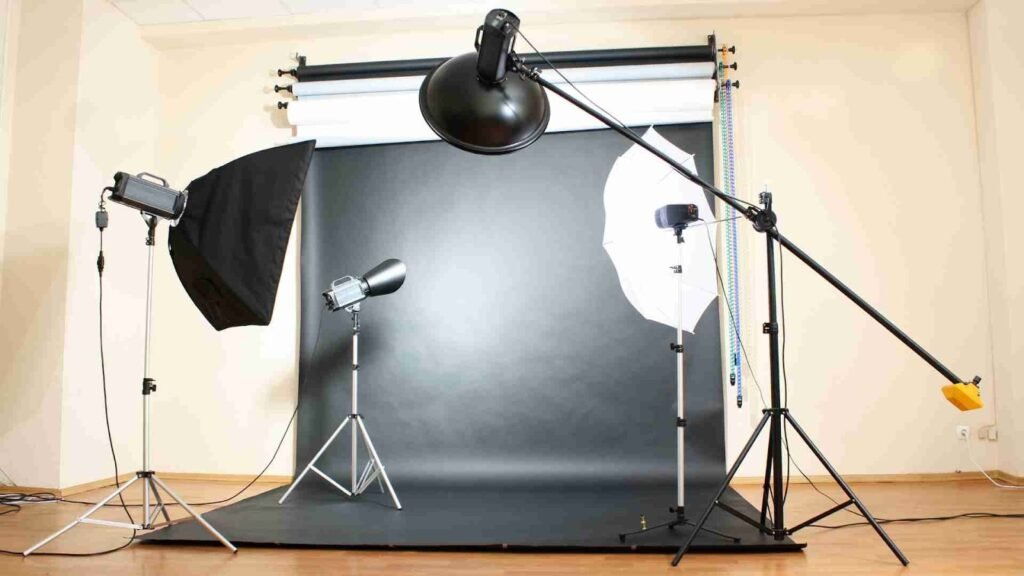
Understanding the types of lights available is the first step in choosing the best lighting for product photography. Each type of light offers different benefits, and the right one for you depends on your style, product type, and budget. Let’s explore the most common options in detail.
Continuous LED lights are extremely popular among beginners and professionals because they allow you to see your lighting results in real time. This means you can adjust angles, brightness, and shadows instantly. LED lights stay cool, consume less power, and often come with adjustable color temperatures.
These lights are ideal for small products, tabletop photography, and videos. If you’re shooting items like cosmetics, accessories, or food items, LEDs give you smooth and consistent illumination. Many beginners consider LEDs the best lighting for product photography because of how user-friendly and flexible they are.
Softbox lights create a beautiful, soft, diffused light that eliminates harsh shadows. This makes them excellent for nearly all product types. A softbox spreads light evenly, giving your shots a clean and professional look. When used from the side or at a 45-degree angle, softboxes help bring out details in textures and materials.
Softboxes work with either continuous lights or strobes. Most beginners prefer continuous softbox kits because they’re affordable and easy to set up. If you want soft, flattering light without complexity, softboxes are one of the best lighting options for product photography.
Ring lights are commonly used for portraits and beauty videos, but they can also assist with product photography-especially smaller items like jewelry, sunglasses, makeup tools, or gadgets. The circular shape creates even lighting and reduces shadows.
However, ring lights shouldn’t be your only lighting source for product photography. They work best as additional fill light rather than a main light. Still, for beginners on a tight budget, ring lights can help improve your lighting setup when used creatively.
Strobe lights are the powerhouse of product photography. They’re bright, extremely crisp, and capable of freezing movement with perfect clarity. Most professional studios rely heavily on strobes because they offer unmatched control.
The downside? Strobelights come with a learning curve, and the setup may feel advanced for complete beginners. Still, if you plan to pursue product photography long-term, investing in strobes will give you the ultimate flexibility and image quality. For professional-level commercial work, strobes are often the best lighting for product photography.
Not every product requires the same lighting setup. The best lighting for product photography depends on size, shape, texture, reflectiveness, and color. Here’s how to match your lighting to the product.
Jewelry, glass, metal items, and reflective surfaces are the trickiest to photograph because they capture every reflection-including your camera and windows. The key is using diffused light. Softboxes or light tents are excellent choices because they soften reflections and create even highlights.
For jewelry, multiple light sources can help bring out sparkle and clarity. Using a small LED as an accent light can highlight diamonds or metallic edges beautifully.
For clothing, the goal is to show texture, color accuracy, and drape. Soft, even lighting works best because it prevents harsh wrinkles and color distortion. Large softboxes on both sides of the setup often give the most balanced results.
If you want more dimensionality, add a third overhead light to highlight textures like wool, denim, or cotton. This approach helps the fabric look more realistic and appealing.
Food needs warm, inviting light to appear fresh and appetizing. Continuous LEDs with adjustable color temperatures are ideal because they allow you to fine-tune warmth. Softboxes or diffused light from the side also help create depth without blowing out highlights.
Shadows in food photography make the image feel natural, so avoid using too many lights. One main light and a reflector is often enough.
Electronic products often have sleek surfaces and sharp edges. You want lighting that emphasizes clean lines without causing harsh reflections. Softboxes and strip lights are great options. Accent lights can help create futuristic or tech-inspired effects.
Color temperature determines how warm or cool your lighting appears. This matters because it affects how the product’s colors look in the final image. Using the best lighting for product photography means choosing lights with adjustable color temperature so you can match the real-life appearance of your product.
Most product photographers use lighting between 5000K and 6500K, which gives a clean, neutral daylight effect. This ensures your colors remain accurate, especially for e-commerce platforms where consistency is key.
Lights with poor color accuracy can make white items look blue or yellow and distort product colors. Always look for lights with a high CRI (Color Rendering Index), preferably 90 or above. This ensures your product looks natural and true to life.
Beginners often think they need a complicated multi-light setup to get professional images, but that’s not true. The best lighting for product photography depends more on quality than quantity. In many situations, one good light and a reflector are enough.
A single soft light placed at a 45-degree angle can give you soft shadows, even highlights, and a clean smooth look. Adding a reflector on the opposite side helps bounce light back onto the subject so you don’t get areas that look too dark.
If you want more dimension, adding a second light as a fill source can brighten shadows without removing them completely. A third light, known as a backlight or rim light, can add separation between the product and background, giving it a polished studio feel. But this is optional for beginners.
So instead of worrying about quantity, focus on one or two lights that offer consistent, adjustable brightness and accurate color output. That’s the true foundation of the best lighting for product photography.
Soft light spreads smoothly across a product, reducing sharp shadows. Hard light is brighter and more directional, creating defined shadows and stronger contrast. Both have their uses, but soft light is usually the most forgiving for beginners.
Soft light is ideal for clothing, food, beauty products, and anything with delicate textures. Hard light works beautifully for items like watches, accessories, gadgets, tools, and metallic objects. Hard light brings out crisp lines and bold contrasts, giving the photo a modern, high-end feel.
Understanding how these two types of lighting behave will help you choose the best lighting for product photography based on the style you want to achieve.
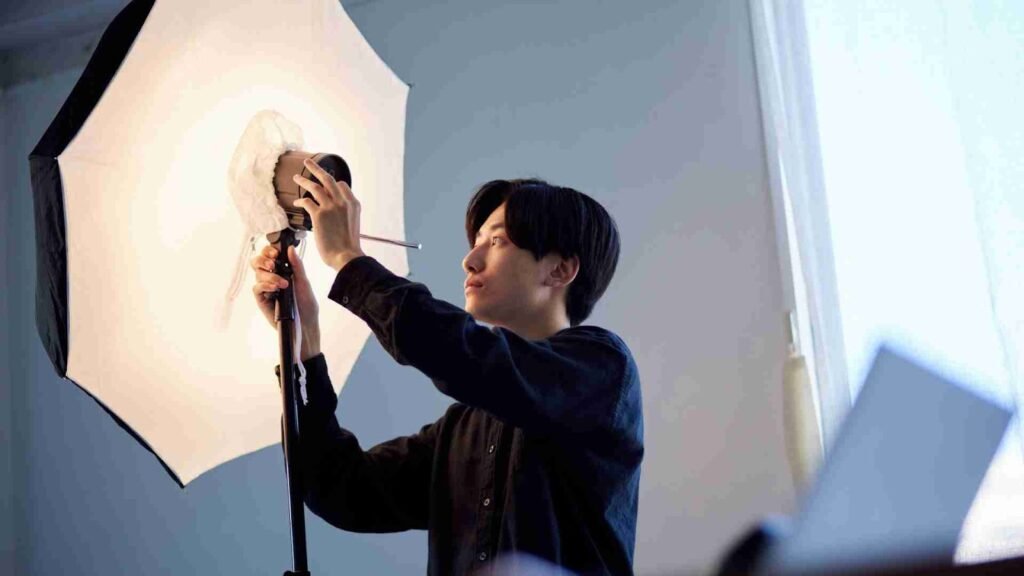
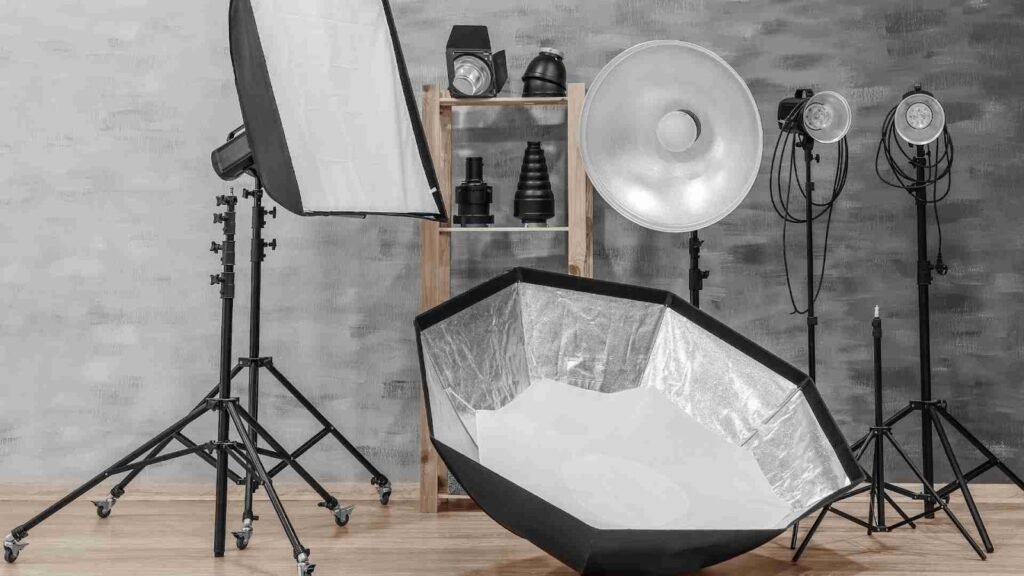
No matter what kind of lights you buy, diffusion is the secret behind professional-looking images. Diffusion softens harsh light and reduces strong reflections. Without it, your product may appear too shiny or unevenly lit.
Softboxes, umbrellas, light tents, and diffusers give your images that smooth, premium look customers appreciate in online stores. When shopping for the best lighting for product photography, make sure your kit includes some form of diffusion or that it allows you to add one.
This single element-diffusion-separates amateur photos from professional ones more than you might imagine.
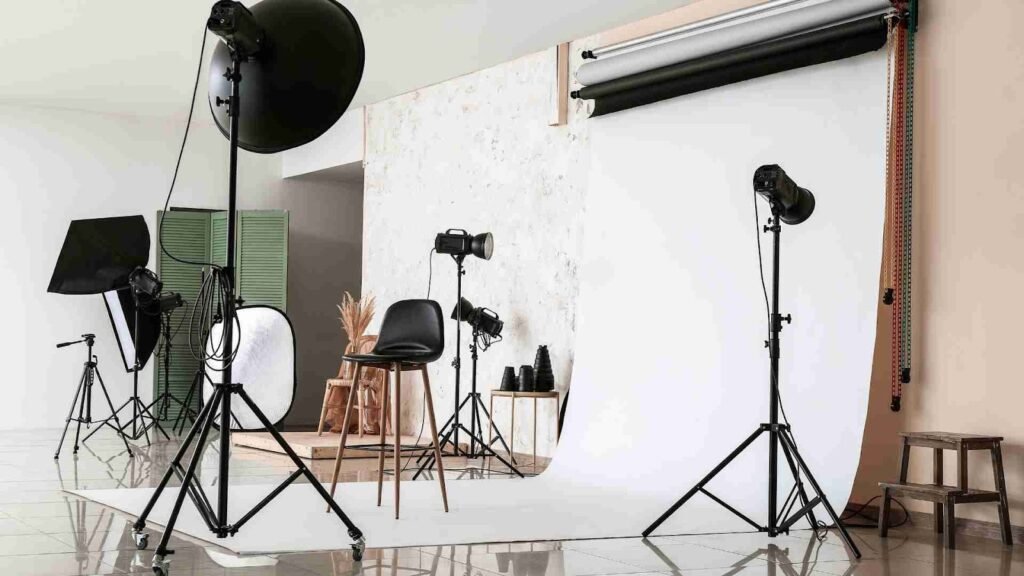
Lighting doesn’t work alone. Your background plays a big role in how light behaves. A white background reflects more light and makes the product appear brighter and cleaner. Black backgrounds absorb light and add depth or drama. Colored backgrounds influence how warm or cool the product appears.
Positioning your light also matters. A high-angle light creates soft, natural shadows. A low-angle light introduces dramatic effects. Side lighting reveals texture, while front lighting makes the product look flat but shadow-free.
Finding the best lighting for product photography means experimenting. Move your lights by a few inches, change the angle slightly, or bring the light closer or farther away-and you’ll see big differences in the final images.
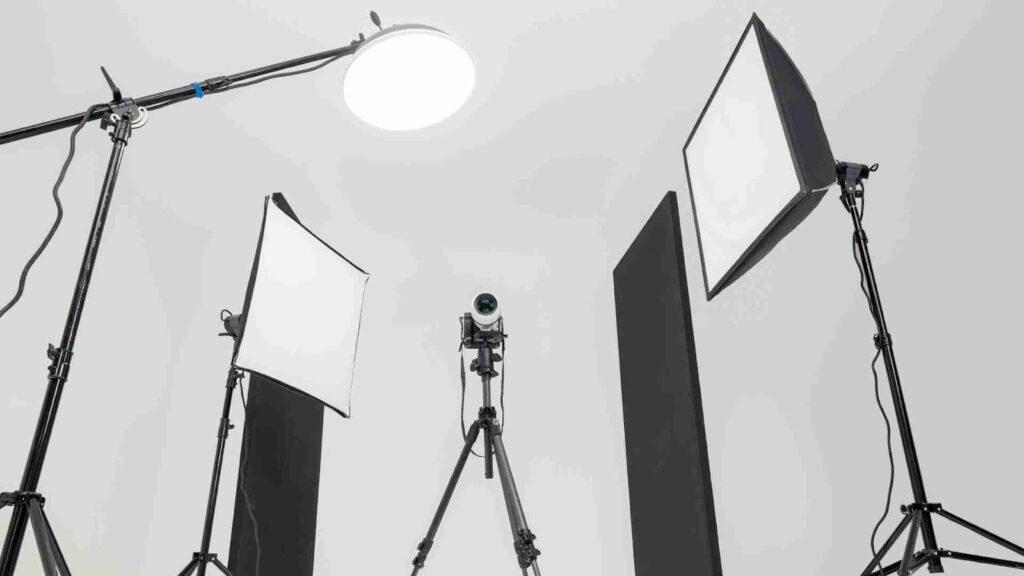
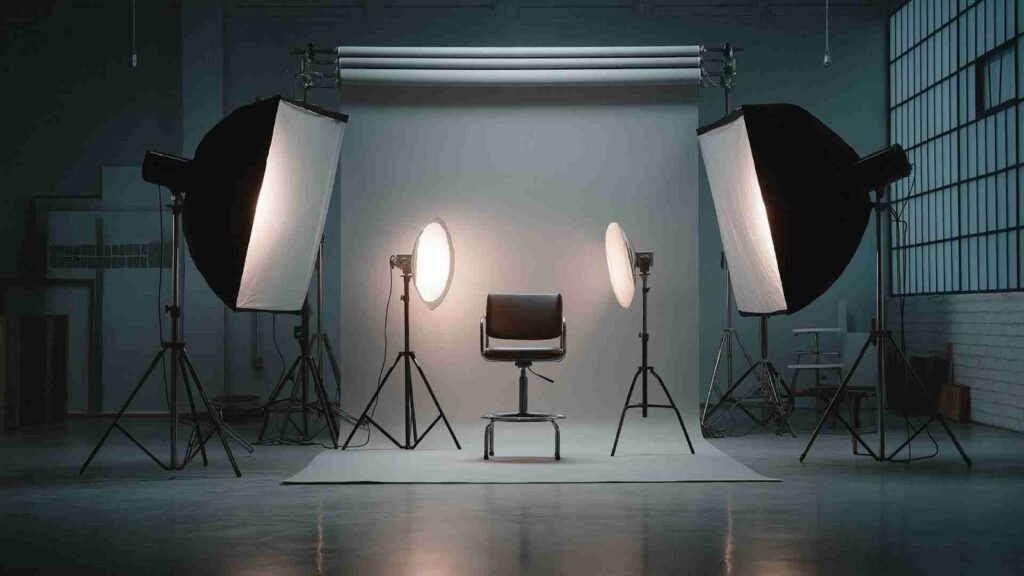
Here are a few beginner-friendly setups that work for most product types:
One softbox or LED panel placed at a 45-degree angle works wonders. Add a reflector on the opposite side to fill shadows. This setup is affordable, easy to control, and ideal for small home studios.
Use your main light at a 45-degree angle and place a second light behind the product to add separation. This setup is great for products with depth, like bottles, shoes, or tech items.
A light tent gives you fully diffused lighting from all sides. It’s extremely useful for shiny products like jewelry or glass items. Simple, clean, and very beginner-friendly.
These setups help you make the most of the best lighting for product photography without needing advanced technical knowledge.
For beginners who want good results without overspending, continuous LED softboxes are usually the best choice. They offer stable brightness, adjustable settings, and ease of use. Ring lights or small LED panels can be added later as accent lights.
Even cheaper solutions, like clamp lights with diffusers or DIY bounce cards, can work surprisingly well if you understand how light behaves. The goal is not to buy the most expensive gear, but to get reliable, consistent lighting that helps you grow into more advanced setups later.
Whether you choose a basic or premium kit, what matters most is learning how to use it. That’s what makes your gear become the best lighting for product photography.
You don’t need a lot of accessories, but a few small additions can significantly improve your results.
Reflectors help control shadows and brighten dark areas. Diffusers soften the light and reduce glare. Light stands allow you to position your lights exactly where you need them. Backdrops help create clean, professional images. And remote controls or dimmers give you precise control over brightness.
These accessories aren’t expensive, yet they elevate your work dramatically. They make your lighting flexible and adaptable, which is what you need to produce consistent product photos that stand out.
Even with the best lighting for product photography, beginners can run into problems. One common mistake is mixing natural light with artificial light. This creates color inconsistencies that make editing difficult. Another issue is placing the lights too close or too far away. Distance affects brightness, shadow softness, and overall image balance.
Beginners also make the mistake of not diffusing light enough, causing harsh reflections. Or they forget to remove unwanted background shadows. Avoiding these mistakes will help your images look clean, professional, and ready for commercial use.
Lighting gives you a strong foundation, but editing refines the image. Even when you use the best lighting for product photography, you’ll still need to adjust exposure, shadows, highlights, color balance, and sharpness. Dust removal, background cleanup, and edge refinement all contribute to polished results.
Good editing turns a good product photo into a great one. And this is where professional editing services become incredibly helpful, especially for busy businesses, e-commerce stores, or photographers who want fast results.
Start simple. Learn how one or two lights behave before moving into advanced setups. Make sure your lights have adjustable brightness and color temperature. Invest in diffusion and reflectors rather than buying too many lights at once.
Remember that the best lighting for product photography is the one that gives you control, clarity, and consistency. With the right setup, your product photos will look crisp, appealing, and ready to convert viewers into buyers.
Once you’ve captured your product photos with the best lighting for product photography, the final touch makes all the difference. This is where aitinsider can help. We specialize in professional image editing services, offering background removal, color correction, shadow creation, and advanced retouching to make your product photos look clean, consistent, and visually impressive.
If you want your images to have that premium, commercial-quality finish that stands out in competitive markets, aitinsider is here to support you. With our expert editing, your product visuals will look sharper, more vibrant, and more appealing to customers-helping you boost conversions and strengthen your brand presence.
Let your lighting bring your product to life, and let aitinsider handle the polishing so your images shine at their absolute best.