Have you ever looked up at the night sky and wished you could capture its beauty forever? The stars, the moon, the Milky Way-there’s something magical about the night. But if you’ve ever tried photographing it, you might have realized it’s not that simple. Great night sky photography usually requires a good camera, and that can get expensive. The good news is, you don’t have to break the bank to get started. In this complete guide, we’ll help you find the best cheap camera for night sky photography and explain exactly what to look for, how to use it, and even how to improve your images-without spending a fortune.
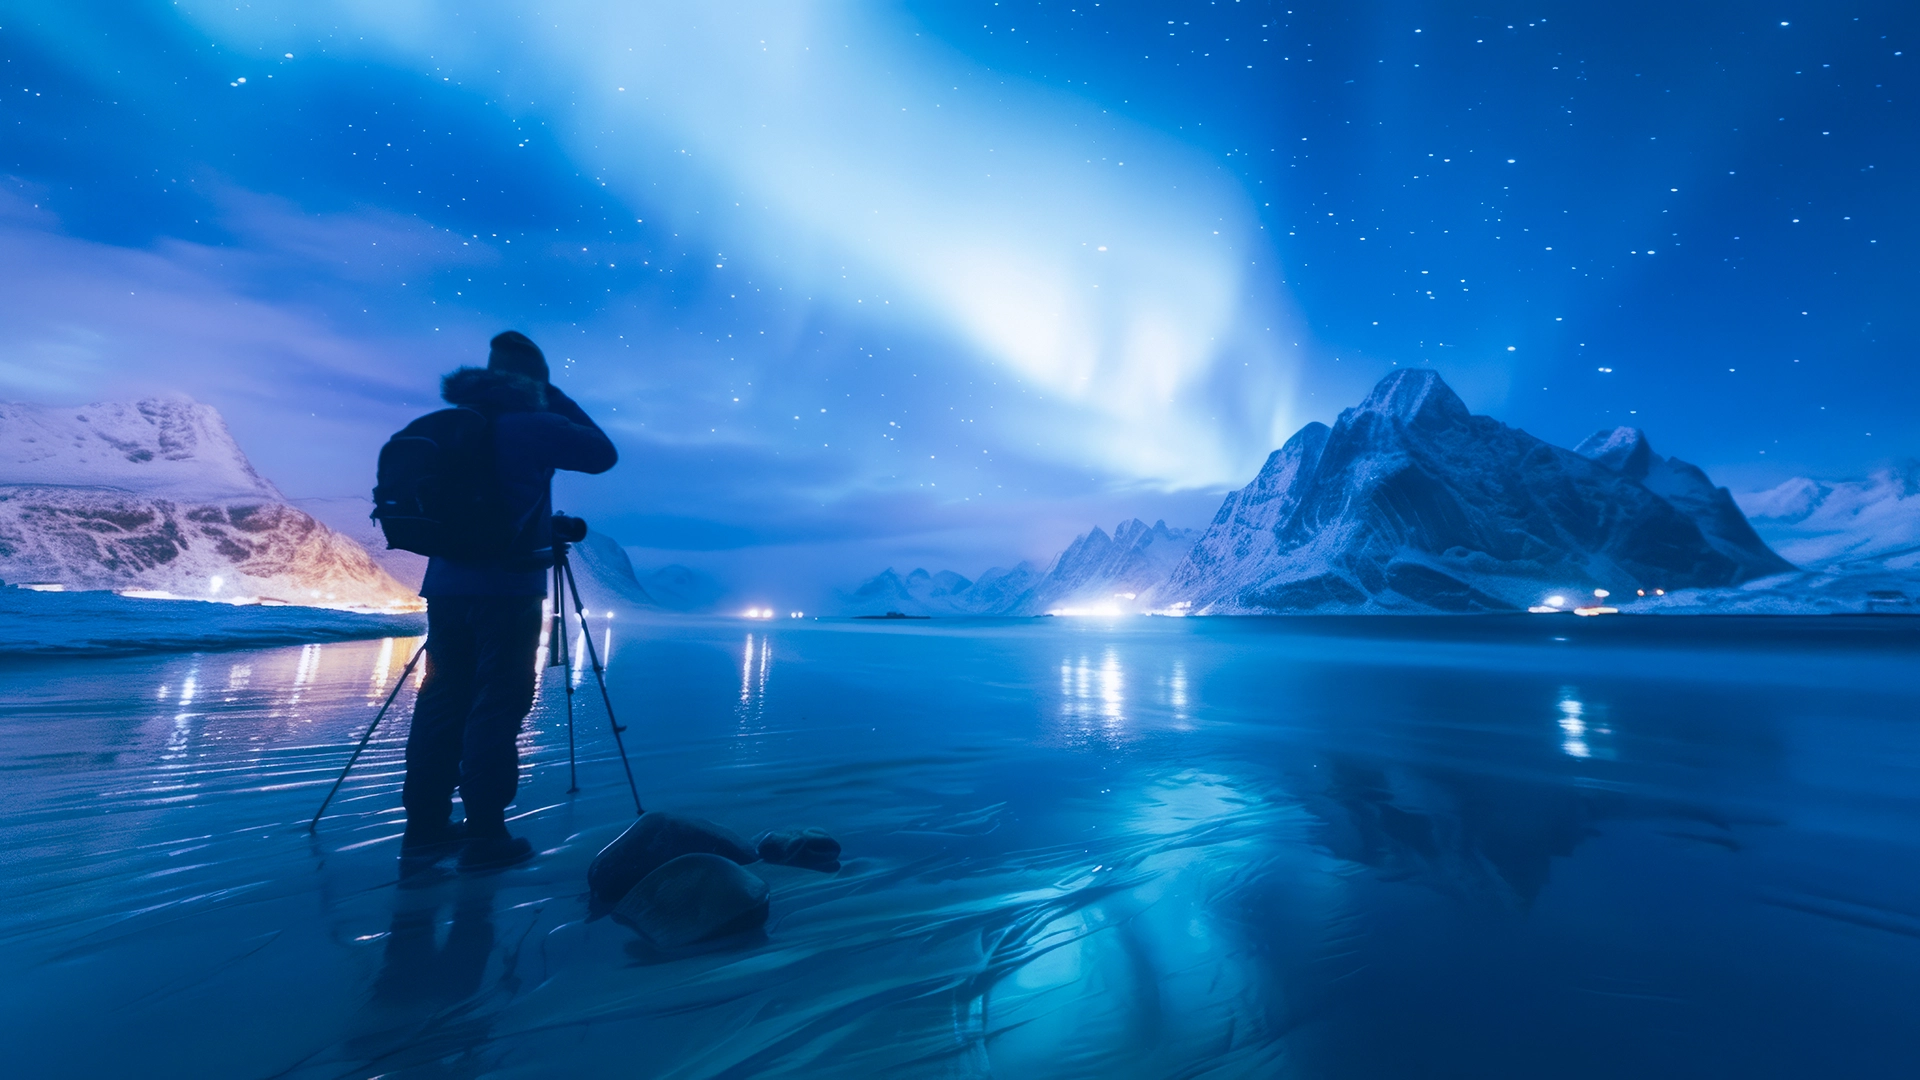
Night sky photography, or astrophotography, has become incredibly popular in recent years. People are traveling to remote areas just to get the clearest view of the stars. With the right camera, you can photograph star trails, the moon’s surface, and even the Milky Way. Social media has played a big role too-there’s just something satisfying about posting a stunning shot of the stars you captured yourself.
But while the passion for astrophotography is growing, not everyone has thousands of dollars to spend on gear. That’s where our guide comes in. We’re going to help you find the best cheap camera for night sky photography, whether you’re a total beginner or someone looking to upgrade from a smartphone.
Before we look at specific models, let’s talk about what features matter most in a camera for night photography. You don’t need every fancy function, but you do need a few key things to get decent results-especially in low light.
The most important feature is sensor size. A bigger sensor can capture more light, which is crucial when shooting in the dark. Manual settings are also essential so you can control shutter speed, ISO, and aperture. A camera that performs well at high ISO levels will help avoid too much noise (those grainy, fuzzy parts of your images). Lastly, you’ll want a camera that can take long exposures without overheating or glitching.
And remember: the best cheap camera for night sky photography isn’t just about price. It’s about finding the right balance between affordability and performance.
When shopping for a budget-friendly camera for astrophotography, you’ll probably see three main types: DSLR, mirrorless, and compact cameras. Each has its pros and cons.
DSLR cameras are known for their reliability and strong performance in low light. Many models come with interchangeable lenses, giving you more creative control. They are often a bit bulkier, but many entry-level DSLRs are surprisingly affordable.
Mirrorless cameras are lighter and more modern. They also offer great low-light capabilities, and many now rival DSLRs in performance. Their main downside is usually battery life, especially when doing long exposures.
Compact cameras are usually not ideal for astrophotography, but there are exceptions. A few advanced models offer manual controls and decent sensors at a low price point. Still, if you’re serious about capturing the stars, it’s better to stick with a DSLR or mirrorless camera when possible.
Let’s now look at some specific models that offer great value for night sky shooting. These cameras are perfect for beginners or hobbyists who want results without spending a fortune.
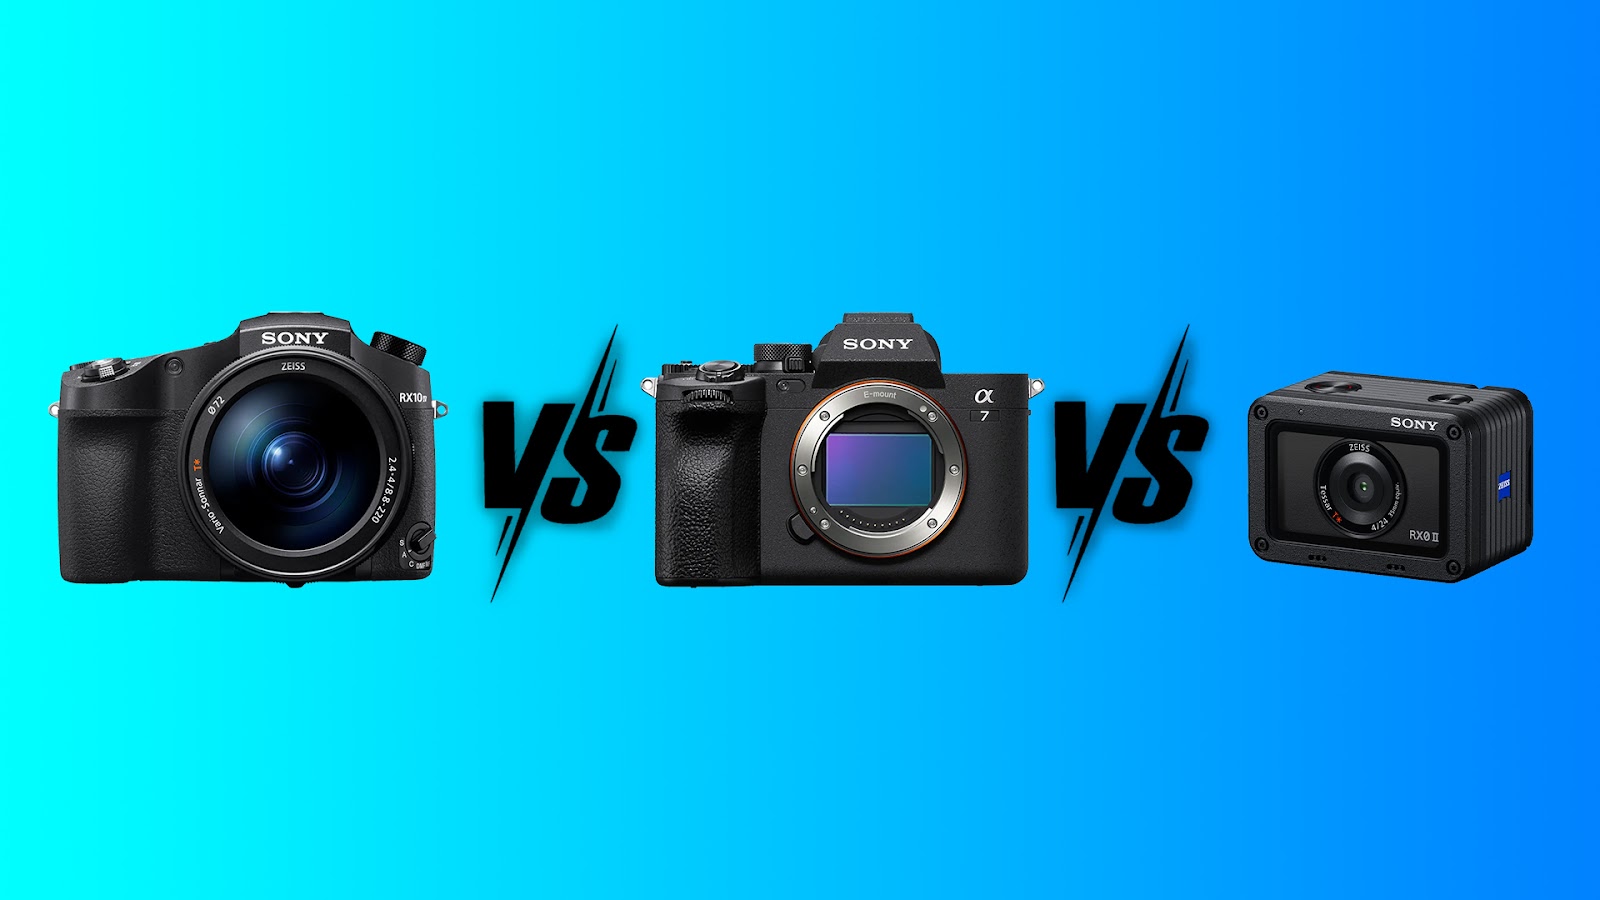
One popular choice is the Canon EOS Rebel T7. It’s an entry-level DSLR that offers a solid 24.1MP sensor, full manual controls, and excellent battery life. While it doesn’t have 4K video or a flip screen, its low-light performance is reliable, and you can pair it with affordable wide-aperture lenses to improve results.
Another great option is the Nikon D3500. Similar in price and features to the T7, it’s known for its excellent image quality, especially in darker conditions. It also has a helpful guide mode for beginners learning to adjust settings for night photography.
If you’re leaning toward mirrorless, the Sony Alpha a6000 is a standout. It’s not the newest model, but it’s still highly recommended for its 24.3MP sensor, fast autofocus, and strong ISO performance. It’s compact, easy to carry, and performs very well for long-exposure shots of the night sky.
The Fujifilm X-T200 is another mirrorless gem. It combines a sleek design with a strong APS-C sensor and excellent image quality. It handles noise well at higher ISO levels and offers plenty of manual control options, making it one of the best cheap cameras for night sky photography if you want something a bit more modern.
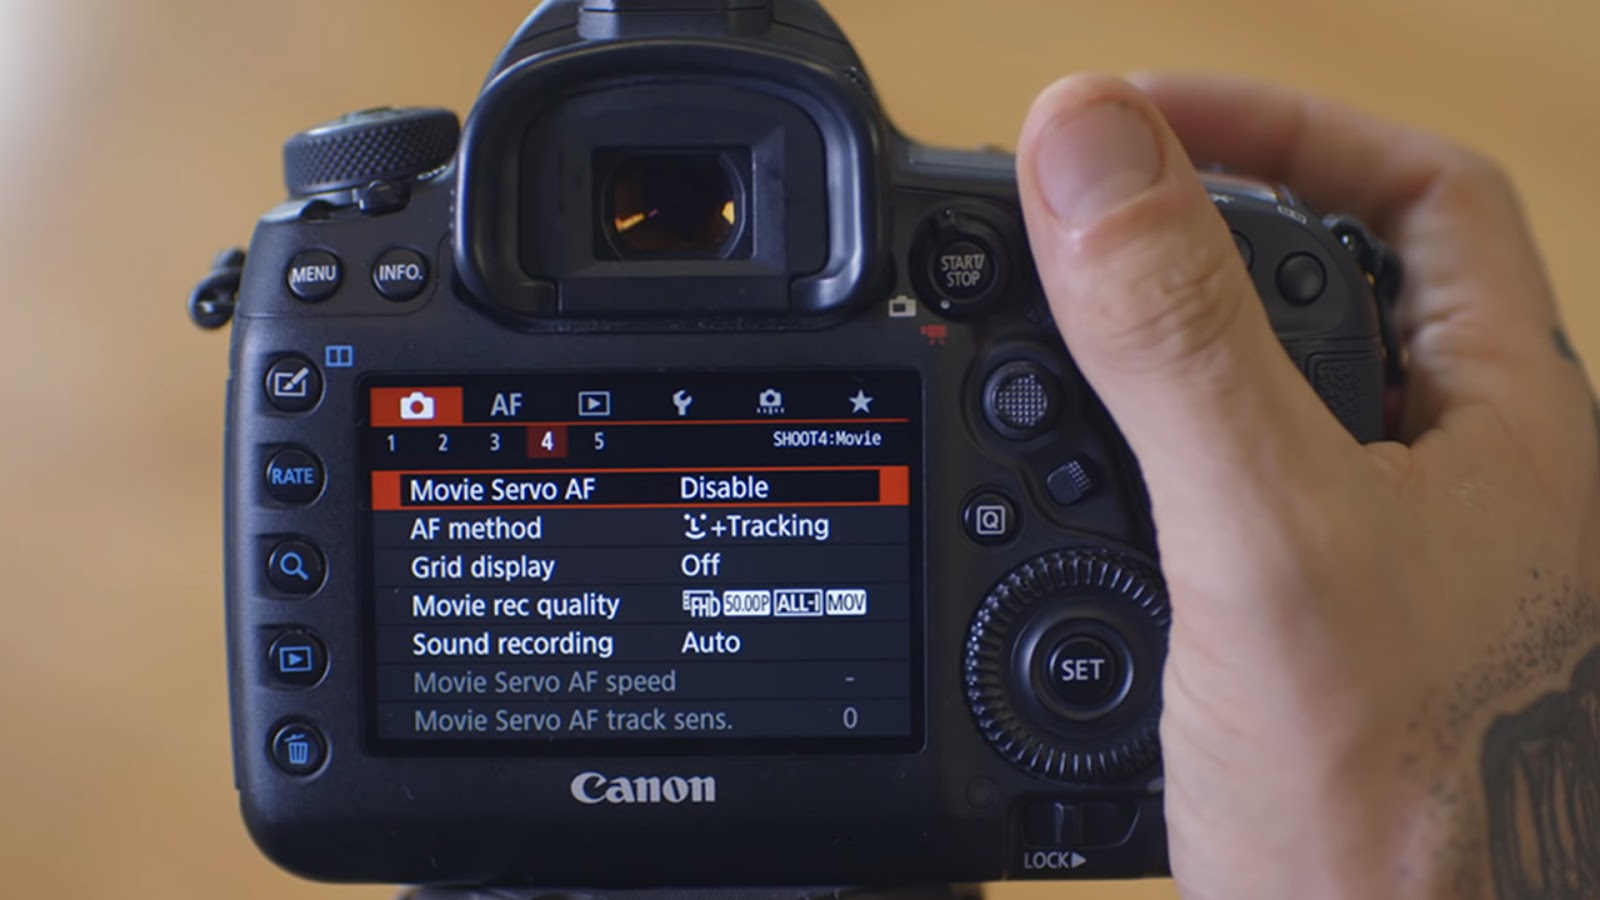
Once you have your camera, getting the right settings is key. Night sky photography is all about long exposures, wide apertures, and higher ISO settings.
Start with manual mode. Set your aperture to the lowest f-number your lens allows (like f/2.8 or f/3.5). Next, set the shutter speed to somewhere between 10 and 30 seconds, depending on what you’re shooting. For stars, you’ll want to avoid trails unless that’s your goal. A good rule of thumb is the “500 rule”: divide 500 by your focal length to get the maximum exposure time before stars start to blur.
Your ISO should be high enough to brighten the image but not so high that it adds noise. Start around ISO 1600 and adjust as needed.
Using a tripod is non-negotiable. Even a slight movement will blur your image during long exposures. And if your camera has it, enable long exposure noise reduction.

While we’re focusing on finding the best cheap camera for night sky photography, the lens you use matters just as much-if not more. A good lens can make a basic camera produce incredible results.
Look for lenses with a wide aperture (low f-number like f/2.0 or f/1.8) and a wide field of view (short focal length like 14mm–24mm). These let in more light and capture more of the sky.
For Canon and Nikon DSLRs, prime lenses like the Canon EF 50mm f/1.8 or Nikon AF-S 35mm f/1.8G are budget-friendly and great in low light.
For Sony mirrorless cameras, the Sony E 16mm f/2.8 is compact and effective. Fujifilm users should check out the Fujinon XF 16mm f/2.8 R WR.
Even on a budget, pairing your camera with the right lens can dramatically improve your night sky shots.
The truth is, most night sky photos look a little dull straight out of the camera. But with a bit of editing, they can look stunning. Thankfully, you don’t need expensive software. Free tools like Darktable or RawTherapee can do a lot, and Adobe Lightroom offers a free mobile version with plenty of features.
Start by adjusting exposure, contrast, and white balance. Boosting the clarity and dehaze sliders helps bring out stars and reduce light pollution. You can also adjust highlights and shadows to bring out the Milky Way or faint stars in your shot.
This post-processing step is just as important as shooting, and it’s where you can turn a good image into something breathtaking.
Now that you’ve got the camera and basic knowledge, it’s time to get out there and start shooting. But before you do, here are some budget-friendly tips that can help you take your night sky photos to the next level-without spending a ton of money.
Scout Your Location Ahead of Time
The less light pollution, the better your photos will be. Try to get away from the city and find a dark sky location. Free apps like Light Pollution Map or Dark Sky Finder can help you plan. If you can’t travel far, try shooting around new moon nights when the sky is darkest.
Shoot in RAW Format
Most good cameras (even cheap ones) allow you to shoot in RAW format. Unlike JPEGs, RAW files store more image data, giving you much more control during editing. This is especially useful for astrophotography, where detail and light correction are essential.
Use a Remote Shutter or Timer
Touching your camera during a long exposure can create blur. To avoid this, use a remote shutter release, or just use your camera’s built-in 2-second or 10-second timer. This small tip can make a huge difference in sharpness.
Practice Manual Focusing
Autofocus doesn’t work well in the dark. Learn how to manually focus your lens to infinity. A trick many photographers use is to zoom in using Live View mode and adjust the focus slowly until the stars appear as sharp dots.
Try Star Trails and Time-Lapses
As you get more comfortable, experiment with creative techniques like star trails or time-lapse photography. You don’t need new gear-just patience and software to stack images or compile sequences. Free tools like StarStaX are perfect for this.
These small changes and techniques can help you maximize your results, even with a limited setup. That’s the beauty of night sky photography-it’s more about skill and patience than expensive gear.
There are lots of affordable cameras out there, but not all of them are great for night sky shooting. Let’s go over some common pitfalls you should avoid when choosing the best cheap camera for night sky photography.
Don’t Choose a Camera Without Manual Settings
Many budget compact cameras or point-and-shoots don’t let you control shutter speed, aperture, or ISO. These settings are absolutely necessary for night photography. Make sure the camera has full manual (M) mode.
Avoid Cameras with Small Sensors
Tiny sensors, like those in many smartphones or basic compact cameras, don’t handle low light well. Even with editing, they’ll often produce grainy or blurry results. Aim for at least an APS-C sensor.
Be Careful with Outdated Models
Older cameras can still perform well, but some may lack features like RAW shooting, decent ISO range, or USB charging. Always check the specs and look for sample photos online before buying a secondhand camera.
Don’t Rely on Kit Lenses Alone
Most cameras come with a basic 18–55mm kit lens. While this can be okay for starting out, investing in a low-aperture lens later on (even a cheap one) will greatly improve your results.
By avoiding these mistakes, you’ll save time, money, and frustration-and be much happier with your camera in the long run.

So, is it possible to take beautiful night sky photos on a tight budget? Absolutely. With the right combination of knowledge, practice, and a smart purchase, you can capture incredible images of stars, planets, and galaxies.
Cameras like the Canon EOS Rebel T7, Nikon D3500, Sony Alpha a6000, and Fujifilm X-T200 are all excellent choices for anyone seeking the best cheap camera for night sky photography. Pair them with a tripod, a bit of patience, and a good lens, and you’re ready to go.
As you grow in skill and passion, you can always upgrade your gear later. But for now, just get out there, enjoy the peace of the night sky, and start capturing the universe-one photo at a time.
If you’ve captured a great shot but feel like something’s missing, don’t worry-aitinsider has you covered. At aitinsider, we specialize in professional image editing services, including astrophotography touch-ups, background corrections, color enhancements, and more.