
The magic of Christmas isn’t just in the sparkling lights, festive music, or the joy of giving. It’s also in the food. From the first course to the last bite of dessert, every dish carries a special kind of warmth during the holiday season. But when it comes to capturing that magic through photography, things can get a little tricky. This is where Christmas First Course Food Photography comes in-a niche but beautiful way to showcase festive dining experiences that draw in your audience, whether you’re a food blogger, restaurant owner, or hobbyist wanting to document holiday meals.
In this guide, we’ll go step by step through everything you need to know about shooting Christmas first course dishes, from setting up your space to editing the final shot. By the end, you’ll feel more confident about creating stunning, mouth-watering images that bring holiday starters to life.
Why Christmas First Course Food Photography Matters
First impressions count, and in food photography, the first course is the star of the opening act. Before guests dive into the turkey, roast beef, or decadent desserts, the first course sets the mood. Think of it as the visual appetizer-the dish that frames the rest of the Christmas meal.
Photographing this stage is important for several reasons. First, it’s often the most elegant and thoughtfully styled part of the meal. Whether it’s a steaming bowl of soup, a colorful salad with cranberries, or seafood elegantly plated, the first course has a natural beauty that begs to be captured.
Second, in the digital era, visuals sell the story. Restaurants use Christmas first course food photography in menus, advertisements, and on social media. Bloggers and content creators rely on it to attract readers, while families cherish it to document traditions.
And finally, high-quality images have a timeless appeal. A well-composed photo can transport viewers back to that magical Christmas table, making them almost taste and smell the food through the screen.
Setting the Scene: Creating a Festive Atmosphere
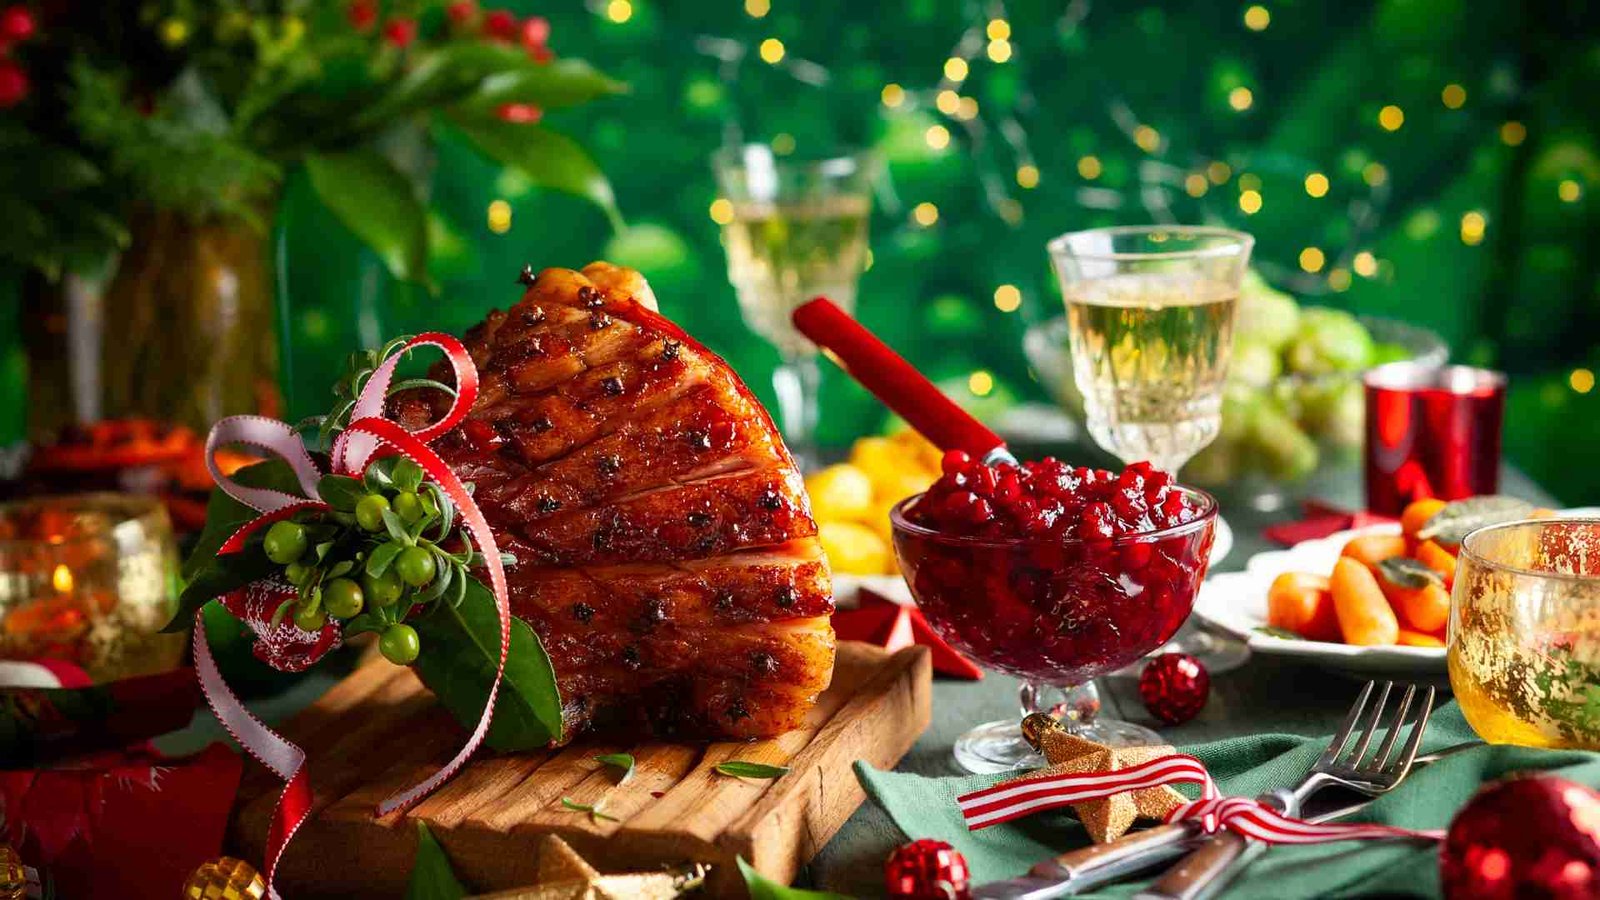
The first step in Christmas first course food photography is setting up your scene. Think of your table as a stage where the dish is the star and every prop is part of the supporting cast.
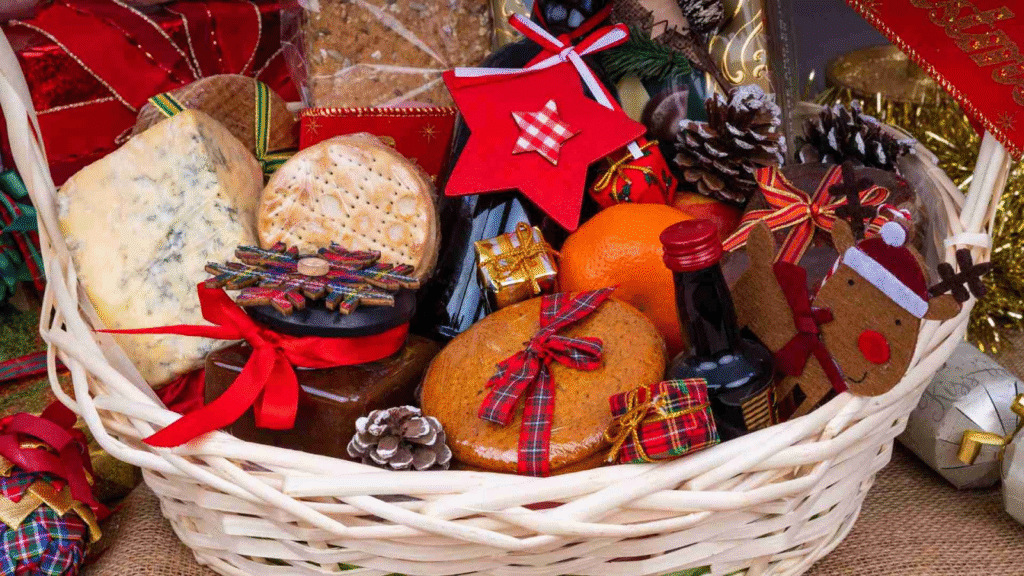
Start with the table setting. Holiday colors like deep reds, forest greens, and golds create a warm and inviting backdrop. Adding elements such as pinecones, candles, or even twinkling fairy lights can transform a simple dish into a Christmas masterpiece. However, balance is key. Too many props can make the image look cluttered, taking attention away from the food itself.
Natural light is your best friend here. Position your setup near a window to capture soft, diffused light that flatters the food. If you’re shooting in the evening, warm artificial lights can work too, but avoid harsh overhead bulbs that cast unwanted shadows.
Remember, the goal of Christmas first course food photography is not just to make the dish look good-it’s to make it feel festive. When someone looks at your photo, they should instantly feel the warmth of Christmas dinner.
Choosing the Right Dishes and Props
Props are powerful storytelling tools in Christmas first course food photography. The plates, cutlery, napkins, and even the glassware you use can elevate the image. For holiday shoots, textured ceramics, rustic wood boards, or elegant porcelain can all work beautifully, depending on your theme.
For example, if you’re photographing a creamy chestnut soup, a rustic bowl paired with a wooden spoon can create a cozy, home-style atmosphere. On the other hand, a sleek white plate with polished silver cutlery works better for fine dining starters like smoked salmon or scallop carpaccio.
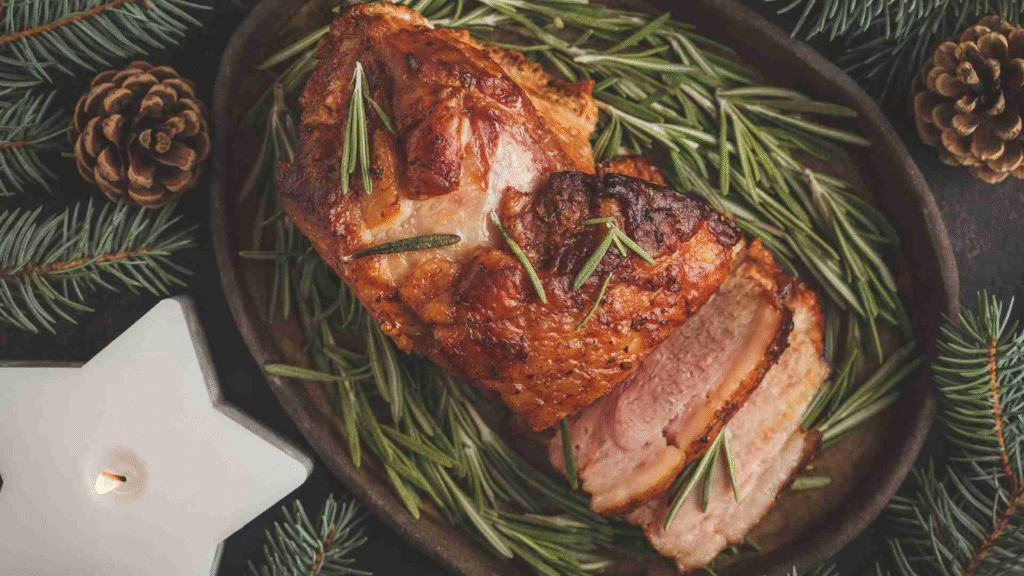
Seasonal garnishes also play a role. A sprig of rosemary, a dash of pomegranate seeds, or a swirl of cream not only enhance flavor but also add a festive pop of color. The secret is to use props that complement, not compete with, the dish.
The Art of Plating for Photography
Even the most delicious food can fall flat on camera if it isn’t plated well. For Christmas first course food photography, plating is both an art and a science.
Keep things neat and intentional. Use symmetry for elegant dishes or go for asymmetry when you want a more natural, home-cooked feel. Smaller portions often photograph better, leaving negative space on the plate to give the food room to breathe.
Height also makes a difference. Elevating certain elements-like stacking thinly sliced vegetables or placing a garnish upright-adds dimension and visual interest. For liquids like soups or broths, add toppings that float, such as herbs or croutons, to prevent the dish from looking flat.
Lastly, think about texture. Shiny sauces, crunchy toppings, or velvety creams all bring contrast that makes the image more engaging. Before shooting, wipe the rim of the plate to remove spills and keep everything looking polished.
Lighting: The Heart of Food Photography
If plating is the art, lighting is the soul of Christmas first course food photography. Light sets the mood, highlights textures, and gives food its appetizing glow.
Natural light, especially during the golden hour, works wonders. A north-facing window provides soft, consistent lighting that minimizes harsh shadows. But since Christmas often involves evening dinners, you might need to rely on artificial lighting.
When using artificial lights, opt for softbox lights or diffusers to mimic daylight. Position the light at a 45-degree angle from the dish to create gentle highlights and shadows that bring out the depth of textures. Reflectors (or even a simple white card) can bounce light back onto the dish, reducing dark shadows.
Experiment with side lighting for drama or backlighting for a glow effect, especially for soups and drinks. Remember, the more control you have over light, the more professional your images will look.
Finding the Best Angles
Angles tell the story of your dish. In Christmas first course food photography, the angle you choose can make or break the final shot.
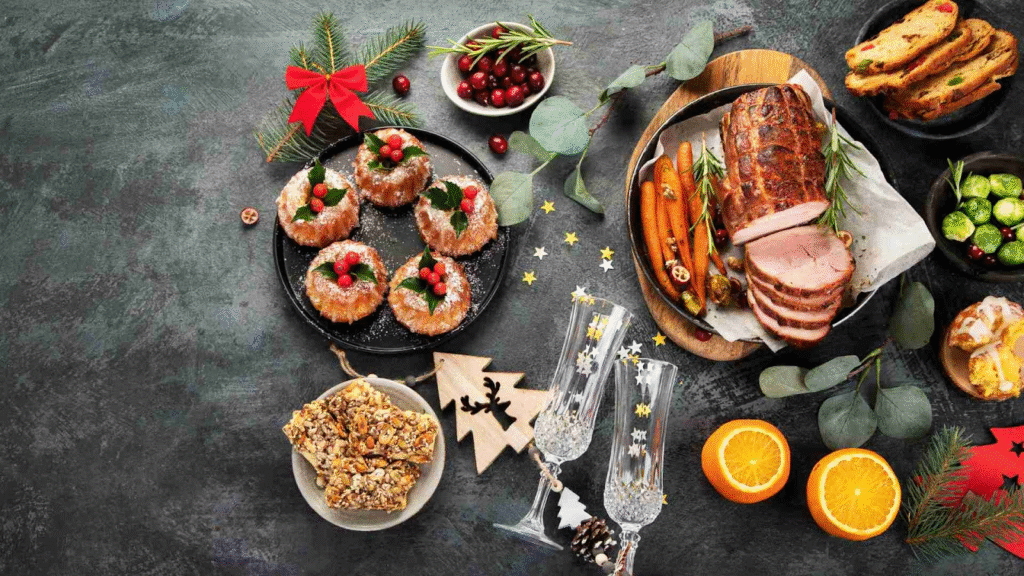
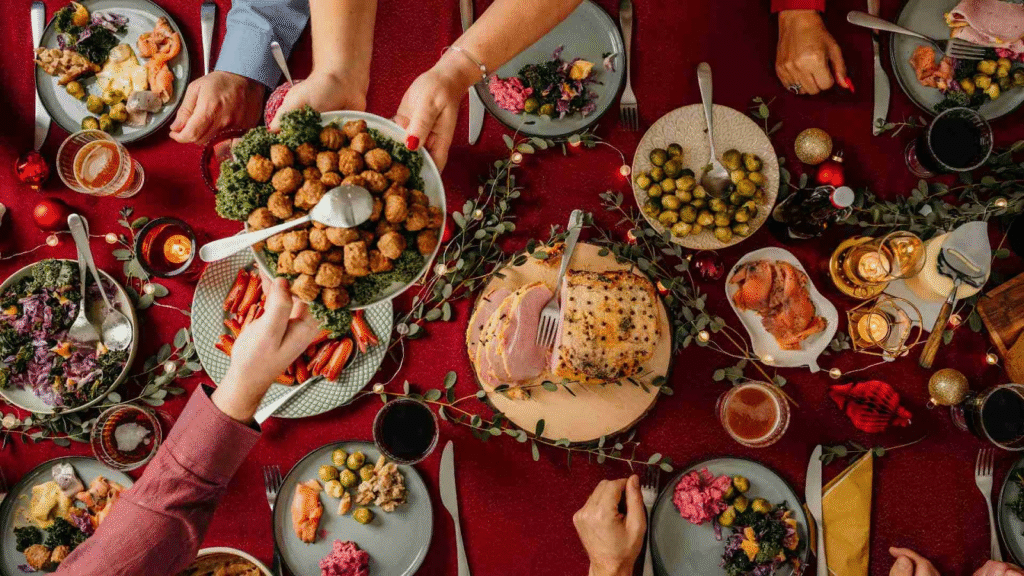
The overhead angle (flat lay) works well for spreads, capturing not only the food but also the surrounding holiday details like napkins, cutlery, or decorations. This style is perfect for salads, charcuterie plates, or shared starters.
The 45-degree angle is the most versatile, giving viewers a natural, eye-level look at the food. It’s great for soups, plated seafood, or small entrées.
The straight-on angle, meanwhile, emphasizes height and layers. Dishes like layered terrines or stacked canapés shine when shot this way.
The trick is to test multiple angles until you find the one that tells your dish’s story best. Don’t be afraid to move around, crouch low, or even stand on a chair to capture the perfect frame.
Composition Techniques for Holiday Starters
Composition is about guiding the viewer’s eye. In Christmas first course food photography, techniques like the rule of thirds, leading lines, and framing can help you create balanced, professional shots.
For example, placing the main dish slightly off-center adds visual interest while leaving space for supporting elements like wine glasses or bread rolls. Diagonal lines, like a knife pointing toward the dish, subtly direct the eye where you want it.
You can also frame the dish with festive props-like placing pine branches or ornaments at the edges of the frame-to give context without overwhelming the subject. And don’t forget negative space. A clean background makes the dish pop and prevents distractions.
Editing: From Raw Capture to Final Shot
Even the best setups and lighting benefit from thoughtful editing. Editing helps fine-tune the colors, correct lighting imbalances, and give your photos that polished, professional look.
Start with basic adjustments-exposure, contrast, highlights, and shadows. For food, vibrancy matters, so enhance the saturation slightly, but don’t overdo it. Christmas first course food photography often includes reds and greens, so pay attention to keeping those tones natural.
Sharpen the image to emphasize textures like crispy edges or smooth sauces. Use selective adjustments to highlight specific areas, such as making the garnish brighter to draw attention.
If you’re editing multiple photos from the same shoot, keep the tones consistent. A unified editing style makes your collection look cohesive and professional.
If editing isn’t your strong suit, services like aitinsider offer professional image editing solutions tailored for food photography. Outsourcing can save you time and ensure your final images are polished and ready to impress.
Storytelling Through Food Photography
At its core, Christmas first course food photography isn’t just about the food-it’s about the story. Each photo should evoke a feeling, whether it’s the anticipation of the first bite, the coziness of gathering around the table, or the elegance of fine dining during the holidays.
You can add layers to your story by including hands in the frame, like someone reaching for bread or holding a spoon. Candles in the background can suggest warmth, while ornaments hint at the festive season.
Ask yourself: what do I want viewers to feel when they look at this photo? If the answer is “hungry and festive,” you’re on the right track.
Advanced Techniques for Christmas First Course Food Photography
Once you’ve mastered the basics of setup, lighting, and plating, it’s time to experiment with advanced techniques to make your photos stand out. One such technique is layering elements to add depth. Place props like wine glasses or decorative napkins closer to the lens, slightly out of focus, to create a foreground blur that frames the dish beautifully.
Another advanced trick is working with motion. Capture someone sprinkling salt, pouring soup into a bowl, or adding a garnish just before the shot. These dynamic touches bring life to static food photography and help create a narrative.
Bokeh, or background blur, is also incredibly effective during Christmas first course food photography. With twinkling fairy lights or candles in the background, a shallow depth of field can turn them into magical glowing orbs, instantly making your images more festive.
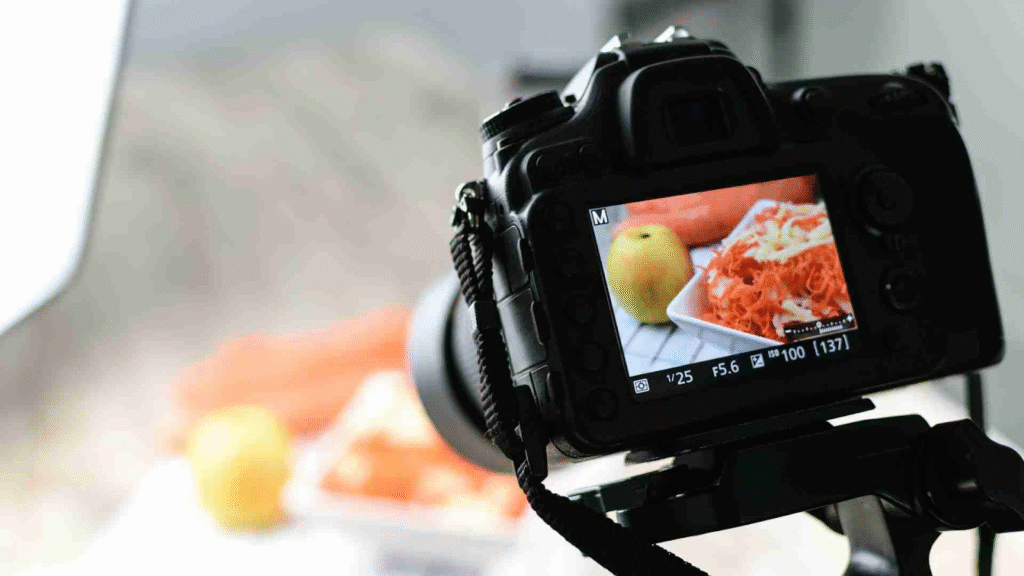
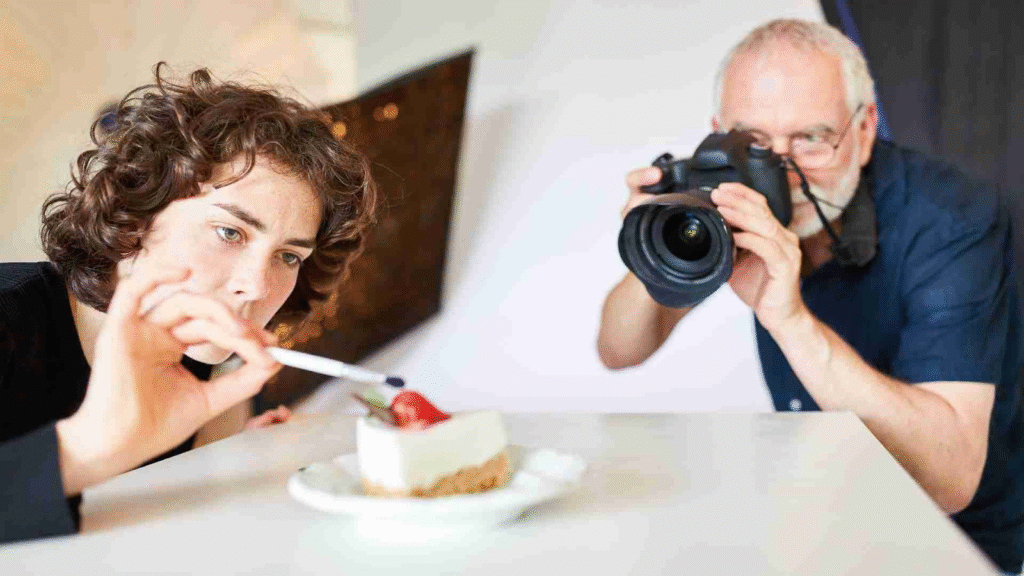
Finally, tethered shooting-connecting your camera to a laptop-lets you view images in real-time on a larger screen. This helps spot details you might miss on the small LCD screen, like uneven lighting or misplaced props.
Common Mistakes to Avoid
Even with preparation, mistakes are easy to make in Christmas first course food photography. One of the most common errors is overcrowding the frame. While holiday setups are naturally full of decorations, too many elements can overwhelm the dish and confuse the viewer’s focus.
Another mistake is neglecting temperature. Hot food loses its steam quickly, and cold dishes can wilt or dry out under lights. Timing is crucial-have everything ready before the dish comes to the table so you can capture it at its best.
Over-editing is also a pitfall. It can be tempting to crank up saturation or apply heavy filters, but doing so often makes food look unnatural. Keep edits subtle to preserve the authenticity of the dish.
Lastly, don’t underestimate the importance of storytelling. Focusing only on technical perfection without considering the emotional connection can leave photos feeling flat. Always balance technical skill with festive warmth.
Seasonal Inspiration for First Course Shots
Christmas first course food photography thrives on variety. Here are some ideas to spark your creativity:
- Soups and Broths: A bowl of butternut squash soup topped with cream swirls and herbs can glow under soft lighting.
- Salads: Think winter greens with cranberries, walnuts, and goat cheese-colorful, fresh, and vibrant.
- Seafood Starters: Smoked salmon with dill and lemon slices or prawns with cocktail sauce photograph elegantly.
- Breads and Pastries: A basket of freshly baked rolls or puff pastry bites with festive napkins make for warm, rustic compositions.
- Charcuterie Boards: A mix of cheeses, cured meats, and fruits is visually dynamic and perfect for overhead shots.
Each of these dishes not only tastes delicious but also provides endless creative opportunities when styled with seasonal props.
Creating Cohesion in a Photo Series
If you’re shooting multiple first course dishes, it’s important to maintain consistency. A photo series works best when the style, lighting, and mood feel connected. This doesn’t mean every photo should look identical, but there should be a common thread-perhaps a recurring background, consistent use of props, or a similar editing style.
For example, you might choose a rustic wooden table as your main backdrop, swapping out only the plates and garnishes for each dish. Or you could keep the same warm lighting tone across all images so they feel like part of a single holiday story.
Consistency matters especially if you’re creating content for blogs, menus, or social media, where a cohesive look enhances professionalism.

Editing Tools and Techniques for the Perfect Finish
While many people edit food photos in apps like Lightroom or Photoshop, don’t overlook mobile tools like Snapseed or VSCO for quick adjustments. In Christmas first course food photography, editing isn’t about altering reality but enhancing what’s already there.
Pay attention to white balance. Holiday lights can give a yellow or orange cast that might distort the food’s natural colors. Adjusting temperature and tint can restore a balanced look.
Clarity and texture sliders help bring out the fine details of food, such as the grain of bread or the shimmer of soup. However, too much sharpening can make food look harsh.
Cropping is another powerful tool. A slight crop can remove distracting elements or bring the focus closer to the dish. Keep your compositions tight and purposeful.
If editing feels overwhelming, consider outsourcing to professional editors. At aitinsider, we specialize in food photo editing services that ensure your images look vibrant, consistent, and ready for publication. Outsourcing gives you more time to focus on shooting while experts handle the finishing touches.
Sharing Your Photos: Where and How
Once your images are polished, it’s time to share them. Social media platforms like Instagram and Pinterest are ideal for showcasing Christmas first course food photography. Use hashtags like #ChristmasFood, #HolidayTable, and #FoodPhotography to reach wider audiences.
If you run a food blog, optimize your images for SEO by naming files descriptively (e.g., “Christmas-first-course-soup.jpg”) and adding alt text. This helps search engines understand your content and brings in more visitors.
For restaurants or catering businesses, use high-quality first course images in your marketing materials. Beautiful visuals can make a menu more appealing and persuade customers to order holiday packages.
Remember, the goal of sharing isn’t just to show off pretty pictures-it’s to connect with your audience, tell a story, and inspire them to recreate those festive dishes at home.
Building a Portfolio Around Holiday Food
If you’re a photographer looking to expand your portfolio, Christmas first course food photography can be an excellent niche. Holiday-themed shoots are in demand, not just in December but year-round as brands and blogs prepare seasonal content in advance.
To build a strong portfolio, include a mix of dishes, angles, and setups. Showcase variety by mixing rustic, cozy styles with elegant, fine-dining aesthetics. Potential clients will appreciate seeing your flexibility.
Collaborating with local restaurants, chefs, or food stylists during the holiday season can also help you gain real-world experience and build connections. Sharing these collaborations online adds credibility and exposure.
Bringing It All Together: The Final Shot
The journey from setup to final shot in Christmas first course food photography is a blend of preparation, creativity, and technical know-how. You start by setting the scene with festive props, then carefully plate your dish, find the right light, and experiment with angles. After capturing the best possible image, you polish it with editing and finally share it with the world.
It’s not just about photographing food-it’s about capturing the spirit of Christmas, telling a story through visuals, and evoking emotions that make viewers feel part of the holiday celebration.
Final Thoughts
Christmas first course food photography is a joyful mix of art and technique. From the cozy glow of candles to the vibrant colors of seasonal dishes, every detail matters. By focusing on lighting, plating, composition, and editing, you can create photos that not only look delicious but also feel festive and memorable.
And if editing isn’t your favorite part, remember that you don’t have to do it alone. At aitinsider, we provide professional image editing services tailored for food photography. Whether you’re a blogger, photographer, or restaurant owner, our team can help turn your photos into polished, eye-catching visuals that stand out.
So this holiday season, grab your camera, style those starters, and let your Christmas first course food photography shine. The joy of the season deserves to be captured beautifully-and with the right approach, your photos will become as memorable as the meal itself.
Best Background For Food Photography – Creative Backdrop Ideas
[…] in shaping the mood, texture, and visual appeal of your shot. Choosing the right background for food photography can completely transform your image. It can make the food look fresh, vibrant, and […]
Food Photography Business - How To Start & Succeed In 2025
[…] compete for attention online, the demand for high-quality visuals has never been higher. Starting a food photography business gives you the freedom to turn creativity into a sustainable career. Whether you begin as a […]
Best Food Photography Equipment 2025 | Essential Gear For Perfect Shots
[…] guide breaks down the most important food photography equipment you need, how to choose it, and what actually matters when building your setup. You’ll […]
Food Photography Invoice Template | Professional Billing For Photographers
[…] break down how to make your Food Photography Invoice work for you, not against […]
Food Photography For Restaurants | Make Your Dishes Look Irresistible
[…] you’re a food photographer, restaurant owner, or social media manager, understanding how a Food Photography Restaurant setup works will help you create photos that capture attention and drive customers to […]
Food Photography Online Course | Learn To Shoot Delicious Photos From Home
[…] of the best things about an online course is the community. A Food Photography Online Course with an active student group lets you share your work, ask questions, and see […]