How Creative Food Photography Can Transform Ordinary Dishes into Visual Masterpieces
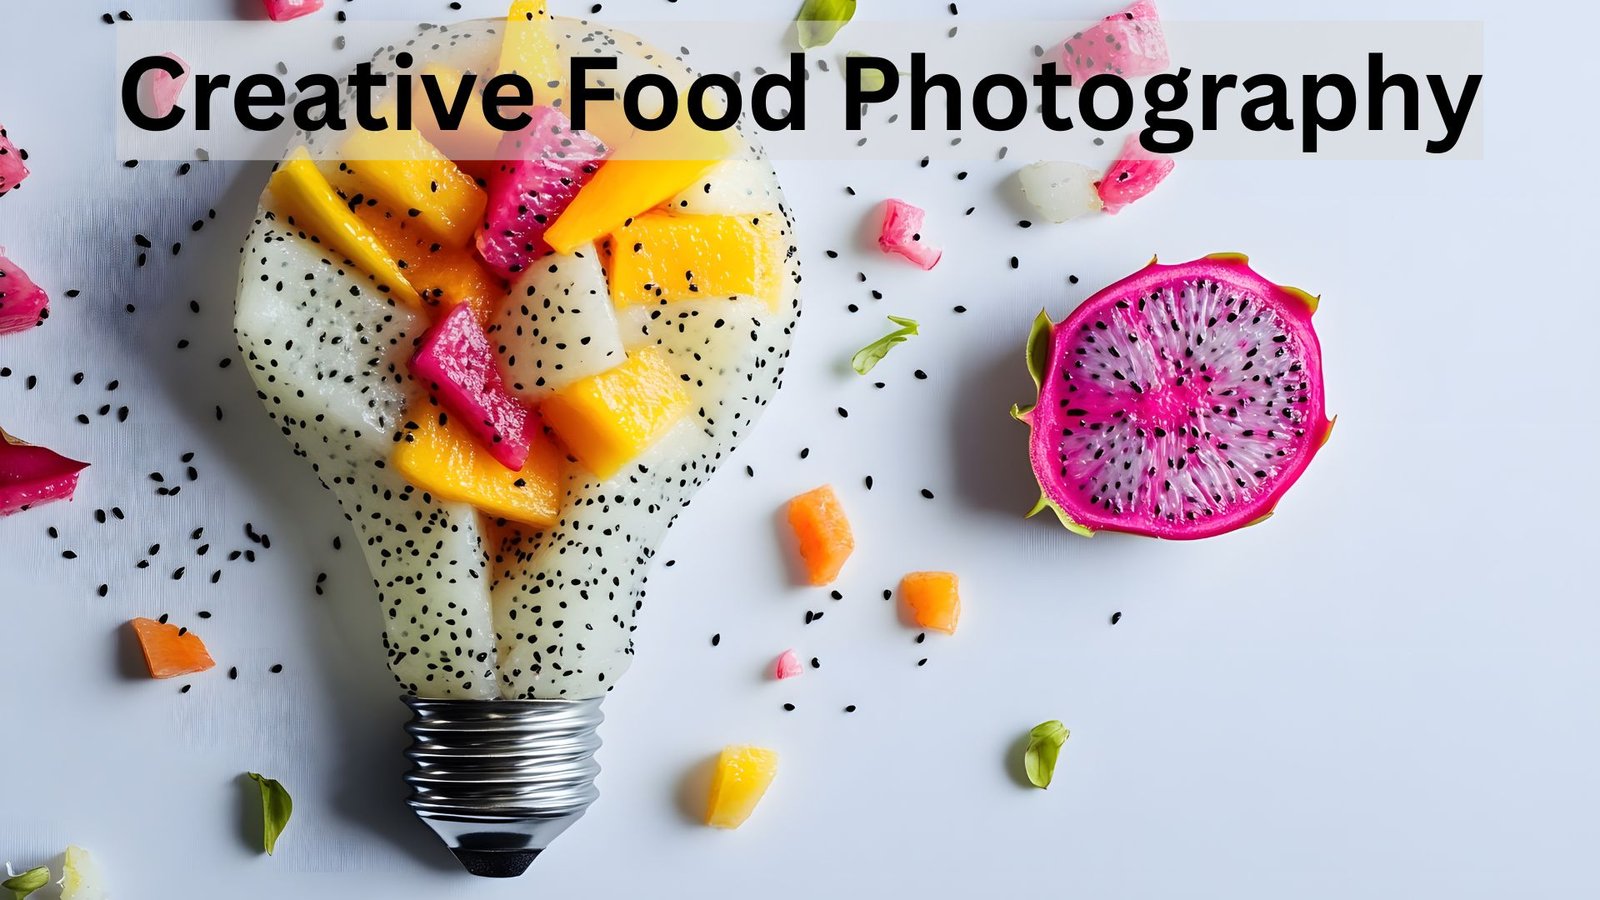
There’s something quietly magical about a plate of food that looks as good as it tastes. With a little imagination, a few simple tools, and an eye for detail, ordinary dishes can become visual masterpieces that stop people mid-scroll and make mouths water. In this article, I’ll walk you through why creative food photography matters, how it changes the way people experience food, and practical tips you can use to elevate your own pictures- whether you’re shooting on a phone or a camera. Think of this as a friendly conversation about making food sing on-screen.
Why Creative Food Photography Matters
Creative food photography does more than document a meal- it tells a story. When you present a dish through thoughtful composition, lighting, and styling, you’re offering a moment: the crackle of a glaze, the steam from a hot bowl, the crisp edge of a roasted vegetable. That moment connects with viewers emotionally. Restaurants use it to draw diners in; brands use it to build desire; home cooks use it to share pride. People don’t just buy food- they buy the feeling a photo suggests. That’s the power of creative food photography: it transforms sensory experience into visual language.
Beyond emotion, creative food photography influences decisions. On social media platforms and menus alike, an arresting image can outperform good copy and even a glowing review. A viewer who sees a beautifully styled dish is more likely to save the post, click the recipe, or visit a restaurant. For content creators and businesses, investing in creative food photography isn’t a vanity expense- it’s a conversion tool.

The Building Blocks: Light, Composition, and Color
At the heart of every great food photo are three pillars: light, composition, and color. Light sculpts the dish. Soft, directional light is often most flattering because it reveals texture while keeping shadows gentle. Natural window light is a favorite for many photographers; it’s forgiving, versatile, and free. If you’re working indoors without good natural light, a single continuous light or a softbox placed at an angle will produce a similar look.
Composition tells the viewer where to look. The classic rule of thirds helps, but creative food photography is also about breaking rules intelligently. Try overhead shots for flat-lay stories- perfect for spreads, bowls, and arrangements- and low-angle shots for plated mains that show height and structure. Negative space gives objects room to breathe; cluttered frames make it hard for the eye to settle. Use props and utensils sparingly to support the story, not overpower it.
Color creates mood. Warm tones feel cozy and comforting; cool tones read modern and minimal. Complementary colors (like blue napkins with orange roasted carrots) make dishes pop. Be mindful of the background and surface: a rustic wooden table imparts warmth, while a white plate on marble communicates crisp sophistication. When you craft a color palette intentionally, you’re guiding the viewer’s emotional response.
Styling: Small Details, Big Impact
Styling is where creative food photography becomes art. It’s not about fake food or excessive gimmicks; it’s about thoughtful placement and truthful presentation. A drizzle of olive oil, a sprinkling of flaky sea salt, or a scattered herb leaf can turn an okay photo into an exceptional one. Texture is your friend- layering textures (crisp, creamy, crunchy) in the frame gives the eye more to explore.
When plating for photos, think about the bite you want to communicate. Does the dish invite a forkful or a spoonful? Arrange components as if someone is about to take that perfect mouthful. Use props that enhance the story: a hand reaching into the frame adds life; a napkin with a natural crease feels lived-in. Keep garnishes realistic- edible and proportionate- and avoid shiny over-sprayed finishes that make food look unnatural.

Tools and Gear That Help- But Don’t Dictate
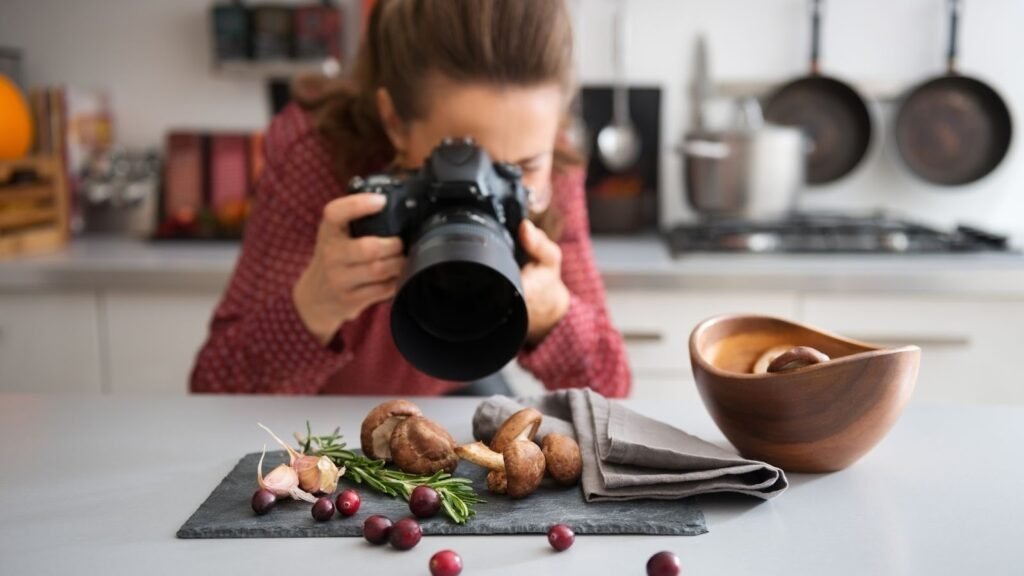
One reassuring truth: you don’t need the most expensive gear to make creative food photography that sings. Smartphones today have incredibly capable cameras and can produce gorgeous results in the right hands. That said, certain tools make life easier. A tripod brings stability and precision, especially for overheads and long exposures. A reflector or white card can bounce light into shadows, and a small diffuser will soften harsh light from a window or lamp.
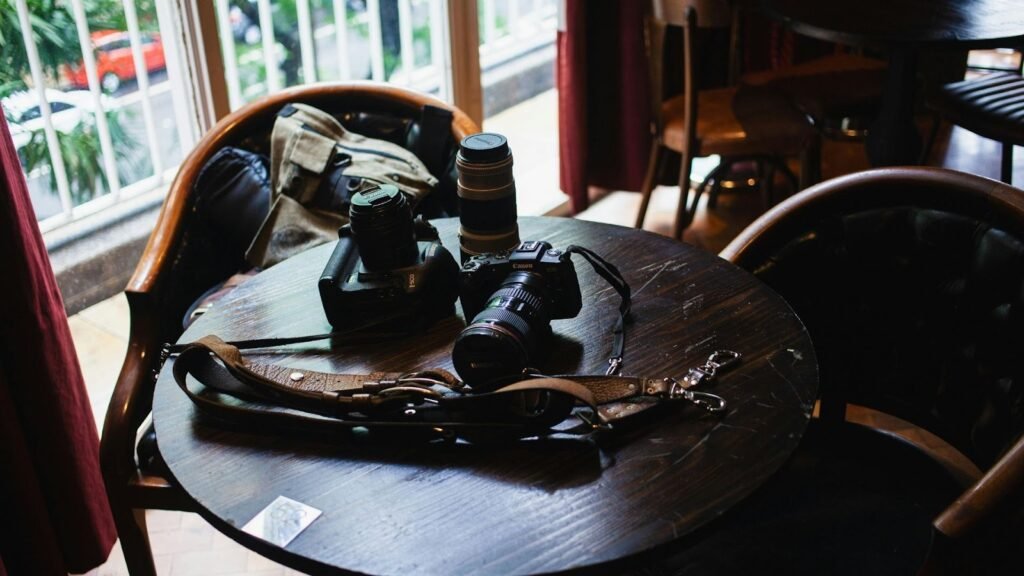
Lenses matter for those using cameras: a 50mm prime for a natural perspective, a 35mm for wider kitchen scenes, and a 100mm macro for tight texture shots are reliable choices. But the photographer’s eye matters more than the lens. Practice framing, timing, and styling; the skills transfer across devices. If you’re starting, try a few setups with your phone and learn how to adjust exposure and focus manually- these small habits build skill fast.
Telling a Story with Every Shot
Creative food photography is storytelling. Every element in the frame should support the narrative: is this a quick weekday lunch, a leisurely brunch, or a celebratory dessert? Tell that story through props, colors, and human presence. Add context with ingredients scattered around to suggest freshness. Use motion- a hand sprinkling sugar, a spoon lifting sauce- to add dynamism.
Sequence matters too. For recipe content, show the dish across a few complementary photos: raw ingredients, the cooking/action, and the final plated result. These small narratives increase engagement because they satisfy curiosity and help teach. In commercial contexts, a single hero image can be supported by close-ups and detail shots to showcase texture and quality.
Editing: Enhancing, Not Replacing
Post-processing is where creative food photography is refined. Editing helps correct color balance, enhance contrast, and gently boost texture. The goal is to enhance the authenticity of the dish, not to create something that never existed. Subtle adjustments- warming the white balance to match the scene, increasing clarity on the relevant area, or cropping tightly to remove distractions- often make the biggest difference.
If you don’t love editing or lack time, professional image editing services can help polish images to a consistent brand standard. Outsourcing basic retouching and color correction allows you to focus on shooting more; plus, a consistent visual style strengthens brand recognition. For DIYers, apps like Lightroom Mobile and Snapseed give robust tools in a user-friendly package.
Creative Techniques to Try Today
If you want to experiment, try a few creative techniques. Use steam and shallow depth of field to suggest warmth and freshness. Capture a sequence of a sauce being poured for motion and gloss. Try reflections by shooting near a shiny surface for an editorial look. Play with negative space for minimalist compositions, or layer elements in the foreground to add depth.
Another useful technique is to photograph at different times of day. Morning light is cool and crisp; golden-hour light (late afternoon) adds warmth. Learn how the light in your preferred shooting area changes through the day and plan shoots when the light best fits your concept. This small habit will drastically improve consistency in your images.

Using Creative Food Photography for Business and Social Media
For businesses and food creators, creative food photography is central to brand voice. A consistent photographic aesthetic across menus, websites, and social accounts builds trust and recognition. When planning content, think in themes- for example, “comfort foods,” “seasonal specials,” or “behind-the-scenes kitchen moments.” Each theme can have a defined color palette and prop set to make production faster and more coherent.
On social platforms, mix hero shots with process content and short video clips. Reels or short clips showing a quick plating trick or a sizzling pan often get higher reach. Remember captions: pair your images with storytelling captions that complement the photo rather than repeat it. Calls to action- like “save this for later” or “tag someone who’d love this”- coax engagement without being pushy.
Accessibility and Authenticity
Authenticity resonates. People can spot over-styled or misleading images, and authenticity builds long-term trust. If a dish will be served with a certain texture or topping, represent it honestly in your photographs. Similarly, make photos accessible: use descriptive alt text on your website and social posts to describe the dish for visually impaired users and to improve SEO. Accessibility is both a good practice and a good marketing.
Troubleshooting Common Problems
Not every shot will be a winner, and that’s okay. If your photos look flat, add contrast and make sure the light is directional. If colors appear off, check white balance in-camera or correct it in editing. If reflections are distracting, change the angle or use a polarizing filter for cameras. For composition issues, step back: removing one prop or changing the angle often solves cluttered frames.
Practice is your shortcut through these problems. Shoot the same dish in multiple ways, analyze what you like, and keep a swipe file of images that inspire you. Over time, you’ll build an internal library of solutions you can reach for in any shoot.

Bringing It Together: Your Next Steps
Start small. Pick a favorite dish and plan a 30-minute mini shoot. Think about the story (comfort, celebration, quick snack), choose one or two props, find a flattering light source, and take a series of photos from different angles. Edit lightly and compare versions. Repeat weekly, gradually adding techniques like shallow depth of field, motion, or more complex styling.
If you prefer professional help, consider image editing services to polish your work and maintain consistency across a portfolio or website. For businesses, investing in a few high-quality hero shots plus a batch of process images will pay off in menus, social posts, and promotional material.
Final Thoughts
Creative food photography is a joyful blend of craft and storytelling. It turns ordinary dishes into visual feasts and gives viewers a reason to linger, share, and come back for more. Whether you’re a home cook wanting to share recipes, a food blogger building a brand, or a restaurant aiming to fill tables, learning to photograph food creatively will change how others see and value what you serve.
If you’d like help editing or polishing your images, or if you want a consistent visual style for your menu or social feed, check out our image editing services at aitinsider. We help take raw shots and turn them into web-ready, mouth-watering images that perform. Visit aitinsider to learn more, or explore inspiration on Unsplash at https://unsplash.com. For tutorials and gear guides, Adobe’s photography resources are useful.
Thanks for reading- I hope this gives you practical inspiration to pick up your camera (or phone) and start making your dishes look as delicious as they taste. If you want the next part- a step-by-step shoot plan or a simple home-studio setup checklist- I can write that up next. And remember: a little creativity goes a very long way. Visit aitinsider to get professional image editing and make every dish a visual masterpiece.

Ethiopian Food Photography – Vibrant Cultural Dishes
[…] sets, or even a piece of Ethiopian fabric. These subtle details add authenticity to your Ethiopian food photography, making your shots feel more connected to the country’s […]
Mediterranean Food Photography – Fresh & Colorful Shots
[…] Another important aspect is props. Fresh ingredients, small bowls of olive oil, spices, or a glass of wine can create context and a Mediterranean atmosphere. However, be careful not to overcrowd the frame. Minimalism often works best, letting the food be the star of your Mediterranean Food Photography. […]
Mexican Food Photography – Bold, Colorful & Tasty Shots
[…] is the heart of Mexican food photography. Think of a plate of tacos al pastor-the vivid red of marinated pork, the fresh green cilantro, the […]
Chicken Food Photography Tips | Styling & Lighting Guide
[…] great photo tells a story, and food photography is no different. Think about what you want to express through your image. A rustic roast chicken […]
Top Food Photography Photographers | Best In 2025
[…] plant-based meals. Audiences are increasingly conscious of the environmental impact of food, and food photography photographers who reflect this in their work can create a stronger connection with […]
How To Edit Food Photography | Professional Retouch Tips
[…] save time when you start editing multiple images for social media posts. When learning how to edit food photography, staying organized helps you maintain consistency in your editing […]